


___________________________________________________________________________________
6 - 126
Installing ETUs (Circuit Cards)
___________________________________________________________________________________
Document Revision 3
Electra Elite IPK II
3.
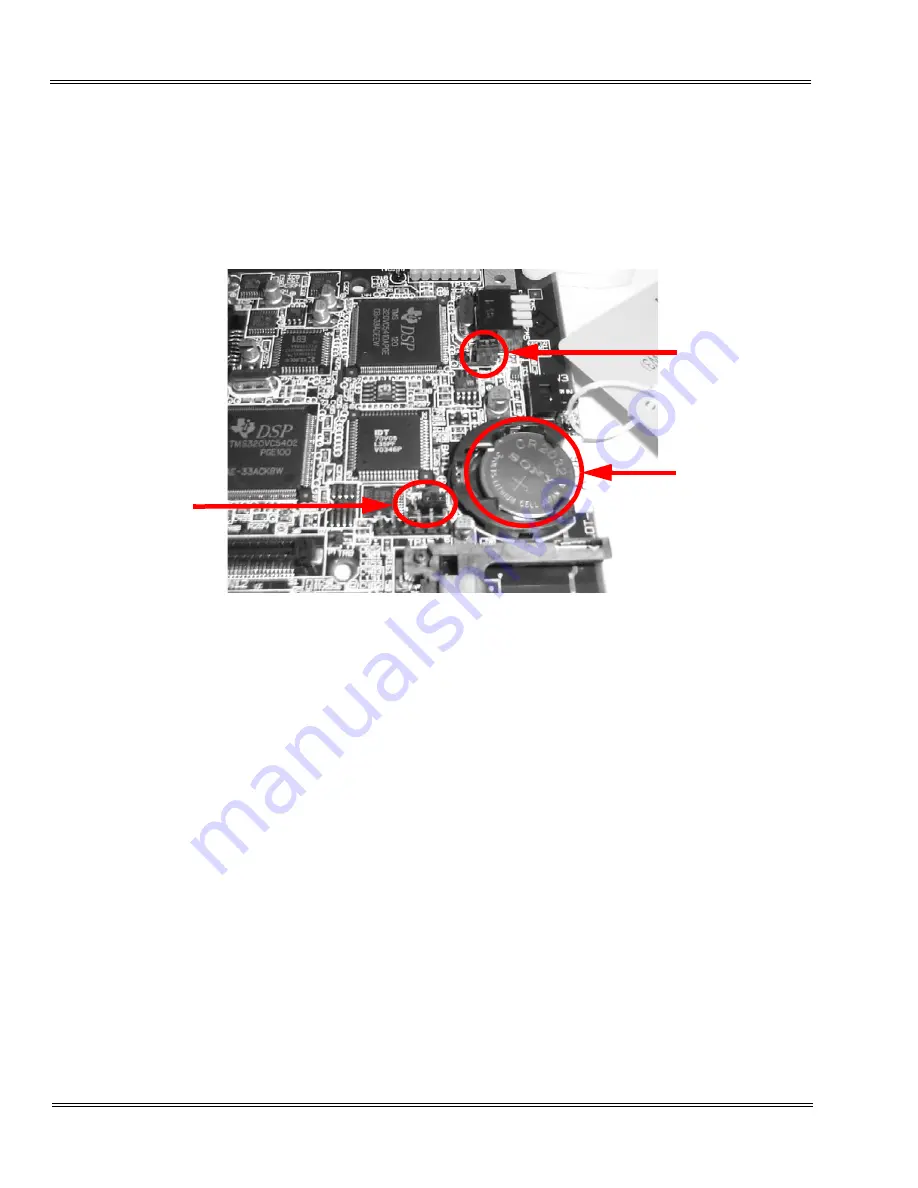
Check jumper J-1 and make sure it is on pins 1-2. Refer to
Figure 6-71 Plus Sign on Battery Displayed Up
4.
Insert Sony battery CR-2032 into BATT1 connector, the
+
sign
should be facing up as shown in
5.
Insert keyed end of ribbon cable into connector CN8, the keyed
connector only goes into connector CN8 one way and should
not be forced. The red stripe of the cable is towards the bottom
of the ETU as shown in
Figure 6-72 Connecting the Ribbon
Figure 6-71 Plus Sign on Battery Displayed Up
J-1 — make sure
it is set to pins
2-3.
J-7 — make sure
it is set to pins 2-
3 for hard drive.
BATT1 Connector
— install battery
with the
+
facing
up.
Содержание ELECTRA ELITE IPK II
Страница 2: ......
Страница 3: ...SYSTEM HARDWARE MANUAL INT 1076 IPK II DOCUMENT REVISION 3 VERSION 2000...
Страница 4: ......
Страница 6: ......
Страница 10: ...THIS PAGE INTENTIONALLY LEFT BLANK...
Страница 641: ...SYSTEM HARDWARE MANUAL NECUnified Solutions Inc Document Revision 3...
Страница 642: ......