78K0/Fx2 – CAN it!
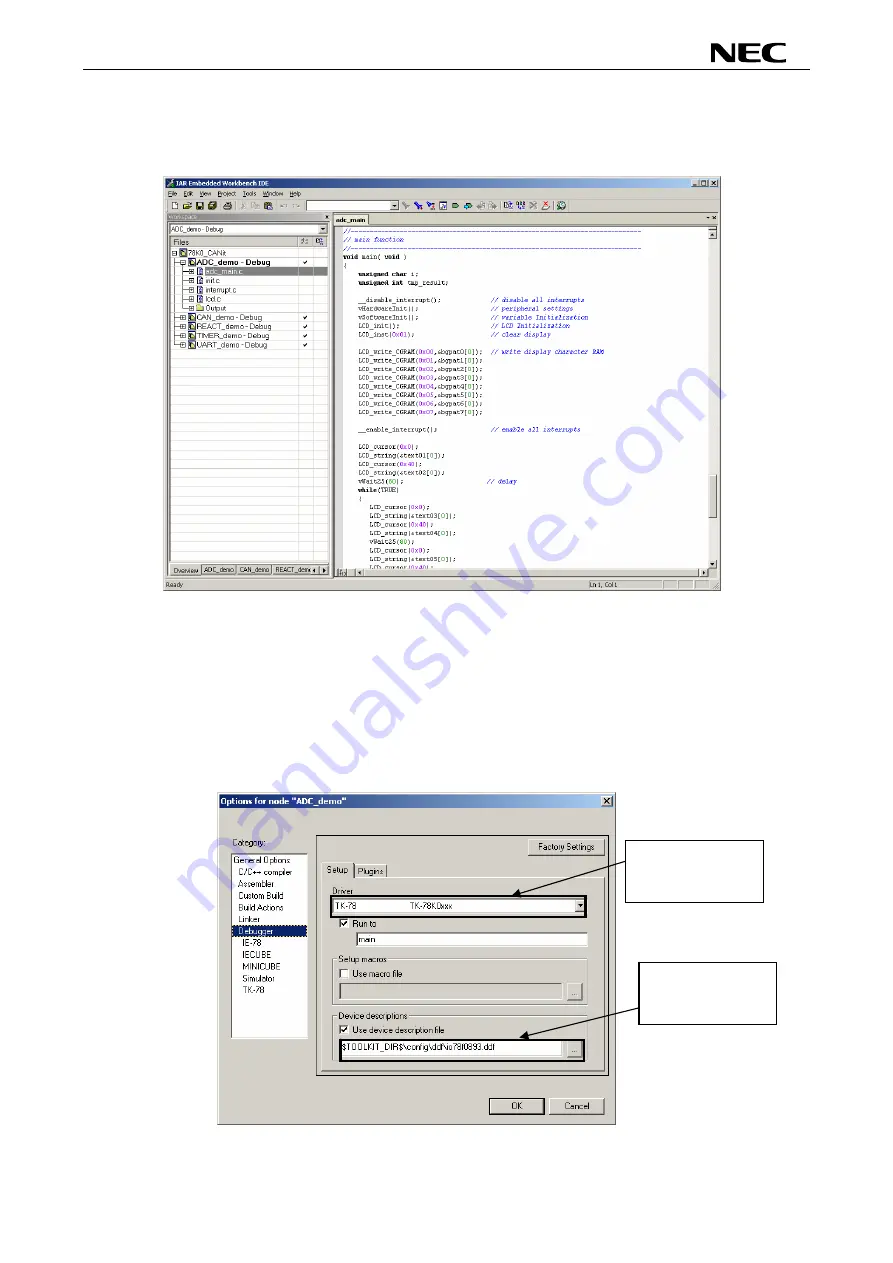
After the demo workspace has been opened the projects contained in the workspace are displayed. Now
o the “ADC_demo” project to show files that were part of the project. The
the pull-down menus. Next sele
e sure that the driver is set to “TK-78” in
rder to use the On-Board debug function of the
78K0/Fx2 – CAN it!
board. The device description file must
Figure 72: IAR debugger options
click on the little “+” sign next t
screen should now look similar to this:
Figure 71: IAR project workspace
As a next step check some settings of the IAR Embedded Workbench that have to be made for correct
operation and usage of the On-Board debug function of the
78K0/Fx2 – CAN it!
board. First highlight the
upper folder called “ADC_demo – Debug” in the workspace window. Then select “Project” > “Options” from
ct the category “Debugger”. Mak
o
be set to “io78F0893.ddf”.
Select “TK-78” to
use On-Board
debugging.
Choose device
description file
io78f0893.ddf
73
Содержание 78K0/Fx2
Страница 80: ...78K0 Fx2 CAN it 15 USB interface cable Mini B type Figure 77 USB interface cable Mini B type 80 ...
Страница 81: ...78K0 Fx2 CAN it 16 Schematics Figure 78 78K0 Fx2 CAN it baseboard schematics 81 ...
Страница 82: ...78K0 Fx2 CAN it Figure 79 78K0 Fx2 CAN it CPU module schematics 82 ...
Страница 83: ...78K0 Fx2 CAN it MEMO 83 ...


