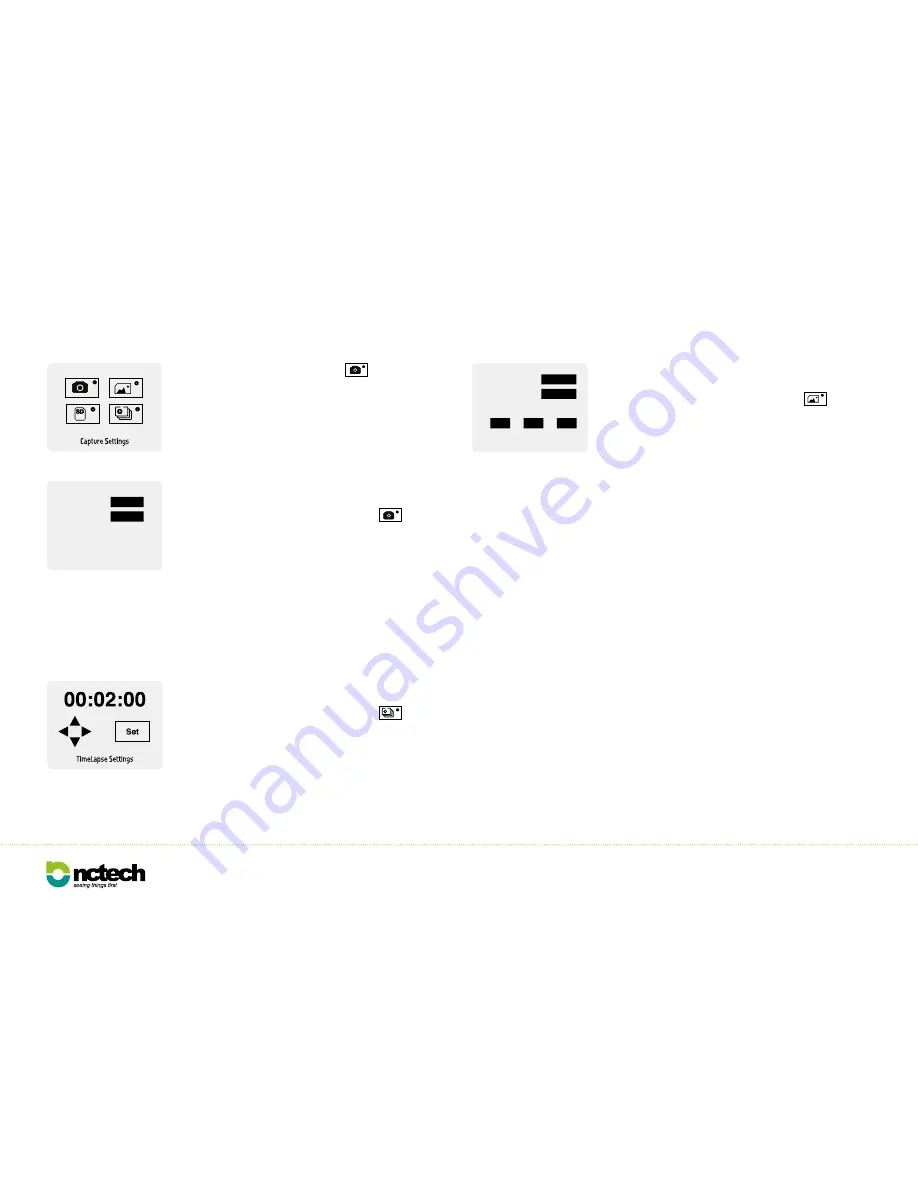
Capture Settings
Auto
HDR:
5 sec
Countdown timer:
iSTAR User Manual /
v1.2
/
11
9. Settings: Capture
Capture settings
From the main Capture Settings menu, press the
icon to
navigate to the “Capture Settings” screen.
HDR (exposure settings)
: For HDR the default is Off or you can
select Auto or HDR 3. In Auto mode, iSTAR will calculate the correct
exposure range (EV) for the environment. In HDR 3 mode, iSTAR
will capture three exposures.
Countdown Timer:
Tap the Countdown timer button to select the
capture delay time. (Options: 5, 10, 30 seconds, 1, 5 minutes)
TimeLapse settings
From the main Capture Settings menu, press the
icon to
navigate to the “TimeLapse Settings” screen.
Use the arrows onscreen to set the time delay in between images
captured. For example setting the time delay to 00:02:00 will
capture an image every two minutes. TimeLapse can capture a
sequence in single and HDR exposures.
From the main Settings menu, press the
icon to navigate to
the “Capture Settings” screen.
Capture Settings
400
100
100
100
ISO:
R:
G:
B:
Indoors
Exposure:
Colour balance levels:
Image settings
From the main Capture Settings menu, press the
icon to
navigate to the “Image Settings” screen.
ISO
: By default the ISO is set to 400. The range is ISO 100 to
25,600 - set according to conditions. Lower settings require
longer exposures but give higher quality results. Higher settings
require shorter exposure times but give lower quality results.
Exposure
: There are five exposure options:
Outdoors:
Use when capturing exterior scenes. Exposure is
calculated by averaging the overall lighting from all 4 lenses.
Indoors:
Use when capturing interior scenes. Exposure is
calculated by averaging the overall lighting from all 4 lenses.
Front Outdoors:
Use when capturing exterior scenes, but
where exposure is critical in one direction. Similar to “spot
metering” exposure is calculated by pointing the “front lens”
towards the object of interest. Exposure is calculated from the
front lens only.
Front Indoors:
Use when capturing interior scenes, but where
exposure is critical in one direction. Similar to “spot metering”
exposure is calculated by pointing the “front lens” towards the
object of interest. Exposure is calculated from the front lens
only.
Manual:
This allows you to set the shutter speed manually as
required (range 120s to 1/8000).
Colour Balance Levels
: By default the colour balance is set to
Red: 100%, Green: 100% and Blue: 100%. Tap the colour buttons to
change the percentage settings.
Содержание ISTAR
Страница 1: ...iSTAR USER MANUAL Version 1 2 ...


