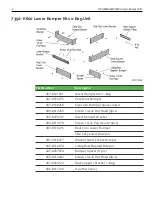
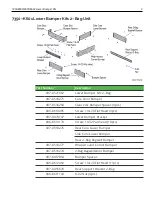


7350-K600/K601/K602 Lower Bumper Kits
5
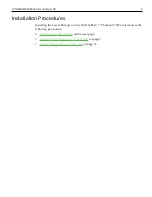
Installation Procedures
Installing the Lower Bumpers on the NCR SelfServ™ Checkout (7350) unit involves the
following procedures:
•
•
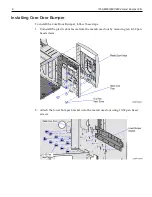
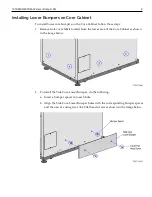
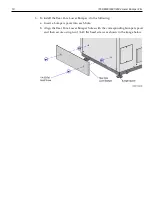
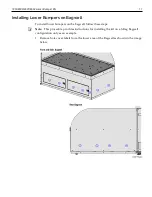
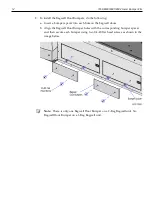
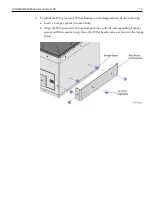
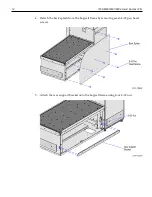
Installing Lower Bumpers on Core Cabinet
•
7350-K600/K601/K602 Lower Bumper Kits
5
Installation Procedures
Installing the Lower Bumpers on the NCR SelfServ™ Checkout (7350) unit involves the
following procedures:
•
•
Installing Lower Bumpers on Core Cabinet
•