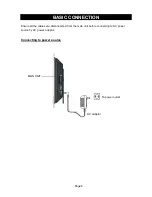
background image

Page 

BASIC OPERATION 

ON and OFF 

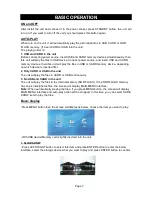
After  install the unit  and connect  it to the power socket,  press STANDBY  button,  the unit  will 

turn on. If you want to turn off the unit you should press this button again. 

AUTO-PLAY 

When turn on the unit, it will automatically play the pictures/photos in USB, CARD or NOR 
FLASH memory. (If insert CARD or USB into the unit) 
The playing order is: 

1. USB and CARD in the unit

Before connecting power source, insert USB and CARD memory devices simultaneously, then 
this unit will play the files in USB device. Connect power source, and insert USB and CARD 
memory devices, then this unit will play the files in USB or CARD memory device, depending 
on which device is inserted first. 

2. Only CARD or USB in the unit

The unit will play the files in CARD or USB continuously. 

3. No USB and CARD in the unit

The unit will play the files in the internal memory (NOR FLASH). If the NOR FLASH memory 
has no pictures/photos files, the screen will display MAIN MENU interface. 

Note:

 When automatically playing the files, if you press MENU button, the screen will display 

MAIN MENU interface and auto-play action will be stopped. In this time, you can select SLIDE 
SHOW item to play the files. 

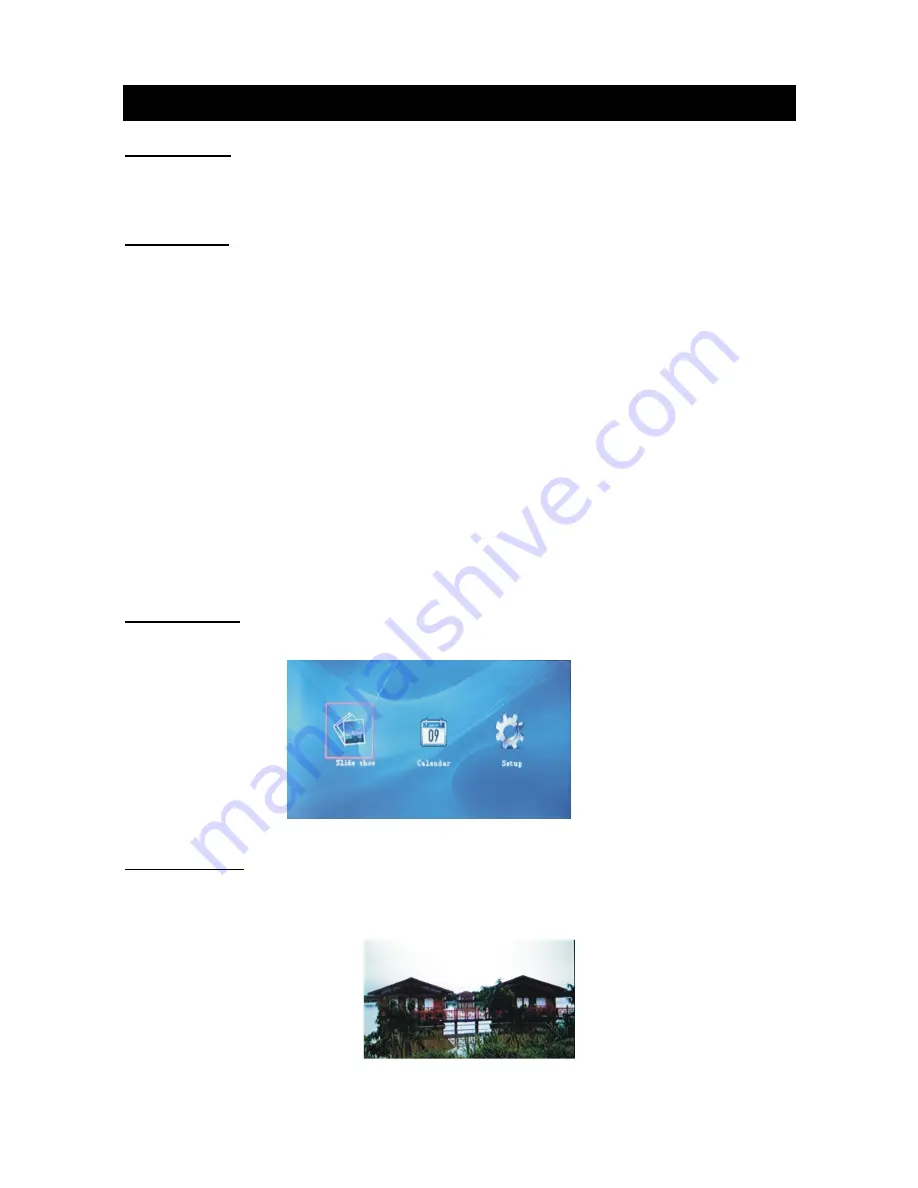
Basic display 

-Press MENU button then the screen will display as below, choose the item you want to play. 

-With USB device/Memory cards rightly inserted into the unit. 

1. SLIDE SHOW

- Press LEFT/RIGHT button to select this item and press ENTER button to enter the below 
interface, select the storage device what you want to play and press ENTER button to confirm. 

Содержание NF-502

Страница 1: ...th USB SD MMC Card Slot MODEL NO NF 502 USER MANUAL Thank you very much for selecting our product Please enjoy the wonderful features of the latest digital technology You will learn how to use it within a minute with this user manual ...

Страница 2: ... sunlight Direct sunlight may cause damage Do not open the cover of the digital photo frame There are no user serviceable parts inside Unplug AC adaptor from power socket if the unit is not in use For pluggable product the power outlet should be installed nearby and should be accessible Maintenance Touch the screen gently The screen in the digital photo frame is made of glass and is can be easily ...

Страница 3: ...Y CARD FORMATS SD MMC 7 inch TFT LCD Resolution 480 RGB x 234 Supports SD MMC card reader Supports USB not supports removable HDD Supports format JPG Supports static image slide display shrink zoom rotate Supports copy or delete pictures Supports multi languages menu English and other languages Supports clock and calendar Store about 3 pieces of picture in built in memory ...

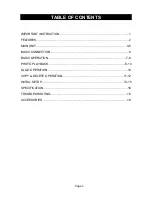
Страница 4: ... IMPORTANT INSTRUCTION 1 FEATURES 2 MAIN UNIT 4 5 BASIC CONNECTION 6 BASIC OPERATION 7 8 PHOTO PLAYBACK 8 10 LOGO OPERATION 10 COPY DELETE OPERATION 11 12 INITIAL SETUP 13 15 SPECIFICATION 16 TROUBLESHOOTING 16 ACCESSORIES 16 ...

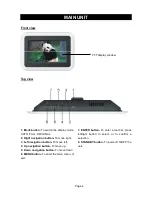
Страница 5: ...To move right 3 Left navigation button To move left 4 Up navigation button To move up 5 Down navigation button To move down 6 MENU button To enter the main menu or exit 7 ENTER button To enter a tool bar press left right button to select or to confirm a selection 8 STANDBY button To power ON OFF the unit TFT display window ...

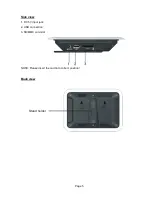
Страница 6: ...Page 5 Side view 1 DC 5V input jack 2 USB connection 3 SD MMC card slot NOTE Please insert the card into correct position Back view Stand holder ...

Страница 7: ...Page 6 BASIC CONNECTION Ensure all the cables are disconnected from the main unit before connecting to AC power source by AC power adaptor Connecting to power source MAIN UNIT To power outlet AC adaptor ...

Страница 8: ...ich device is inserted first 2 Only CARD or USB in the unit The unit will play the files in CARD or USB continuously 3 No USB and CARD in the unit The unit will play the files in the internal memory NOR FLASH If the NOR FLASH memory has no pictures photos files the screen will display MAIN MENU interface Note When automatically playing the files if you press MENU button the screen will display MAI...

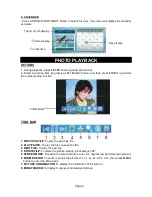
Страница 9: ...previous file 2 PLAY PAUSE To play the file or pause the file 3 NEXT FILE To play the next file 4 ROTATEFILE To rotate the picture playing clockwise by 90 5 SCREEN MODE To switch the screen mode in auto full original except full screen picture 6 ZOOM SHRINK To zoom or shrink the picture in 1x 1 5x 2x 0 5x 0 7x then press MENU button to enter the slide mode 7 PICTURE INFORMATION To display the info...

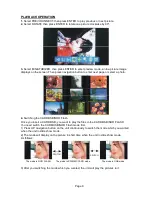
Страница 10: ...ching the CARD USB NOR Flash Once you insert a CARD USB you want to play the files in the CARD USB NOR FLASH You need switch the CARD USB NOR Flash mode first 1 Press UP navigation button on the unit continuously to switch the mode which you wanted when the unit in slide show mode 2 The mode will display on the picture in short time when the unit in slide show mode As follows 3 After you switching...

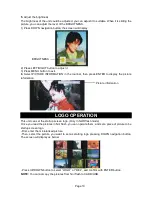
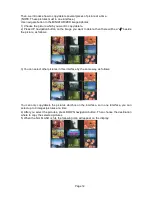
Страница 11: ... ENTER to display the picture information LOGO OPERATION This unit can set the startup screen logo Only in NOR flash mode Once you read the pictures in Nor flash you can operate them and set a piece of picture to be startup screen logo First enter the miniaturized picture Then select the picture you want to set as starting logo pressing DOWN navigation button The screen will display as below Press...

Страница 12: ... a yellow frame surrounding the picture image instead of a white frame on the image you want to copy or delete Once you have got to the MINIATURIZED images photos that you want to COPY or DELETE press DOWN navigation button the bars COPY and DEL will appear Use UP DOWN navigation button to decide whether you want to copy or delete the pink background will indicate your action chosen Press UP DOWN ...

Страница 13: ...want to delete then there will be a beside the picture as follows 3 You can select other pictures in this interface by the same way as follows You can only copy delete the pictures which is on the interface so in one interface you can select up to 9 images pictures at a time 4 After you select the pictures press DOWN navigation button Then choose the destination where to copy the selected pictures...

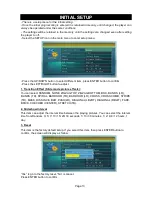
Страница 14: ...adjust 1 Transition Effect Slide mode picture effects You can select RANDOM NONE ZIGZAG TOP ZIGZAG BOTTOM BOX BLINDS LR BLINDS TD SPIRAL BARDOOR TD BARDOOR LR CROSS CROSS COMB STRIPE TD MASK DISSOLVE BAR PUSH LR DIAGONAL LB2RT DIAGONAL RB2LT FADE BRICK CHECHER CENTER STRETCH TD 2 Slideshow Interval This item can adjust the interval time between the playing pictures You can select the interval time...

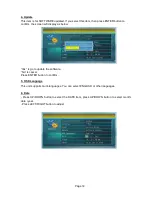
Страница 15: ...will display as below Yes is go to update the software No is cancel Press ENTER button to confirm 5 OSD Language This unit supports multi languages You can select ENGLISH or other languages 6 Date Press UP DOWN button to select the DATE item press UP DOWN button to select month date year Press LEFT RIGHT button to adjust ...

Страница 16: ...Page 15 7 Clock Press UP DOWN button to select the CLOCK item press UP DOWN button to select hour minute second Press LEFT RIGHT button to adjust 8 About This will display the version number of unit ...

Страница 17: ...uld refer to actual accessories DISPLAY DEVICE 7 COLOR TFT LED POWER SOURCE AC adaptor POWER INPUT AC100 240 V 50 60HZ DC 5V 600mA AC POWER CONSUMPTION 3W RESOLUTION 480 RGB X 234 MEASUREMENT 230X166X30MM WEIGHT About 409 g Symptom Remedy No power Insert the AC adaptor securely into the power outlet The player is automatically set to the standby mode Disconnect the power source and connect them ag...

Отзывы: