Operator Interface
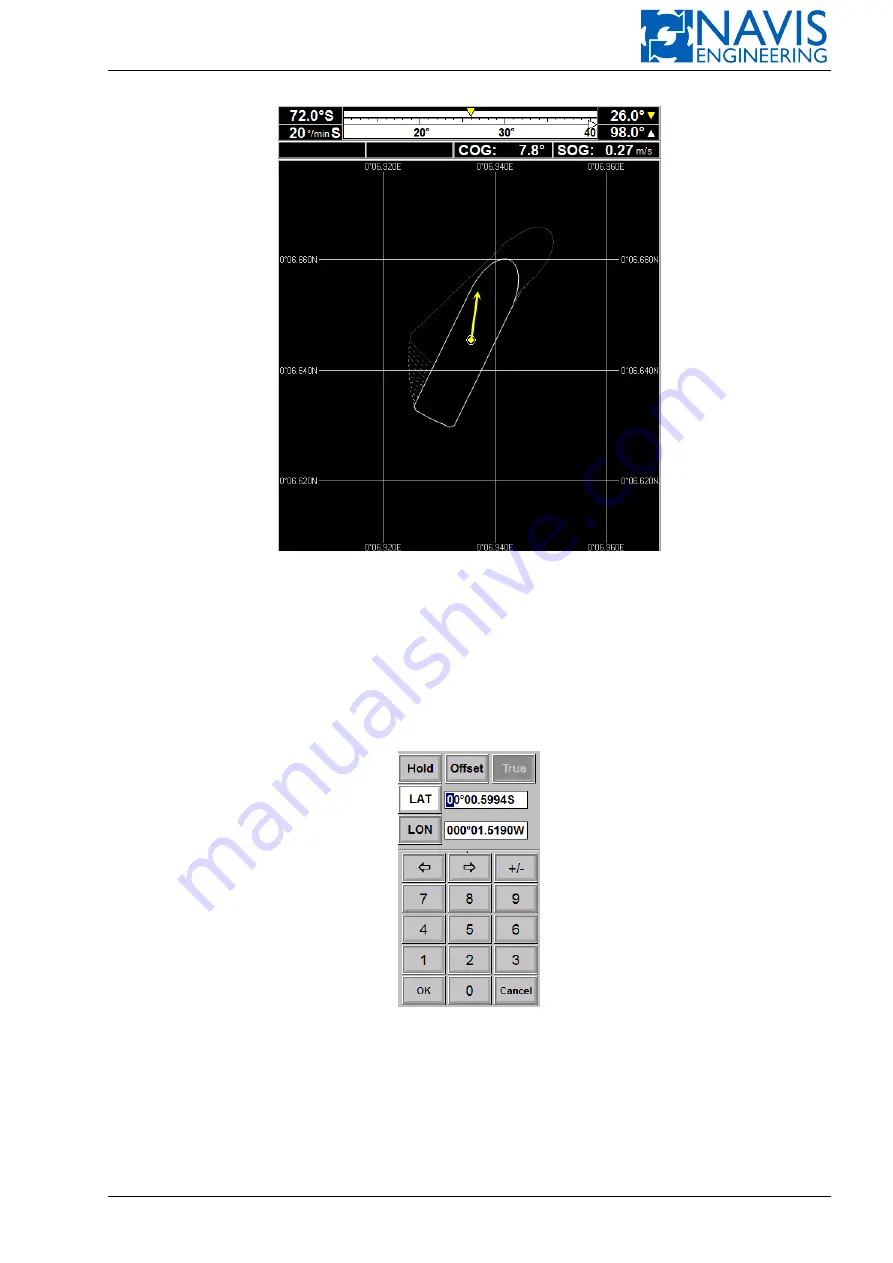
Figure 5.17: The motion prediction display for the 5 minutes
5.5
Enter Position Setpoint
Press the
AUTO
softkey on the
POS
panel to get the dialog (see Figure 5.18). Then set a new value for the position
setpoint in the proper entry field.
The coordinates displayed in the LAT and LON bars (the latitude and longitude) depend on the current control mode.
In case of the manual position control, the current coordinates are displayed.
In case of the auto control, the latest position setpoint is displayed.
Figure 5.18: Input Position Setpoint dialog
Set new coordinates using the LAT and LON bars, or enter the offset value.
The offset value can be entered in three ways (see Figure 5.19):
– via geographic coordinates;
– via through the vessel based rectangular coordinates;
– via the vessel based polar coordinates;
Doc. 000.JDP-10000-OME, rev.3.3.13/“2102.$–17A-Advanced”
76
Содержание NavDP 4000 Series
Страница 88: ...NAVIS NavDP 4000 Operation Manual Figure 5 35 Dark Theme 87 Doc 000 JDP 10000 OME rev 3 3 13 2102 17A Advanced...
Страница 222: ...NAVIS NavDP 4000 Operation Manual Figure 10 74 Drift Plot Window 221 Doc 000 JDP 10000 OME rev 3 3 13 2102 17A Advanced...
Страница 324: ...NAVIS NavDP 4000 Operation Manual Figure H 4 Remote DLS Mode 323 Doc 000 JDP 10000 OME rev 3 3 13 2102 17A Advanced...


