Getting Started with the NI PCIe-8255R
8
ni.com
3.
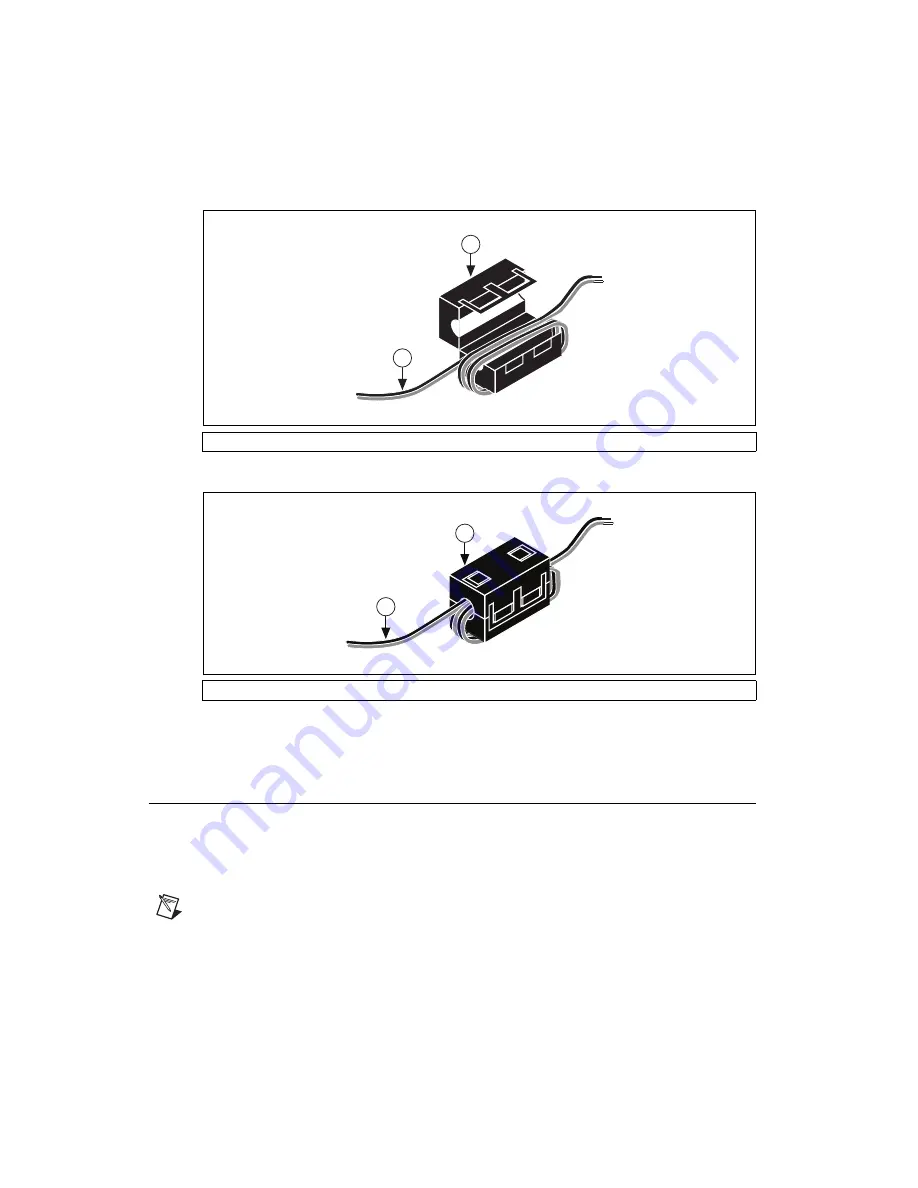
(Optional) To suppress electromagnetic interference, install a ferrite on the power supply cable as
close to the connection to the NI 8255R as possible. Wrap the power supply cable around the ferrite
two times, as shown in Figures 4 and 5.
Figure 4.
Installing a Ferrite Connector on the Power Supply Cable
Figure 5.
Closed Ferrite on the Power Supply Cable
4.
Plug the power supply cord into an outlet. The orange LED on the NI 8255R front panel will
illuminate when the computer is on and an isolated power supply is properly connected.
Configuring the NI 8255R
After you have installed the NI 8255R and powered on the computer, the computer will recognize the
device and assign resources to it. Use Measurement & Automation Explorer (MAX), the National
Instruments configuration utility, to configure the IEEE 1394 camera connected to the NI 8255R for
acquisition. Refer to the
Measurement & Automation Explorer Help for NI-IMAQdx
for additional
information about configuring the NI 8255R.
Note
Before configuring the device in MAX, ensure that you installed the NI-IMAQdx driver
software.
1
Power Supply Output Cable
2
Ferrite
1
Power Supply Output Cable
2
Ferrite
1
2
1
2


