24
General information
▪ The appliance is equipped with a safety function. It will start only if the mixer
arm is lowered into position correctly and the cover for the mixer attachment
(1) and accessories (4) is in place.
▪ If the mixer arm is folded backwards during operation or the cover for the
mixer attachment (1) and accessories (4) is removed, the appliance stops. To
restart the appliance, you must lower the mixer arm back into position and
turn the speed controller to the Off position (0). You can then select the
required speed/function again and the appliance will start automatically.
▪ When using the mixer attachment or optional accessories, the mixing
accessory holder moves in unison.
Overload protection
The appliance is fitted with an overload protector. This prevents the motor being
damaged by overloading. If the appliance switches off during operation, proceed
as follows:
▪ Set the speed controller to the Off position (0), pull out the mains plug and
allow the appliance to cool down for approx. 20-30 minutes.
▪ Once the appliance has cooled down, insert the mains plug into the socket
again and continue with processing.
Cleaning and care
Food processor
▪ Turn the speed controller (10) to the Off position (
0
) and remove the plug
from the mains supply. Do not immerse the appliance in water, but rather
clean it using a damp cloth with a little washing-up liquid and then dry it.
▪ Do not use harsh or abrasive cleaning agents.
▪ The mixer accessories (11-13) and splash guard (9) may be rinsed under
running water.
▪ For easy cleaning, the mixing bowl (8) may also be washed in the dishwasher.
Mixer attachment (2)
▪ To avoid injury on the sharp blades, care must be taken when cleaning the
mixer attachment (2).
▪ Fill the jug with warm water immediately after use and allow the motor to
run for a few seconds. Then remove the mixer attachment (2) and clean with a
washing-up brush.
▪ The glass jug (2.3) can also be removed to clean it thoroughly.
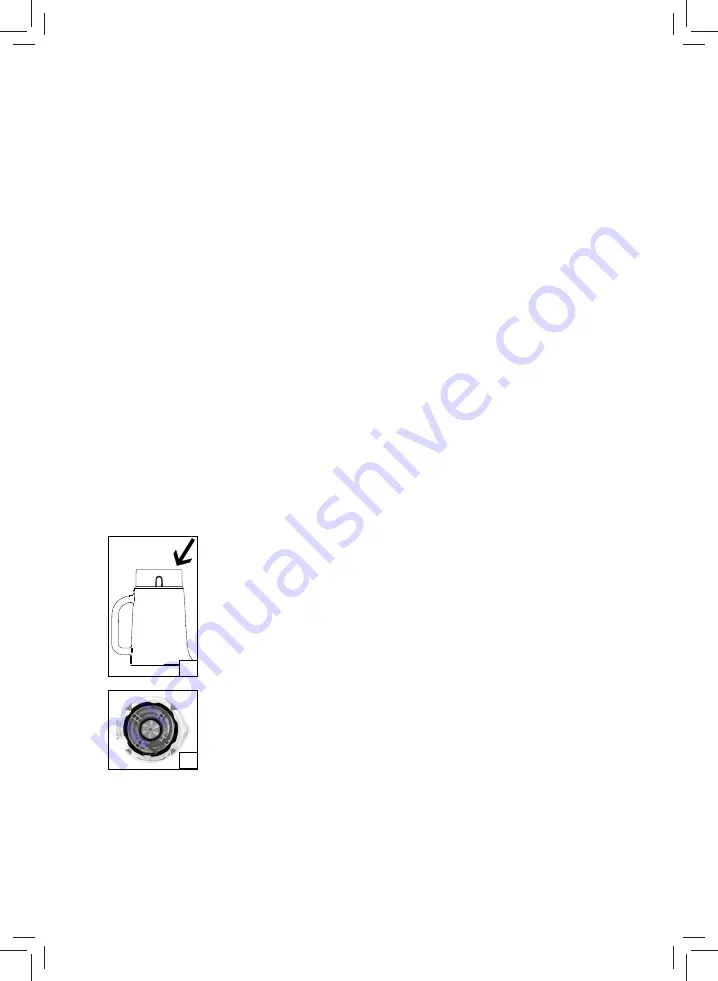
⋅
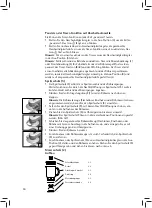
Remove the lid (2.2) and the closing cap (2.1). Place the glass jug (2.3) on
the table with the opening face-down (Fig. O) and turn the locking screw
(2.6) on the blade unit (2.5) clockwise (Fig. P).
⋅
You can now remove the blade unit (2.5) and sealing ring (2.4).
O
P
Содержание KUCHENminis
Страница 2: ...4 8 3 1 7 10 11 12 13 2 5 14 15 6 9...
Страница 87: ...87 da...
Страница 99: ...99 sv...
Страница 122: ...122...
Страница 123: ...123...

