Page 2 © MuxLab Inc. 2018 Page 3
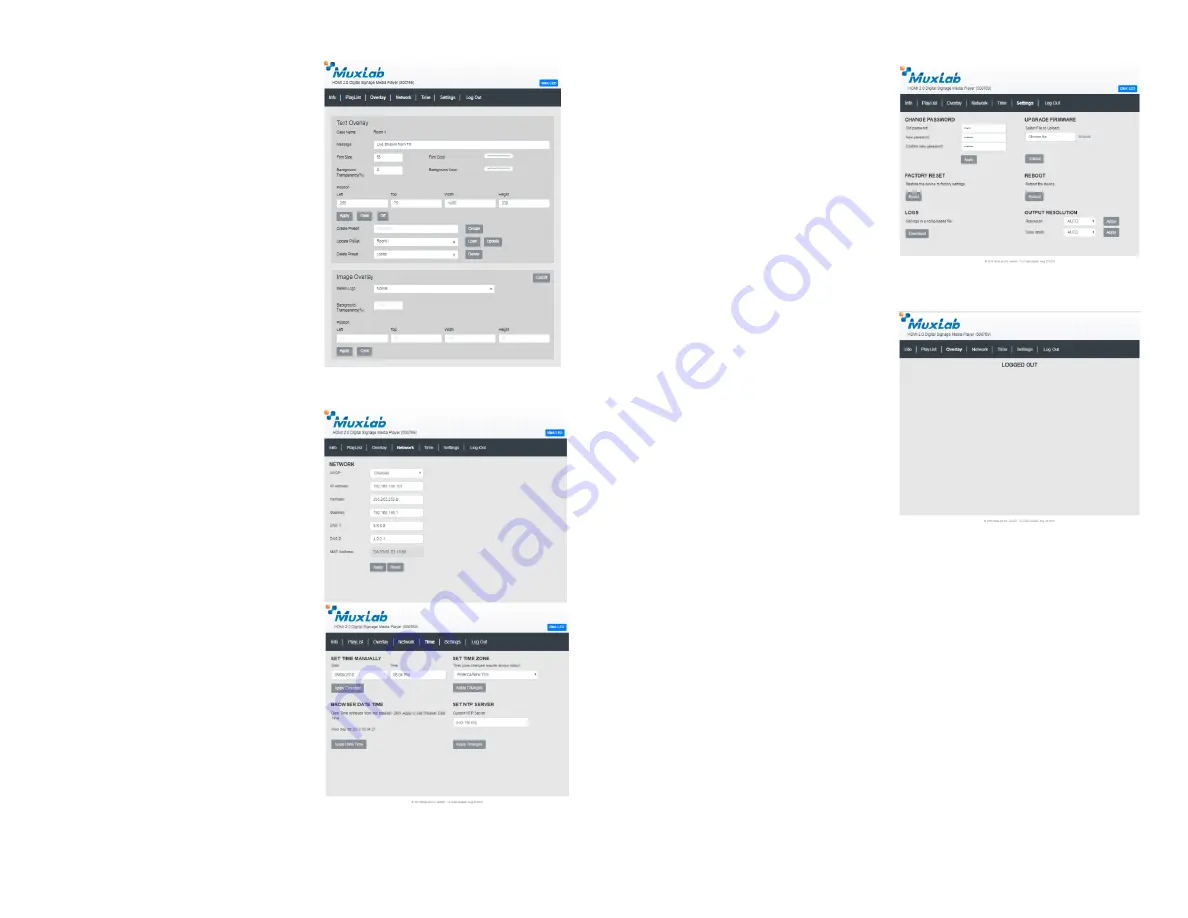
Overlay Tab
Click on the “Overlay” tab to (a) overlay a
text over a video (type the message to be
displayed, select the font size, font color,
transparency, background color and position.
Clicking on the “Off” button will make the
text disappear), (b) create a preset (enter a
name in the “Create Preset” box), (c) upload
an image (i.e. logo) over the video (select the
file from the internal memory or external
USB memory device, select the background
transparency level and position, then click
on the “Apply” button). You may click on
the “Clear” button to clear these settings. To
make the logo appear/disappear, click on the
“On/Off” button.
When loading a preset, click on the “Apply”
button so that the unit gets updated. To
delete a Preset, select the preset and click on
the “Delete” button. Clicking on the
“Update” button will allow you to modify
your preset (e.g. changing the Font size).
Network Tab
Click on the “Network” tab to (a) enable or
disable DHCP via a pulldown tab, (b) set the
device Static IP Address, Subnet Mask and
Gateway, and DNS (c) obtain the unit MAC
address.
Click on the “Apply” button to accept
changes, or “Reset” to return to the previous
settings.
Time Tab
Click on the “Time” tab to (a) set time
manually (note that the date/time is not
saved on power off), (b) set time zone,
(c) set the date/time from the local
computer, (d) set date/time from a ntp
server (preferred method).
Once configured, click on the “Apply
Changes” button to apply the new
settings.
Settings Tab
Click on the “Settings” tab to (a) change the
login password, by entering the old password,
new password, reconfirming the new password,
and clicking on “Apply”, (b) upgrade the device
firmware, by clicking on the “Choose File”
button to search for and select the new firmware,
and then clicking “Upload”, (c) reset the unit to
factory default, by clicking on the “Reset”
button, (d) reboot the unit, by clicking on the
“Reboot” button, (e) download event logs from
the unit, and (f) configure the output resolution
and color depth (click on the “Apply” button so
that the change take effect).
Log Out Tab
Click on the “Log Out” tab to log out of the
device web interface.


