Print quality adjustment 55
Print quality adjustment steps
[1]
Turn the printer and the Take-up Unit ON and load the media.
[2]
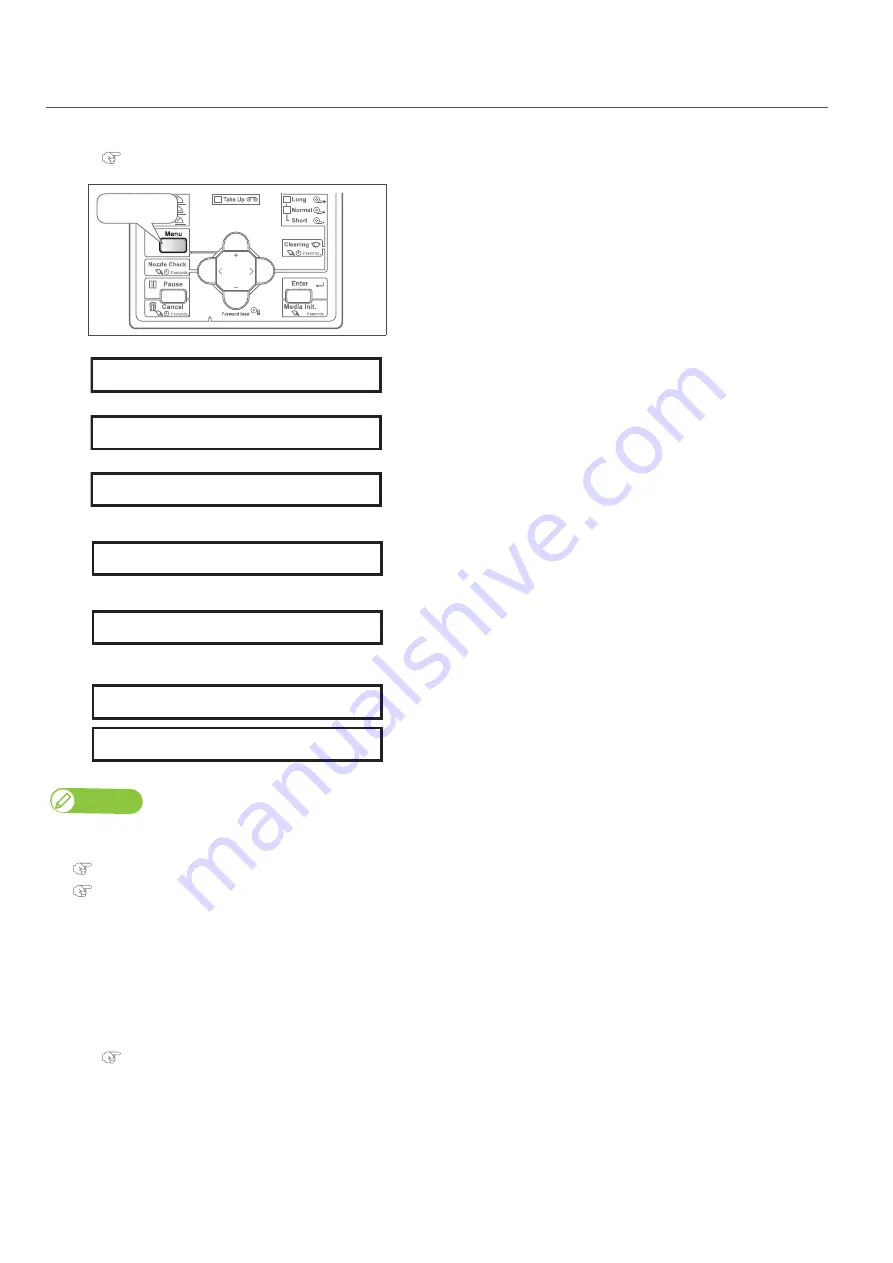
Press the [Menu] key.
[3]
• Press the [>] key.
[4]
• Press the [Enter] key.
[5]
• Use the [+]/[ - ] key to select a user type.
• Press the [Enter] key.
[6]
• Press the [ - ] key several times, to bring up the display on the left.
• Press the [>] key.
[7]
• Enter the media thickness.
• Press the [Enter] key.
[8]
• Select the adjustment method with the [+]/[ - ] key.
• Press the [Enter] key.
Note
• In Standard print quality adjustment and Custom print quality adjustment, the names in the available patterns are different.
For details, refer to the page below.
• For a pre-adjustment check, select "Confirm Ptn.".
Check the printing results in "Confirm Ptn.",
• If the shift is too big, select "Rough Pattern".
• If the shift is too small, select "Fine Pattern".
[9]
Follow the steps below and adjust the print quality.
Press!
Menu 1:
Setup >
Set 1:
User Type
User :
Type 1
* *> 2 :
Adjust Print >
Thickness :
170 µm
Adj. Print 1 :
Standard
Adj. Print 2 :
Custom
Содержание VJ-1938TX
Страница 30: ...30 Operation 4 Press the Enter key on the operation panel Media detection will start Press ...
Страница 117: ...Inside cleaning 117 6 Close the front cover ...
Страница 147: ......
Страница 148: ...VJ1938TXE A 00 ...


