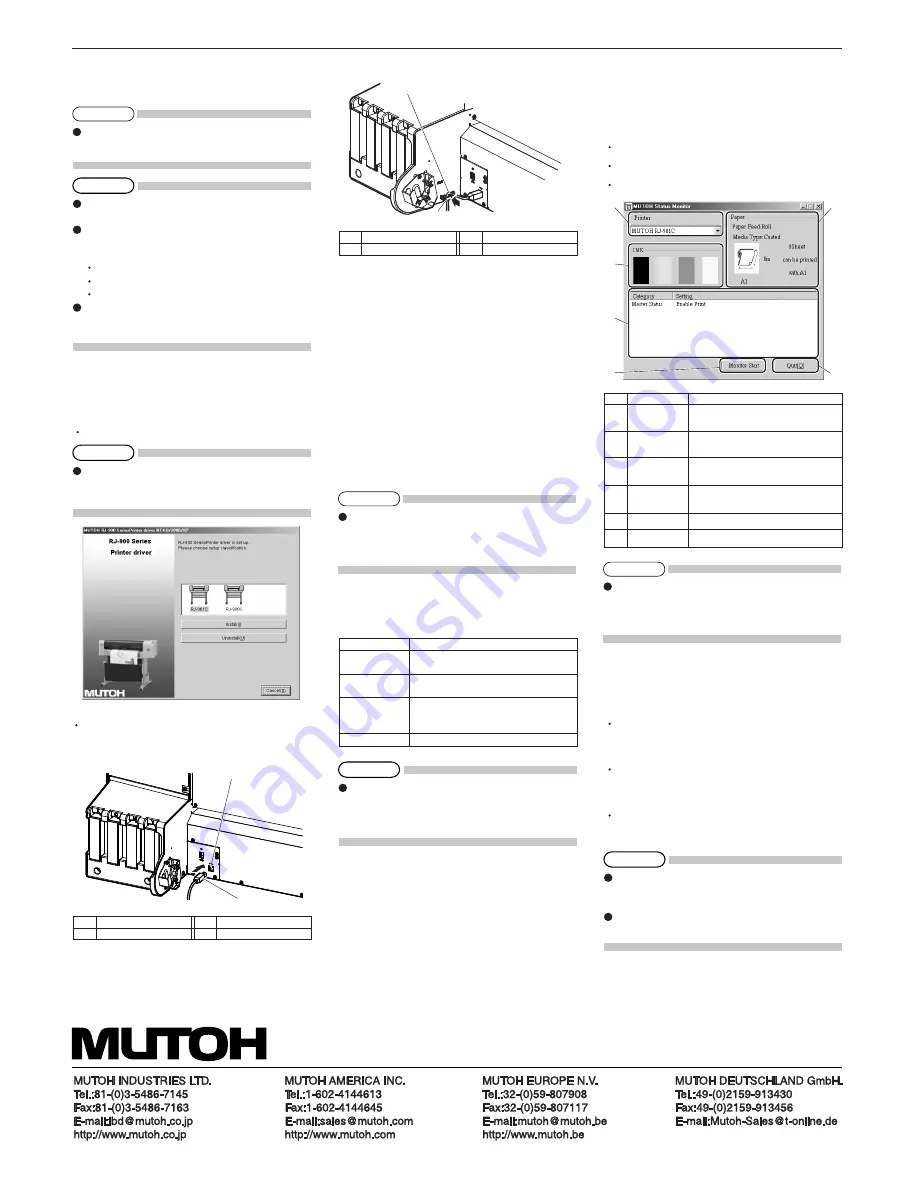
This section explains how to connect USB device.
1. Turn ON the power to the PC.
2. Ensure that your PC boots up correctly, and insert
the CD-ROM on which "Windows plotter driver"
is written into the CD-ROM drive on your PC.
Installer starts.
Connecting the USB cable
1. Insert the USB cable into the USB connector on
the back of the plotter.
2. Put the USB cable to the cable clamp.
This section explains software which needs to be installed.
Plotter driver is used to print and output the print data cre-
ated with Windows application software to the plotter.
Set the following items in accordance with the proce-
dures shown below.
1. Selecting the plotter driver
2. Setting the plotter driver
The plotter driver setup items are described.
When the OS of the computer connected to the plotter
is Windows, status monitor can be used. It is used to
check the status of the plotter from your PC.
The status monitor has following functions.
Residual ink management
Media information display
Plotter operation information display
This product includes the following three manuals.
This manual explains the procedures of unpacking,
installing, and basic set up.
Quick Reference excerpts and explains the daily
functions.
Operation Manual explains the basic installation,
daily use and applicable functions.
1 USB cable 2 Cable clamp
1 USB cable 2 USB connector
Basic setup
Set up the basic setup of printing and check
the setup list.
Advanced setup
Set up the advanced setting of printing condi-
tions and check the setup list.
Options
Perform the setup relating to initialization,
call, storage of set parameters and the check
of the settings.
Utilities
Perform cleaning and activate status monitor.
Plotter type
1
2
3
4
5
6
Plotter for which the operating state is to
be checked is selected.
Residual ink quantity of K, C, M and Y
color is displayed.
Residual
ink quantity
Media type, residual quantity etc. are
displayed.
Plotter
information
Operating status of the plotter is displayed.
Update button Clicking it updates to the latest information.
Finish button Status monitor ends.
Media
information
Do not take out or insert ink cartridge while the plotter
is turned ON.
Doing so may not perform the correct detection of
the remaining ink, and result in an abnormal printing.
The Operation Manual of the product is created in
the HTML format and can be viewed using Internet
Explorer etc.
Refer to "5.5 Using Operation Manual CD" to see
the Operation Manual.
Do not connect USB cable before installing the
plotter driver. It cannot be correctly installed.
For details about installing, refer to "3.7.3 Installing
the plotter driver (for USB connection)" on the
Quick Reference.
USB connection supports Windows 98 and Windows
2000/XP.
This plotter supports USB 2.0. If the connection is
made in the following environments, the speed may
decrease to the level measured in USB 1.1.
When the USB connection is used in Windows 98
When your PC does not support USB 2.0
When a USB hub of non USB 2.0 type is used
When using the plotter with USB connection, install
the plotter driver into your PC using the plotter driver
provided with the plotter or specified by our company.
For details of setup items, refer to the attached help
file.
The file will be displayed by clicking [HELP] on the
plotter driver setup screen.
For the setup procedure of the plotter driver, refer
to the attached help file. The file will be displayed
by clicking [HELP] on the plotter driver setup
screen.


