2. Select “
Creative Cropping
” under the “
Photo
Editing
” tab.
3. Select the Style Panel icon (
) under the
“Custom”
tab.
4. Adjust the panel borders in order to select the
area you wish to print as a Style Panel.
Note: The style panel icon (
) appears on the
preview window.
PLAYING BACK
7
1.
Power on
the camera.
2. Set the camera to (Camera) mode to
playback pictures or (Video) mode to
playback videos.
3. Press
to enter
Playback
mode.
4. Press / to
review
your pictures or
videos.
õ
Press the
W
(zoom-out) button to switch to
thumbnail format.
To playback on a TV set
1.
Power
on the camera.
2. Press to bring up the OSD menu.
3. Select
NTSC
or
PAL
from the OSD menu.
NTSC for North America.
4. Connect the sigle-ended cable into the AV
connector on your camera and the yellow
connector into the VIDEO IN and the black
connector into the AUDIO IN on your
television set.
5. Turn on the TV.
6. Switch to the input source where your
camera is connected on your TV set. (eg.
Video 1, Video 2, etc.)
7. Set the camera to (Camera) mode to
playback pictures or (Video) mode to
playback videos.
8. Press
to enter
Playback
mode.
9. Press / to
review
your pictures or
videos.
S
E
T
BEEP ON
AUTO OFF
FORMAT
60Hz
SE
T
CONNECTING TO COMPUTER
8
For PC
Driver Installation
1. Insert the installation CD into
your CD-ROM drive.
2. Follow the on-screen instructions
to complete the driver and
bundled software installation.
Getting Connected to a Computer
1. Connect one end of the USB
cable into the USB port of
your computer and the other
end into your camera.
2. Power on the camera.
For MAC
(Mac OS 9.x and 10.1 or above)
A Mass Storage drive will be detected when you
connect the camera to a MAC. You can easily
manipulate your files via the MAC user interface.
U
S
B
S
E
T
STORING TO COMPUTER
9
When the camera is connected to a computer,
launch the
MAX Console
to transfer files from
your camera to your computer.
Select the source from the left menu and
Drag
and Drop
files to your computer.
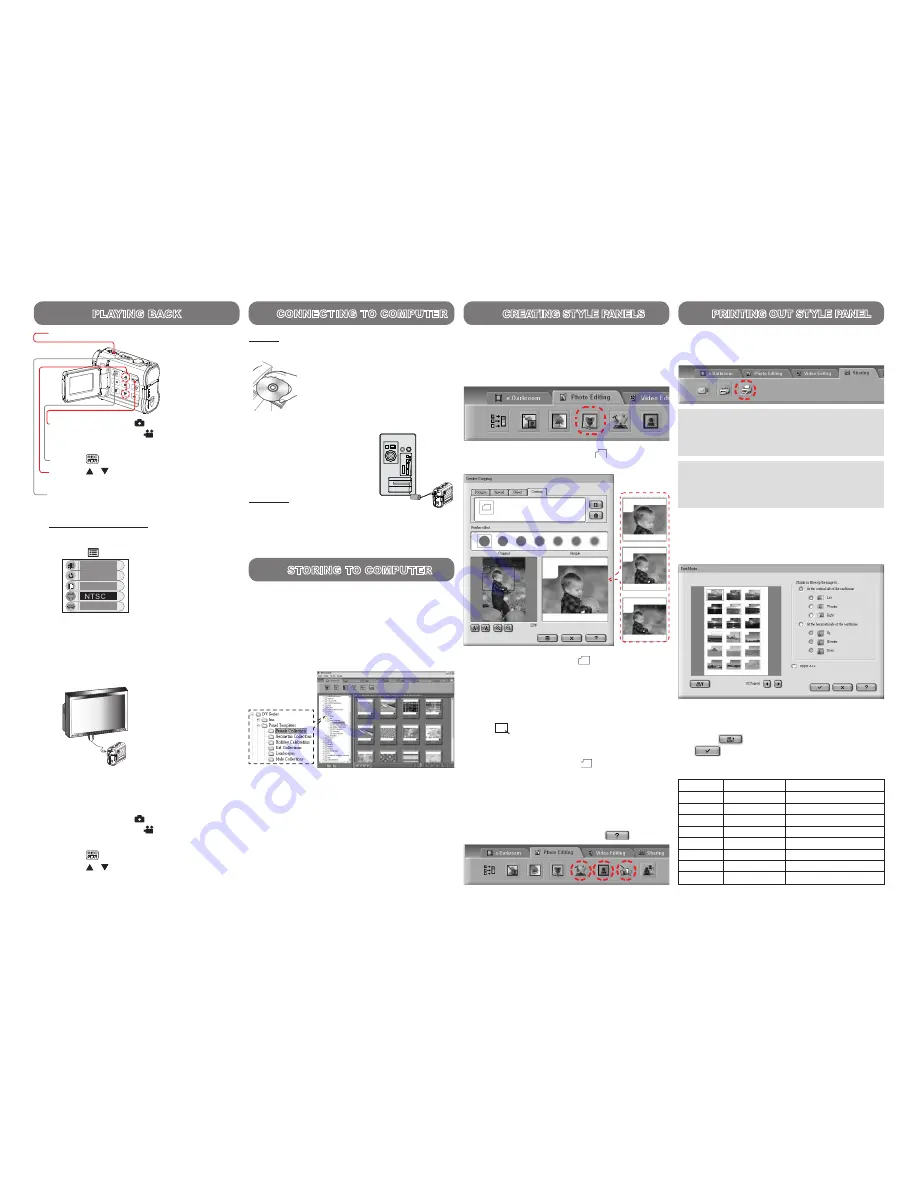
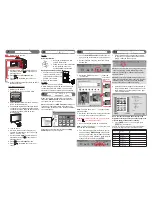
Paper size
Orientation
No. of photo per sheet
3 x 5
Portrait
2
3 x 5
Landscape
1
4 x 6
Portrait
3
4 x 6
Landscape
4
5 x 7
Portrait
3
5 x 7
Landscape
4
A4
Portrait
18
A4
Landscape
16
Important: For best results, use proportional res-
caling
(
)
to scale frame content.
PRINTING OUT STYLE PANEL
11
6. You may also apply special effects to your im-
ages by utilizing
MAX Console
plugins such
as
Photo Decoration
,
Digital Effect
and
Funny
Photo Toy
. For more details on these features
please refer to the built-in help
.
Photo with dif-
ferent scaling
ratios.
5. Save the cropped picture as a new photo.
Note: The Style Panel icon (
) under the “Cus-
tom” tab can not be deleted.
Note1: For best results, crop your photos through
“Creative Cropping” before attempting to print
them via “Panel Magic”. Otherwise, photos may
appear off-scale.
Note2: For more Style Panel designs, please go
to the “Panel Template” folder under the program
installation path. You may print these template
photos for Style Panel without cropping.
2. Selected photos will appear as thumbnails in
the preview window. If the photo does not fill
the Style Panel, use the settings on the right
side to adjust its size.
The number of photos that fit on a sheet of photo paper
will vary according to the paper orientation and size.
Note: In order for the Style Panel to stay in the
Style Slot securely be sure to use photo paper with
at least 0.25mm of thickness for printing.
3. Press
to set up your printer then press
to print the photos.
Note: Initial launch of MAX Console will bring you
to the Panel Templates folder. It will save your
location upon exit and go to the last opened folder
upon next launch.
1. Launch the
MAX Console
and select the im-
age you wish to transform into a Style Panel.
CREATING STYLE PANELS
10
1. Select Style Panels or photos that you wish
to print for your Style Slot and select
“Panel
Magic”
under the
“Sharing”
tab.


