EN - 3
EN - 4
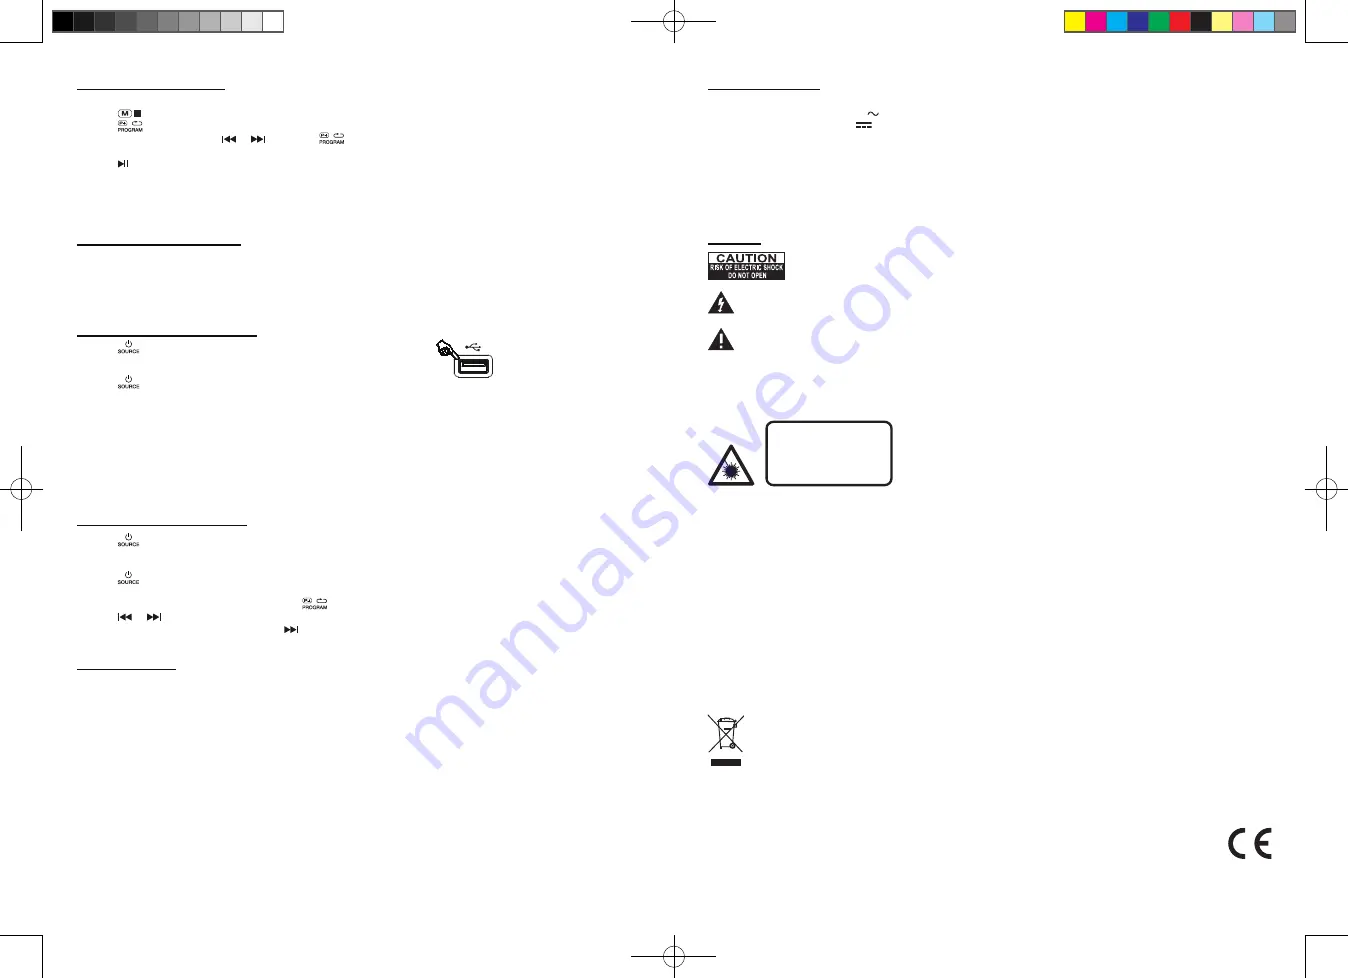
SPECIFICATIONS
POWER SUPPLY:
AC:
DC:
POWER CONSUMPTION:
OUTPUT POWER:
RADIO
FREQUENCY RANGE
FM:
AM (MW):
MICROPHONE:
230V 50Hz
9V
6 x 1,5V type UM-2/R14/ ‘C’
14W
2 x 1 Watt RMS
87.5 - 108 MHz
522 - 1620 kHz
Electret condenser Microphone with 3.5mm jack
SAFETY
CAUTION:
To reduce the risk of electric shock, do not disassemble this product. The unit contains no
user serviceable parts inside. Refer all servicing to a qualified technician.
The lightning flash with arrowhead within a triangle alerts the user to the presence of “dangerous voltage” inside
the product.
The exclamation point within a triangle to alert the user to the presence of important instructions in the literature
accompanying the appliance.
WARNING: TO PREVENT FIRE OR SHOCK HAZARD, DO NOT EXPOSE THIS PRODUCT TO RAIN OR MOISTURE.
ATTENTION: Invisible when safety devices are open or defective laser radiation. Avoid exposure to beam.
Device class 1 laser.
ATTENTION!
- Ensure proper ventilation of the unit and do not cover the ventilation openings with items such as newspapers, tablecloths,
curtains, etc..
- Do not put any heat sources , such as lighted candles, on or near the appliance .
- Use this unit in a temperate climate.
- Do not expose the unit to dripping or moisture.
- Ensure a minimum distance of 5 cm around the unit to allow adequate ventilation.
- Do not place objects filled with liquids, such as vases, on or near the appliance.
- The plate is located at the rear of this unit.
- The mains plug is used to disconnect the device and must be easily accessible. To completely remove power from the
unit, unplug the AC power plug from the outlet completely. The AC power plug can not be constrained and must be easily
accessible during use.
- As a result of electrostatic phenomena and / or electrical transients, the product may malfunction and reset may be
necessary .
- Do not expose the batteries to excessive heat such as direct sunlight, fire or other sources of heat.
- Please respect the environment when disposing of used batteries.
- To prevent splashing, place objects filled with liquids, such as vases, near the product.
If you want to dispose this product, remember to recycle in a landfill for household electric appliances. Learn
to know your recycling center nearest you. Check with local authorities or your dealer for details. (Directive on
Waste Electrical and Electronic Equipment )
CLASS 1 LASER PRODUCT
APPAREIL À LASER DE CLASSE 1
PRODUCTO LASER DE CLASE 1
PRODUTO LASER CLASSE 1
PROGRAM PLAYBACK
1. Insert the disc with the label facing up, into the compartment and close the CD door.
2. Press .
3. Press
.
4. Select the desired track with or then press
to save the program in memory.
5. Repeat step 4 until the end of your programming.
6. Press to start playback. This PROGRAM function is automatically canceled when opening the CD door or shutdown
of the unit.
Note:
CD
up to 20 programs,
MP3
up to 99 programs.
MAINTENANCE
CLEANING
CAUTION: Disconnect this device from any power source before cleaning.
- Use a soft, clean, dry cloth. Dust regularly ventilation holes on the back or sides of the apparatus.
- The use of solvents or abrasive products or with a basis of alcohol can damage the unit.
- If an object or liquid enters the unit, unplug it immediately and have it checked by an authorized engineer.
Notes on discs
* Do not use irregularly shaped discs (example: heart-shaped, octagonal ones). The unit may malfunction.
* Do not place more than one disc in the compartment.
* Do not attempt to open the disc tray during playback.
* Do not touch the lens. You could cause a malfunction.
* If the disc is scratched, dirty or smudged with fingerprints, the device may not work. Before playing, wipe the disc with a
cloth. Proceed from the center outwards. Do not store discs in places with high temperature or high humidity. They could
bend. After reading, replace the disc in its case.
IMPORTANT NOTE
Remove the disc from its compartment if the device is to be transported.
SING-A-LONG FUNCTION
Sing along with the music by plugging the provided microphone (stored in the unit’s battery compartment) into the
microphone jack on the unit.
WARNING: Tapping or dropping the microphone can permanently damage your microphone. Resist the urge to swing the
microphone around by the cord.
LISTENING TO DEVICE USB
1. Press
to turn the unit on.
2. Connect a USB device containing MP3 files or MP3 player to the USB port.
3. Press
to select the USB mode. USB appears on the display.
4. After a few seconds, the total number of folders and tracks are displayed, and playback starts automatically.
NOTE:
- The total number of MP3 files on the disc should not exceed 999.
- The disc may not contain more than 99 directories.
- The charging time takes about 20 seconds or more depending on the amount of MP3 files and folders on the disc or
USB device.
- The USB port is not designed for charging and files transfer with a computer.
- Manufacturer is not responsible for the playability of USB key or MP3 due to different recording condition, capacity and
interface compatibility, etc...
MP3 FOLDER OPERATION
1. Press
to turn the unit on.
2. Place the CD-MP3 disc with label side facing up inside the CD compartment and close the CD door, or, connect a USB
key with MP3 audio files into the USB port.
3. Press
to select CD or USB mode (CD or USB icon is displayed), After few seconds, the total number of folders and
tracks appears on the display. The unit will start to play automatically.
4. If there is more than one folder, press and hold
for 3 seconds, on the display “FXX” appears and “FOLDER” flashes.
5. Press
or
to select the desired folder and release the button to enter this folder. the first track in the folder starts
Playing automatically. Press successively to play a track of your choice.
NEW ONE S.A.S
10, Rue de la Mission, 25480 Ecole Valentin, France
RD-3353SA IB MUSE 002 REV0 (KDG-KDB).indd 5
2017/8/8 14:33:08


