


2 Installation
7
MultiModemZPX User Guide
Installing the Modem Driver in Windows NT 4.0
Before you begin a Windows NT installation, make sure Windows NT Service Pack 3 or newer is installed
on the computer. Also, to add and remove devices you must be logged on with Administrator privileges.
1. After installing the MultiModemZPX modem into your computer, turn the computer on and allow
Windows NT to start.
2. Insert the MultiModemZPX system CD into your computer’s CD-ROM drive.
3. When the
MT5634ZPX-PCI Autorun
menu appears, choose
Windows NT Setup
.
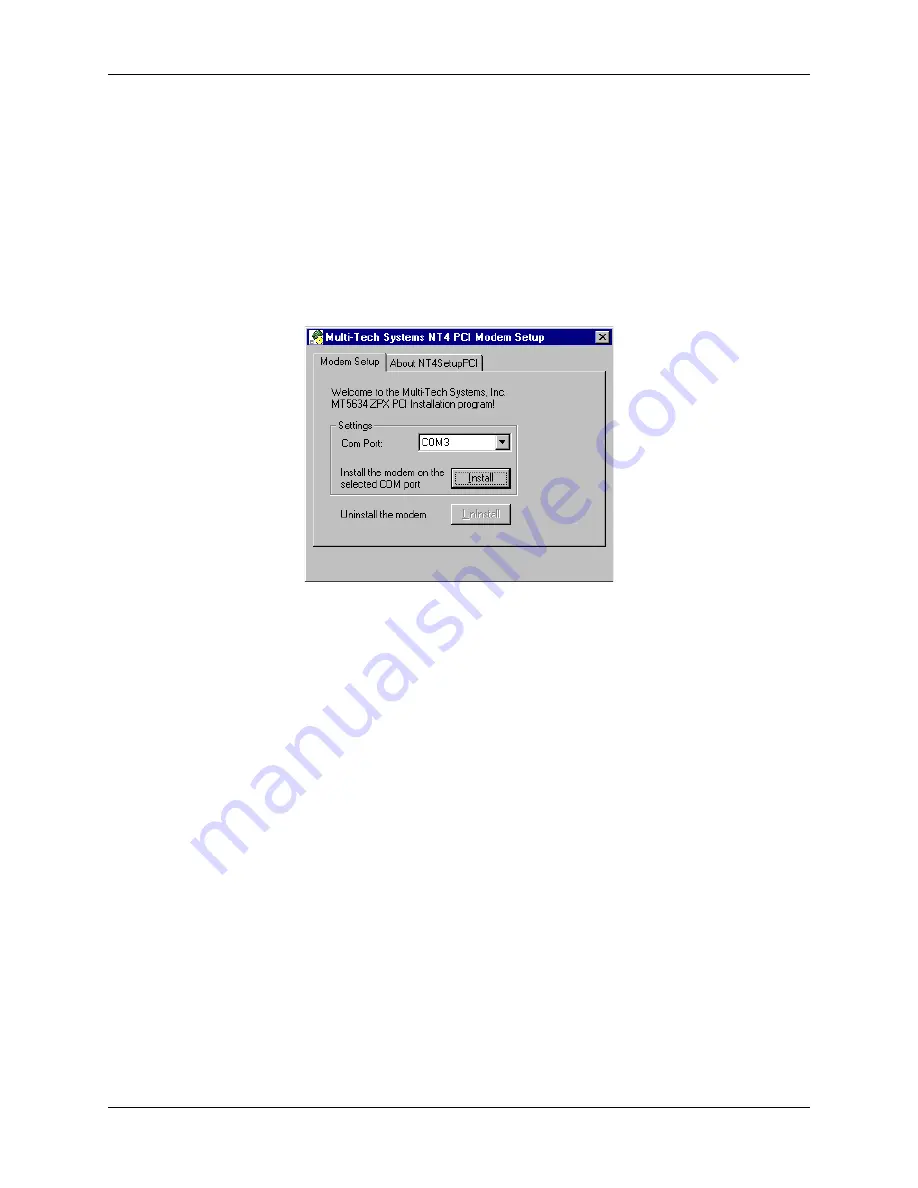
4. The
Multi-Tech Systems NT4 PCI Modem Setup
dialog box
5.
Now click
Install
. The MT5634ZPX-PCI-V92 driver is installed on the selected COM port.
6.
When a message asking you to restart the computer appears, remove the CD from the CD-ROM
drive, and then click
OK
to restart the computer.
Remote Access Setup
Before you can use your modem, Dial-Up Networking must be installed, and the new modem must be
selected as the Remote Access Service device.
Verifying the Windows NT Configuration
To verify your modem configuration in Windows NT:
1. Click
Start
|
Settings
|
Control Panel
. Double-click
Modems
.
2. The
Modem Properties
dialog box appears, showing the COM port associated with the modem.
3. Click
Properties
. View the
General
tab to display information about modem speed. Click the
Connection
tab to see information about connection and call preferences.
You can also view configuration information under NT’s Remote Access Services, by clicking
Start
|
Settings
|
Control Panel
. Double-click the
Network
tab. Click the
Services
tab, Highlight
Remote Access Services
and then click
Properties
. The list of modems and associated COM ports
appears.


