i
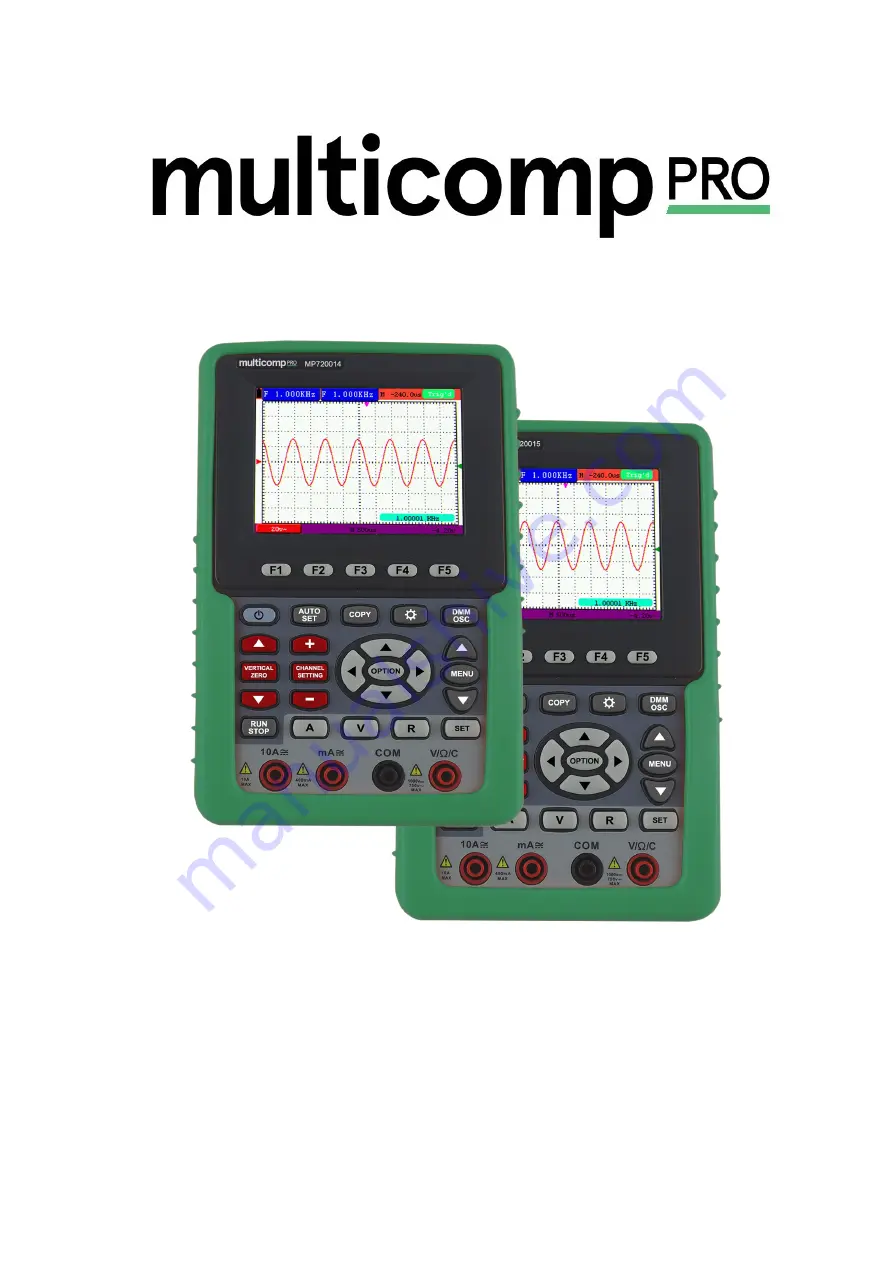
Handheld Storage Oscilloscope
Model MP720014 and MP720015
Страница 1: ...i Handheld Storage Oscilloscope Model MP720014 and MP720015...
Страница 2: ...he connection of 1 kHz 5 V Square wave test signal 12 5 2 Front Panel and Keys Overview 12 6 USING THE OSCILLOSCOPE 15 6 1 About this Chapter 15 6 2 Powering Up the Oscilloscope 15 6 3 Oscilloscope Op...
Страница 3: ...urrent 38 7 4 8 Measuring AC Current 39 7 5 Freezing the Readings 40 7 6 Taking a Relative Measurement 41 7 7 Selecting Automatic ManualRange Adjustment 42 8 ADVANCED FUNCTION OF OSCILLOSCOPE 43 8 1 A...
Страница 4: ...1 8 13 Using FFT 64 8 14 System State Menu 70 8 14 1 Real time clock 71 8 15 Setting of Time Base Mode 71 8 16 Data Transmission 73 9 TROUBLE SHOOTING 75 10 APPENDIX 76 10 1 Appendix A Specifications...
Страница 5: ...Battery 2 AC DC adapter 3 Oscilloscope Probe 1 grey 4 Multimeter test lead 2 black and red 5 USB Mass Storage connect cable 6 Extension module for capacitance measurement 7 Probe adjustment tools 8 US...
Страница 6: ...o indicate that when you read this mark personal injury may be caused to you immediately Warning The term Warning is used in this manual to indicate that when you read this mark personal injury may no...
Страница 7: ...ical Outlet Probe Oscilloscope AC Adapter The diagram of the ground wire connection when the battery powered oscilloscope is connected to the AC powered PC through the ports Ground Clip Signal Input O...
Страница 8: ...hnical personnel are permitted to perform maintenance Pay attention to the nominal values of all terminals To avoid fire or electric shock please keep a watchful eye on all nominal values and marks sp...
Страница 9: ...and high contrast with adjustable back light Storage and call out of waveforms Automatic setting function provided capable of fast setting FFT function Implementation of detecting the average and pea...
Страница 10: ...Due to Transportation If the packing boxes or foam cushions are found to have serious damage keep them in a safe place until the complete instrument and accessories have passed the electrical and mec...
Страница 11: ...supply and battery recharging 2 Multimeter test lead 3 Multimeter input jacks including four circular banana jacks The first jack measuring the current 2A 10A the second jack on the current Measureme...
Страница 12: ...ave test signal At the left side of the oscilloscope it is a port for testing 1 kHz 5 V square wave signal which is used to adjust the probe shown as Fig 3 Fig 3 The connection of Square wave test sig...
Страница 13: ...5 Input Connections 13 Figure 4 Front Panel Description 1 AC adapter Port 2 RS 232C Port 3 USB Port 4 USB Mass Storage Port 5 Power switch 6 F1 F5 Switch or Adjust options for each menu...
Страница 14: ...n the menu list 19 MENU Show Hide the menu 20 MENU Choose the lower item on the menu list 21 OPTION the key for DSO setting and combines with four arrow keys Then to set main time base trigger horizon...
Страница 15: ...adapter as shown in Figure 1 The oscilloscope may still work with built in Li ion battery even without AC power supply Turn the oscilloscope on by pressing down the power on off key The instrument the...
Страница 16: ...isplaying the waveform under the non trigger state Trig d The oscilloscope has detected a trigger and collecting the information generated after the trigger Ready All pre triggered data have been capt...
Страница 17: ...y to select different function menus 3 Choose one key from F1 to F5 and press it to change function setting See the following figure 6 Figure 6 the Tool s Menus 6 5 Manually Setting the Vertical Syste...
Страница 18: ...tting The following guidance is for the operation on the mode of edge triggering and video triggering 1 Press once the OPTION key the following is displayed at the bottom left side of the screen as sh...
Страница 19: ...point through the adjustment of which you can regulate the display position of the waveform on the screen Main time base It means the time values represented by a division in the horizontal direction...
Страница 20: ...fety BNC jack inputs CH for scope measurements four safety 4 mm banana jack inputs for Multimeter R V and A measurements Isolated input allows independent floating measurements between Multimeters and...
Страница 21: ...surement 1 and measurement 2 These readings are selectable independently and the measurements can be done on the input waveform To choose a frequency measurement do the following 1 Press MENU key and...
Страница 22: ...creen 2 Press the RUN STOP key once more to resume your measurement See the following figure 11 Figure 11 Freezing the Screen 6 12 Using Average for Smoothing Waveforms Using the Average acquisition m...
Страница 23: ...averaging result on the screen shown as the following figures See the following figure 12 Figure 12 Average Factor Sampling Mode 6 13 Using Persistence to Display Waveforms You can use Persistence to...
Страница 24: ...eforms of 50 ns or wider 1 Press MENU key and the function menu appear at the right side of the screen 2 Press MENU or MENU key to select the ACQU MODE Four items selectable are displayed at the botto...
Страница 25: ...in this mode by which the random noise can be reduced Duration time When a new waveform is displayed the previous waveform shown on the screen does not disappear immediately only to be displayed for a...
Страница 26: ...ress the MENU or MENU key to select CH SETUP Four items selectable are displayed at the bottom of the screen 3 Press F4 key to jump to Inverted set it as ON The inverted waveform is displayed on the s...
Страница 27: ...rements The supported format of the USB disk FAT32 file system the allocation unit size cannot exceed 4K mass storage USB disk is also supported If the USB disk doesn t work properly format it into th...
Страница 28: ...tem will pop up a warning message click Yes Format the USB disk warning 5 Set File System as FAT32 Allocation unit size 4096 Check Perform a quick format to execute a quick format Click OK and then cl...
Страница 29: ...izard com free partition manager html Tip There are many tools for the USB disk formatting on the market just take Minitool Partition Wizard for example here 1 Connect the USB disk to the computer 2 O...
Страница 30: ...Disk 4 Right click 1 or 2 red mark area choose Format Choose format 5 Set File System FAT32 Cluster size 4096 Click OK Format setting 6 Click Apply at the top left of the menu Then click Yes on the p...
Страница 31: ...6 Using the Oscilloscope 31 Apply setting 7 Formatting process Format process 8 Format the USB disk successfully Format successfully...
Страница 32: ...basic operations 7 2 Making Meter Connections Use the four 4 mm safety banana jack inputs for the Meter functions 10A mA COM V C See figure 2 on P11 for the connections 7 3 Multimeter Operation Window...
Страница 33: ...reading of dial pointer by multiplying power will get the measurement result 8 The main reading of measurement 9 Automatic control measuring range 10 Absolute relative magnitude measuring control The...
Страница 34: ...igure 18 Resistance Measurement 7 4 2 Measuring Diode To make a measurement on the diode do the following 1 Press the R key and R appears at the top of the screen 2 Press SET key until the following i...
Страница 35: ...he screen 3 Insert the black lead into the COM banana jack input and the red lead into the V C banana jack input 4 Connect the red and black leads to the test point If the resistance value of the test...
Страница 36: ...improve measuring precision It will take about 30seconds if capacitance measurement is larger than 40uF Now you can see a screen that looks like the following figure 21 Figure 21 Capacitance Measureme...
Страница 37: ...SET key and ACV appears at the top of the screen 3 Insert the black lead into the COM banana jack input and the red lead into the V C banana jack input 4 Connect the red and black leads to the measure...
Страница 38: ...will be displayed on the screen Look at the display you can see a screen that looks like the following figure 24 Figure 24 DC Current Measurement for 400 mA To measure a DC current which is larger tha...
Страница 39: ...press F4 and F5 to switch the measurement between mA and 10A 400mA is acquiescently 2 Press the SET key once and ACA is visible at the top of the screen 3 Insert the black lead into the COM banana ja...
Страница 40: ...ad into the COM banana jack input and the red lead into the 10A banana jack input 5 Connect the red and black leads to the measured point and the AC current value of the measured point will be display...
Страница 41: ...ce value 1 Press R key and R is displayed on the top side of the screen 2 Press the SET key until C appears at the top of the screen 3 Plug capacitance extended module in capacitance measure jack 4 Wh...
Страница 42: ...increased by a stage when pressing F1 key each time and when reaching the highest stage it jumps to the lowest stage by pressing F1 key once again To multiply the reading of dial pointer by multiplyin...
Страница 43: ...and each item can be set respectively based on the specific channel To make vertical Channel settings do the following 1 Press the MENU key and the function menu appears at the right of the screen 2 P...
Страница 44: ...ure a correct vertical scale reading Inverted OFF ON Waveform is displayed normally Open the Invert function of the waveform setting 8 2 1 Setting the Channel Coupling Press F1 key set Coupling as AC...
Страница 45: ...rst and then ON to make an Open setting on channle 8 2 3 Setting the probe attenuation To prevent excessive input voltage we recommend you to set the probe attenuation level to the 10X position to pre...
Страница 46: ...gathering data continuously After a trigger is detected the oscilloscope gathers enough data continuously to draw the waveform at the right side of the triggering point To make a trigger mode setting...
Страница 47: ...e Rising Falling Triggering on the rise edge of the signal Triggering on the fall edge of the signal Trig mode Auto Normal Single Acquisition of waveforms is possible even if there is no triggering co...
Страница 48: ...gs Description Sync Line Field Odd Field Even Field Line NUM Make a video line trigger synchronization setting Make a video field trigger synchronization setting Make a video odd field trigger synchro...
Страница 49: ...ecrease Reset Off Time Reset Holdoff time to100ns Back Back to previous menu Note Trigger Holdoff can stabilize complex waveform such as the pulse range Holdoff time is the oscilloscope s waiting peri...
Страница 50: ...udden peaks Peak Detect The maximum and minimum data in the sampling interval are picked up The peak detect mode captures rapid changes and sudden peaks but the waveform becomes noisy Average Multiple...
Страница 51: ...With Persist function selected the displayed saved original data gradually decay in colour and the new data are bright in colour with infinite persistence mode selected the oscilloscope keeps all past...
Страница 52: ...waveform The recalled waveform saved in the memory cannot be adjusted 8 7 1 Waveform Saving Setups in normal mode The WAVE SAVE menu is described in the following list Function menu Setups Description...
Страница 53: ...ng 8 7 2 Waveform Saving Setups in FFT mode FFT being on the WAVE SAVE is described in the following list Function menu Setups Description WAVE A B C and D Select the address for saving or recalling a...
Страница 54: ...ription Recall Factory Resume the instrument to its factory settings Auto calibration Perform the Auto calibration procedure Language Chinese English Other Select the display language Auto calibration...
Страница 55: ...m Cyc RMS Measure Root Mean Square RMS value of waveform Vmax Measure the Vmax of waveform Vmin Measure the Vmin of waveform Vtop Measure the Vtop of waveform Vbase Measure the Vbase of waveform Vamp...
Страница 56: ...surement menus are listed and described in the following table Function menus Settings Description Type OFF Voltage Time Close the cursor measurement Display the voltage measurement cursor and menu Di...
Страница 57: ...ting voltage value to the zero position of Channel 1 will show at the bottom of the screen Setting OPTION or OPTION V1 will move up and down and the relating voltage value to the zero position of Chan...
Страница 58: ...es T1 and T2 appear on the screen 4 Press OPTION and display as Cursor 1 Cursor 2 Press OPTION or OPTION and see T1 move left and right and LCD display the time value match T1 to point position in pan...
Страница 59: ...ue of Cursor 2 To make a range measurement doing the following 1 Press the MENU key and the function menus are displayed at the right of the screen 2 Press the MENU or MENU key to select CURS MEAS Fiv...
Страница 60: ...ion Autoscale OFF ON Turn off Autoscale Turn on Autoscale Mode Horizontal Vertical HORI VERT Only adjust vertical scale according to input signal Only adjust horizontal scale according to input signal...
Страница 61: ...s 3 Oscilloscope is set as DC coupling with AUTO Triggering A warning message is displayed when trying to change these settings 4 The oscilloscope will turn off Autoscale if user is trying to adjust v...
Страница 62: ...ecord frames 1 2 To next menu Refreshed ON OFF The waveforms are in the state of refreshing when recording The waveforms stop refreshing when recording Direction Increase Decrease The value increases...
Страница 63: ...first frame to be saved End frame 1 1000 Set last frame to be saved Direction Increase Decrease The value increases from the set start frame to the end frame The value decreases from the set start fr...
Страница 64: ...econd page of the record 8 13 Using FFT An FFT breaks down signals into component frequencies which the oscilloscope uses to display a graph of the frequency domain of a signal as opposed to the oscil...
Страница 65: ...T operation for example the operation steps are as follows 1 Press MENU key and the function menu appear on the right side of the screen 2 Press MENU or MENU key to select FFT MODE Five items selectab...
Страница 66: ...l position such as FFT 1 20 divs 8 Press OPTION the following prompts shows on the left bottom on the screen Time Base Trig Or Time Trig When Time is displayed press OPTION and OPTION menu button to a...
Страница 67: ...ring the frequency spectrum of nonrepetitive signals and measuring frequency components near DC Use rectangle for measuring transients or bursts where the signal level before and after the event are n...
Страница 68: ...nts or bursts where the signal levels before and after the event are significantly different Blackman This is the best window for measuring the amplitude of frequencies but worst at resolving frequenc...
Страница 69: ...le to see an overall view of how all frequencies compare to each other Signals that have a DC component or offset can cause incorrect FFT waveform component magnitude values To minimize the DC compone...
Страница 70: ...control SET 50 3 Auto scale function 4 Wave record 5 Measure 1 and Measure 2 8 14 System State Menu The system state menu is used to display information about the present horizontal system vertical sy...
Страница 71: ...value can be adjusted 5 Press OPTION or OPTION to change the corresponding value of the year month date hour minute and second effectively 6 Press OPTION or OPTION to switch to the year month date hou...
Страница 72: ...key to adjust the time base window area defined by two cursors the window size will vary 5 Press OPTION key and call TIME at this time press OPTION and OPTION to adjust the window position defined by...
Страница 73: ...t automatically installed by the Windows system the USB driver may need to be manually installed The following steps can be used to install the driver Following this the PC software programs will reco...
Страница 74: ...Advanced Function of Oscilloscope 74 On running the PC oscilloscope software a valid connection between the oscilloscope and the PC is indicated in green on the bottom right hand corner of the screen...
Страница 75: ...channel attenuation level matches the actual probe attenuation ratio 5 The waveform is displayed on the screen but is not stable under the oscilloscope mode Check whether the signal item in the trigge...
Страница 76: ...nction menu must be opened to make the system perform a Auto calibration procedure see calibration on P54 Except those specifications marked with the word Typical all specifications can be up to Sampl...
Страница 77: ...y response AC coupling 3dB 10 Hz at the BNC Rise time typical one at the BNC MP720014 17 5 ns MP720015 5 8 ns DC gain accuracy 3 DC measurement accuracy average value sampling mode The voltage differe...
Страница 78: ...me difference T between cursors Auto measurement Peak to peak value average value root mean square value frequency period Vmax Vmin Vtop Vbase Vamp Overshoot Preshoot Rise Time Fall Time Width Width D...
Страница 79: ...400 0 mA 1 5 1 digit 100 uA 10 A 3 3 digits 10 mA Alternating Current AC Range Accuracy Resolution 40 00 mA 1 5 3 digits 10 uA 400 0 mA 2 3 digits 100 uA 10 A 5 3digits 10 mA Resistance Range Accuracy...
Страница 80: ...urs Power Adapter Power supply 100 240 V AC 50 60Hz Voltage output 8 5 VDC Current output 1500 mA Battery type 7 4V built in Li ion battery Working environment Temperature Operation Used battery 0 to...
Страница 81: ...ut so as to avoid electrical short circuit and personal injury caused by moisture 10 2 2 Storage of Oscilloscope If the test tool is to be stored for a long time it is required to charge the lithium b...
Страница 82: ...ery INFORMATION ON WASTE DISPOSAL FOR CONSUMERS OF ELECTRICAL ELECTRONIC EQUIPMENT When this product has reached the end of its life it must be treated as Waste Electrical Electronics Equipment WEEE A...