


802.11a Bridge BR5811
MTI Proprietary
Page 24
Note that the radio channel is specified using the IEEE 802.11a standard.
Click Update to commit the changes.
Change other settings at this time. After all configuration changes are complete; reboot the
Bridge to enable them. To reboot the Bridge, click on the REBOOT Bridge button that
appears.
Reminder: Click the
buttons for changes to take effect.
3-5 Bridge Web Server
Configure the Bridge either through a web browser interface to the Bridge web server. The
web server resides in the Bridge and is accessible from any station (STA) that is connected to
the Bridge Infrastructure network.
Accessing the Bridge Web Server
Follow these steps to access the Bridge Web Server:
Launch a web browser (Netscape Navigator or Internet Explorer are examples of
commonly used web browsers).
From the HPC, enter the IP address that is assigned to the Bridge as the URL address.
For example, enter
http://192.168.1.1
.
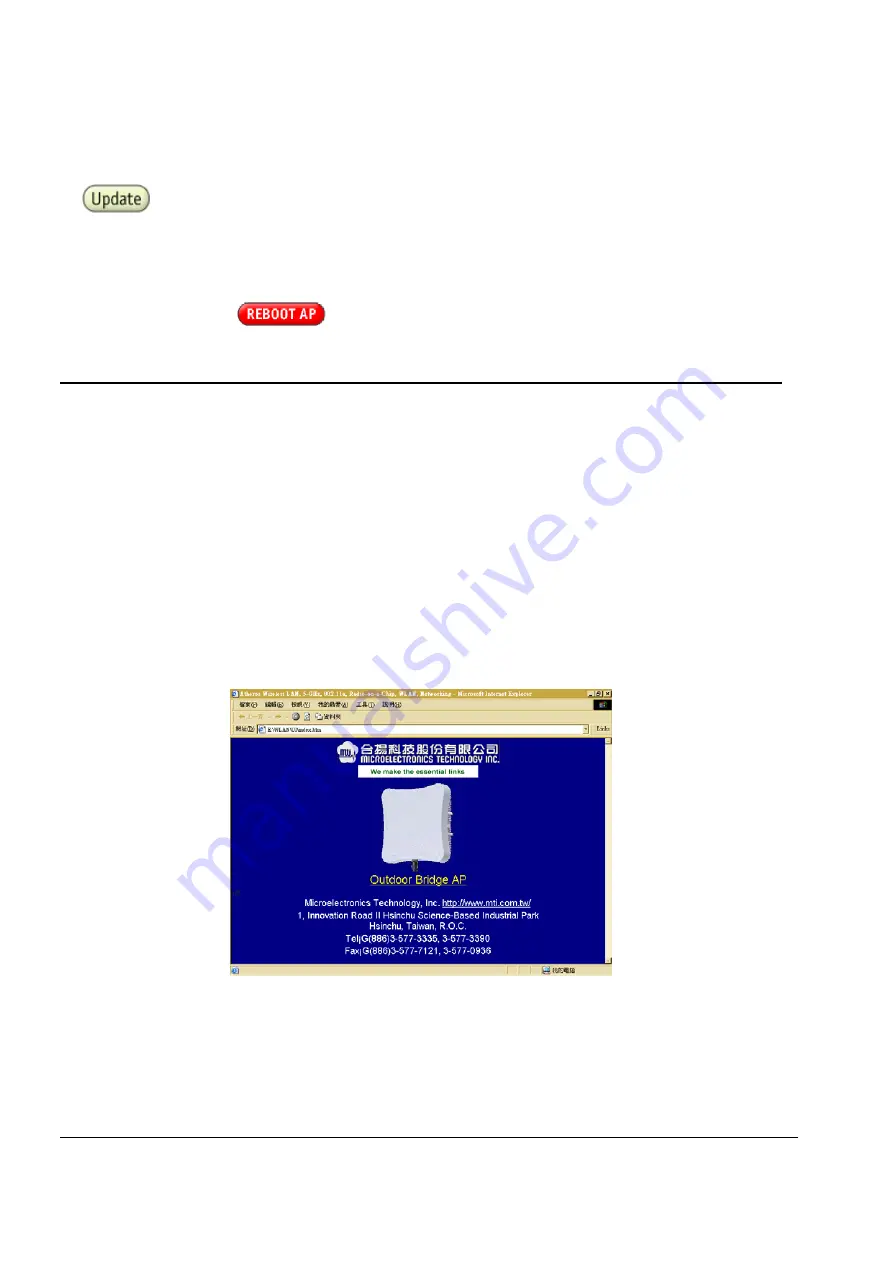
The Bridge Web Server homepage appears (see Figure).
Bridge Web Server Homepage
Customize the appearance of the Bridge Web Server homepage by replacing any of the
three .GIF files used on the page. Use FTP to store the replacement .GIF files to the Bridge.
Table summarizes the three .GIF files to replace to customize the homepage.


