


MTG
- 38 -
MPC Keypad v4.00
MIDI
There are several ways to manage and send the data to the keypad. These
methods differ more in the way the file is managed rather than how the cabling is
hooked up.
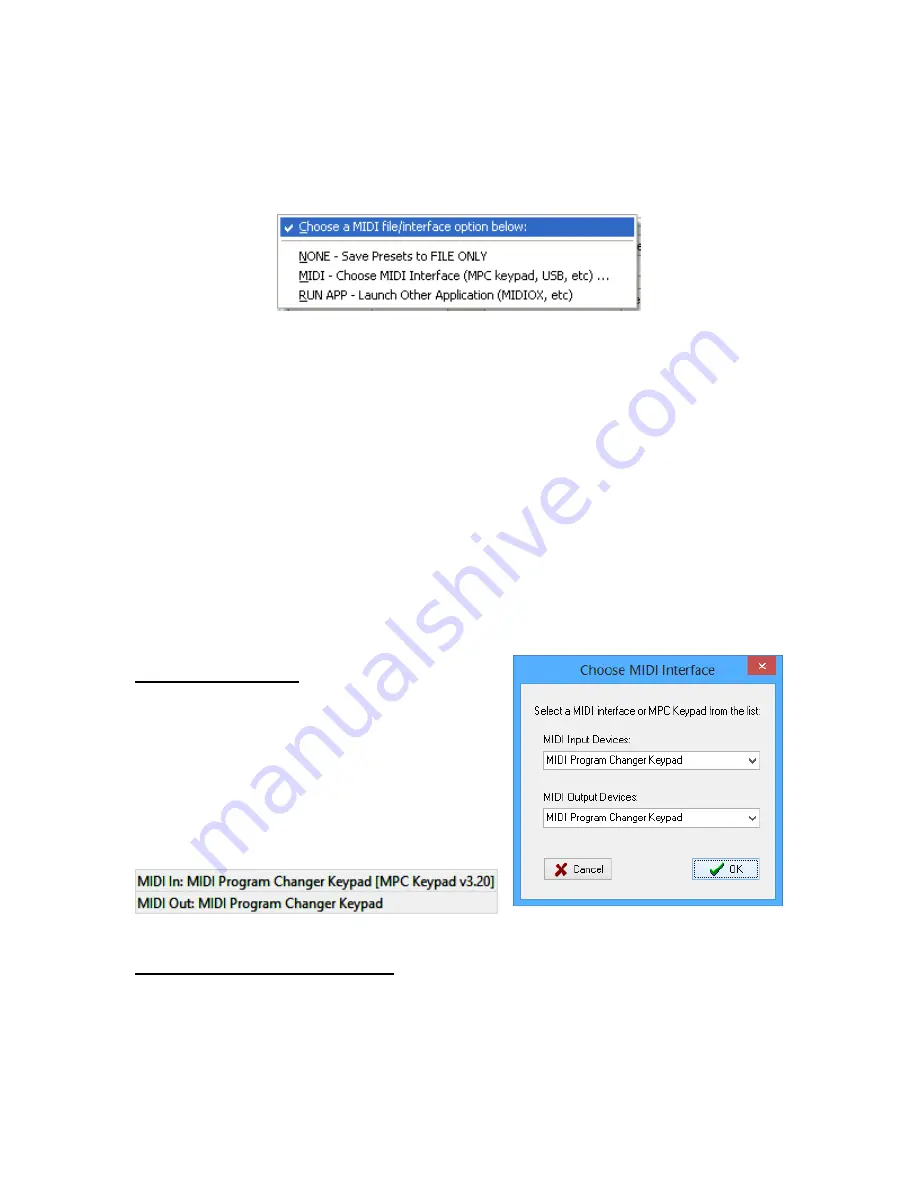
1.
File Only.
In this case you don’t update the keypad. You only work with
files. Later on you can download your files to the keypad. This choice will
also close the MIDI ports if they were opened using MIDI Interface, below.
2.
MIDI Interface.
Send data directly from within this editor/librarian to the
keypad. In this case the keypad is either connected using its USB cable or
it is connected through your existing MIDI interface (5 pin DIN MIDI).
This
is the most common setting
. You will need to choose your USB
connection from the list of available interfaces.
3.
External Application
. In this case files created by the editor/librarian are
passed to an intermediate 3
rd
party application (such as SendSX or
MIDIOX) for transport. You would choose this method if you prefer to work
at a low level with your MIDI data.
MIDI Port Selection
Hook-up your keypad. Click on “Send to MIDI
Interface…” and choose the MIDI interface
you want to work with.
If the keypad is connected you will see its
version information displayed on the status
bar at the bottom of the program.
External Application Selection
If you prefer that your MIDI files be transported to the keypad using a 3
rd
party
application, choose “External File Application”. The editor/librarian will then open
the default application the OS has configured for the .SYX file type. Your 3
rd
party application will then need to choose which MIDI interface to use.


