


USER MANUAL V2.2 |
October 10, 2019
24
Text
: Select
Enable
to display barcode value, otherwise select
Disable
.
Value
: Input value for your barcode.
Use
or
arrow keys to move to the cursor to your desired object and change the
value. Press Enter after each value change to save and apply settings.
Sample prints
:
First print
Second print
Third print
N-print, …
NOTES:
If you would like to print
a
static 2D barcode
, p
lease use update logo
feature
. Create 2D
barcode as image, use smartphone or application on PC to load it
on
to
the
machine.
Use PC: see
Use Convert Logo (Coming soon)
.
Dynamic barcode
Insert dynamic barcode into your messages.
Type
: select your desired barcode (
Code 39
,
Code 2/5
,
Code 128
,
Code 93
,
UPC-A
,
EAN13
,
Codabar and
Code 11
).
Width
: Input width for Barcode (value varies from 1 to 4).
Height
: Input height for Barcode (value varies from 1 to 3).
Text
: Select
Enable
to display barcode value, otherwise select
Disable
.
Prefix
: Input repeat value before barcode.
Counter
: setup values for your counter or dynamic data (like the
Single
counter).
Suffix
: Input repeat data after barcode.
Use
or
arrow keys to move to the cursor to your desired object and change the value.
Press Enter after each value change to save and apply settings.
NOTES:
Counter can be placed at the following positions of the barcode
At the beginning : Prefix = 0 (not enter
ed
here).
In the middle
: Input both Prefix and Suffix.
At the end
: Suffix = 0 (not enter
ed
here).
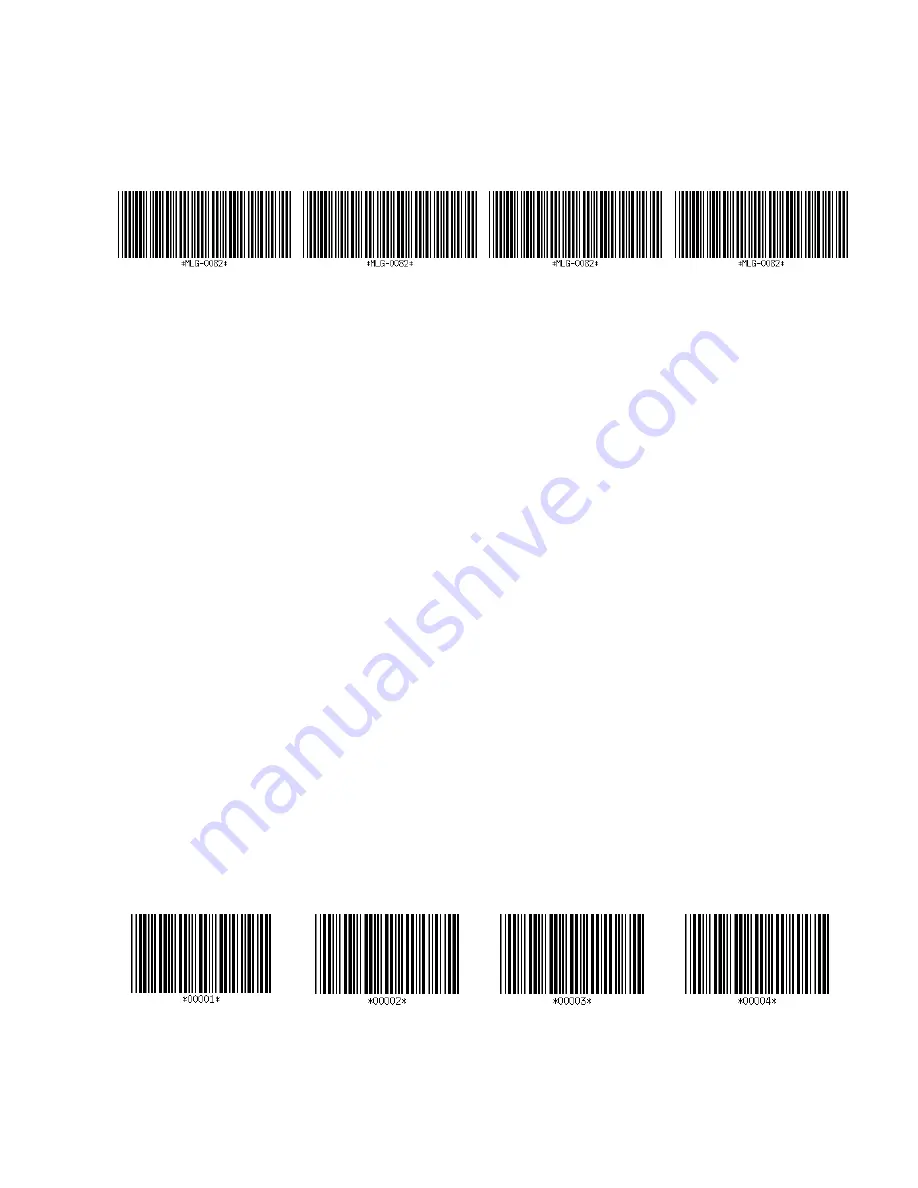
Sample prints
:
First print
Second print
Third print
Four print


