background image

Preface

vii

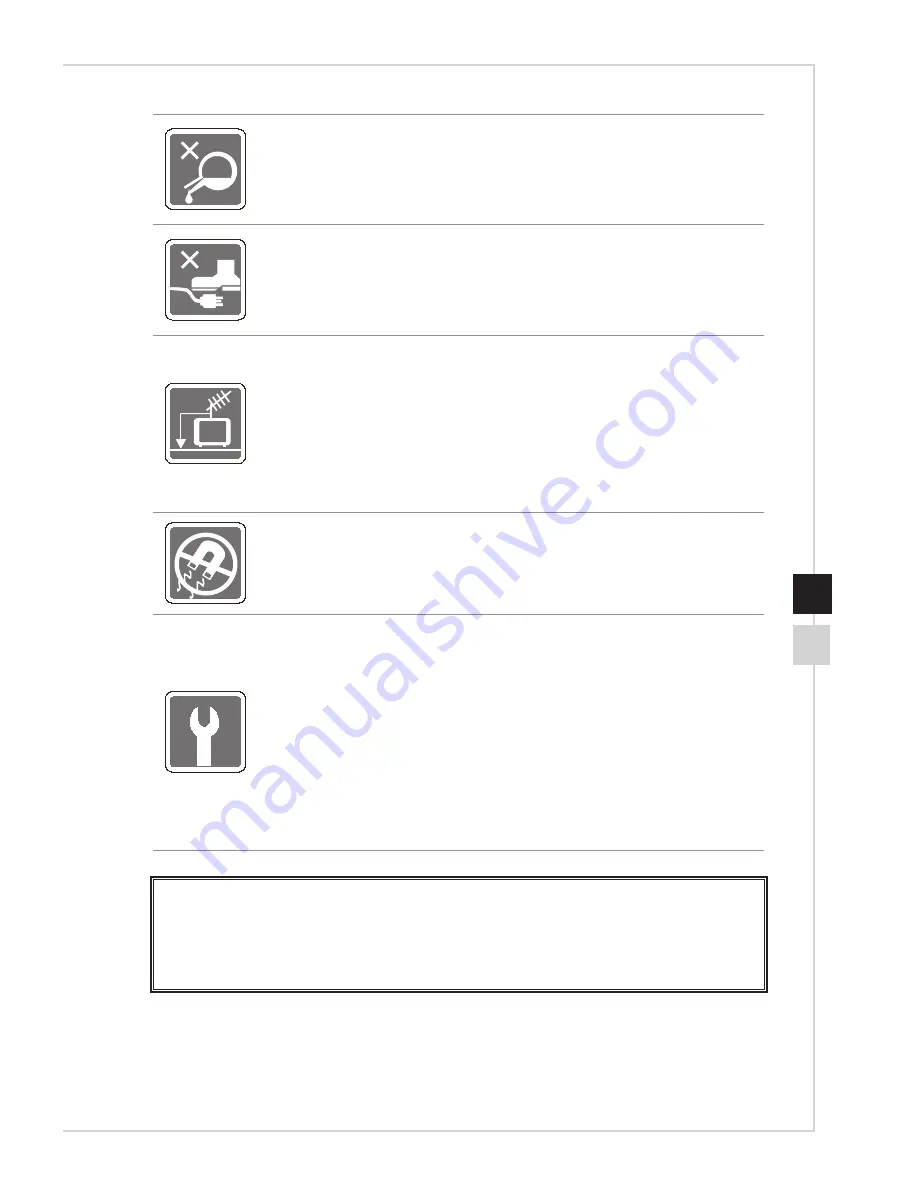
Never pour any liquid into the opening that could damage or cause 

electrical shock�

Place the power cord in a way that people are unlikely to step on it� Do 

not place anything on the power cord�


When installing the coaxial cable to the TV Tuner, it is necessary 

to ensure that the metal shield is reliably connected to protective 

earthing system of the building�


Cable distribution system should be grounded (earthed) in 

accordance with ANSI/NFPA 70, the National Electrical Code 

(NEC), in particular Section 820�93, Grounding of Outer 

Conductive Shield of a Coaxial Cable�

Always keep the strong magnetic or electrical objects away from the 

equipment�

If any of the following situations arises, get the equipment checked by 

service personnel:


The power cord or plug is damaged�


Liquid has penetrated into the equipment�


The equipment has been exposed to moisture�


The equipment does not work well or you can not get it work 

according to user’s manual�


The equipment has dropped and damaged�


The equipment has obvious sign of breakage�

1� 

The  optical  storage  devices  are  classified  as  CLASS  1  LASER  PRODUCT. 

Use of controls or adjustments or performance of procedures other than those 

specified is prohibited.

2� Do not touch the lens inside the drive�

Содержание Nightblade MI MS-B089

Страница 1: ...G52 B0891X1 Nightblade MISeries Desktop PC MS B089 B090 System...

Страница 2: ...ty Instructions vi CE Conformity viii FCC B Radio Frequency Interference Statement viii WEEE Statement viii RoHS Statement ix Overview 1 1 Packing Contents 1 2 System Overview 1 3 Component Replacemen...

Страница 3: ...e every care in the preparation of this document but no guarantee is given as to the correctness of its contents Our products are under continual improvement and we reserve the right to make changes w...

Страница 4: ...ears at most since the product has been discontinued depending on the official regulations declared at the time Please contact the manufacturer via http www msi com support for the detailed informatio...

Страница 5: ...ment and the Council MSI provides the information of chemical substances in products at http www msi com html popup csr evmtprtt_pcm html Battery Information European Union Batteries battery packs and...

Страница 6: ...e protective earth pin from the plug The equipment must be connected to an earthed mains socket outlet Always unplug the AC power cord before installing any add on card or module to the equipment Alwa...

Страница 7: ...ounding of Outer Conductive Shield of a Coaxial Cable Always keep the strong magnetic or electrical objects away from the equipment If any of the following situations arises get the equipment checked...

Страница 8: ...elocate the receiving antenna Increase the separation between the equipment and receiver Connect the equipment into an outlet on a circuit different from that to which the receiver is connected Consul...

Страница 9: ...diphenyl ethers in concentrations exceeding 0 1 weight and 0 01 weight for cadmium except for the exemptions set in Schedule 2 of the Rule Turkey EEE regulation Conforms to the EEE Regulations of the...

Страница 10: ......

Страница 11: ...rfect ammunition for PC gamers that do not want to compromise on gaming performance Housing a highly appraised MSI GAMING motherboard and equipped with unrelenting tools of efficiency power cooling an...

Страница 12: ...de Keyboard Optional Mouse Optional M3 Screws Optional 6 32 Screws Optional VGA Sponge Optional Please contact us immediately if any of the items is damaged or missing The illustrations are for refere...

Страница 13: ...Button Press the eject button to open the optical disk drive 3 Eject Hole Insert a thin straight object such as a paper clip into the eject hole to open the optical disk drive manually if the eject b...

Страница 14: ...the system configuration press the button to clear the data 4 GO2BIOS Button If you enable the MSI Fast Boot feature in BIOS the keyboard will be unavaiable and entering BIOS Setup by pressing DEL wi...

Страница 15: ...It supports up to 5Gbit s SuperSpeed data transfer rate 9 Line In Blue is used for external CD player tapeplayer or other audio devices Line Out Green is used for speakers or headphones Mic Pink is us...

Страница 16: ...harge USB devices even when the system is turned off Users will no longer need to power on the system just to charge USB devices 4 USB 3 0 Port Optional 5 Line Out Jack This connector is provided for...

Страница 17: ...users purchased For any further information on the product users purchased please contact the local dealer Do not attempt to upgrade or replace any component of the product if you are not an authorize...

Страница 18: ......

Страница 19: ...tarted This chapter provides you with the information on hardware setup procedures While connecting peripheral devices be careful in holding the devices and use a grounded wrist strap to avoid static...

Страница 20: ...itting on the chair sit straight and keep a good posture Adjust the chair s back if available to support your back comfortably 4 Place you feet flat and naturally on the floor so that your knees and e...

Страница 21: ...ations are for reference only Your system may vary in appearance Please make sure the system has been grounded to earth through the AC power cord and the electrical outlet before powering on the syste...

Страница 22: ...2 4 2 Connect the power cord to the system and electrical outlet 2 1 3 Press the power button to power on the system...

Страница 23: ...3 System Operations This chapter provides you with essential information on system operations Important All information is subject to change without prior notice...

Страница 24: ...l System and Security Then click on the Power Options link Select a power plan that suits your personal needs You may also fine tune the settings by clicking Change plan settings The Shut Down Compute...

Страница 25: ...behave in the following ways when the system is operating on AC power Turn off the display after 15 minutes Initiate Sleep after 30 minutes h h Waking the System Up The computer shall be able to wake...

Страница 26: ...nel 2 Select Connect to the Internet under Network and Internet 3 Select Broadband PPPoE to connect using DSL or cable that requires a user name and password 4 Type the information from your Internet...

Страница 27: ...onnect to the Internet under Network and Internet 3 Select Wireless to connect using a wireless router or a wireless network 4 A list of available WLAN connections pops up Choose a connection from the...

Страница 28: ...Center 6 Followingly choose Manually connect to a wireless network and click Next to continue 7 Enter information for the wireless network you intend to add and click Next to proceed 8 A new WLAN conn...

Страница 29: ...ction Windows 8 x h h Wired LAN 1 Go to Start Control Panel 2 Select View network status and tasks under Network and Internet 3 To establish a new connection select Network and Sharing Center 4 Select...

Страница 30: ...o the Internet 6 Select Broadband PPPoE to connect using DSL or cable that requires a user name and password 7 Type the information from your Internet Service Provider ISP and click Connect to establi...

Страница 31: ...on select Network and Sharing Center under Network and Internet in Control Panel 4 Select Set up a new connection or network 5 Followingly choose Manually connect to a wireless network and click Next...

Страница 32: ...OS with other built in languages Before using the Recovery Tool please back up the important data saved on your system drive to other storage devices If the following solution fails to recover your sy...

Страница 33: ...d Recover to factory default h h System Backup It is highly recommended that users back up the system as the solution in the event of a catastrophic disk failure or other accidents Follow the instruct...

Страница 34: ...UP to start the system backup immediately The Initial Backup The initial backup may take a while Please let it complete without interruption Subsequent Backups Subsequent backups will replace the prev...

Страница 35: ...ase note that it may take a while Do not switch off the power or it may cause unknown damage to the system 4 Alternatively select CANCEL to stop the system backup immediately Please do not switch off...

Страница 36: ...he system to a previous state with the backup files that users created and saved in the hard disk drive beforehand If no backup files are available the system will be restored to the default setup Fol...

Страница 37: ...e system can recover to the previous backup or default setup Alternatively select CANCEL to stop the system restore immediately With backup files restoring the system to the previous backup Without ba...

Страница 38: ...he power or it may cause unknown damage to the system 4 The following message indicates a successful system restore Press OK to finish Restart the system and access the Windows operating system as usu...

Страница 39: ...s will be restored to factory default Follow the instructions below to continue 1 Select Recover to factory default to enter Alternatively select X or press Esc on the keyboard to exit 2 The system wi...

Страница 40: ...ase select OK so that the system can recover its default setup 4 The system recovery is in progress Please note that it may take a while Do not switch off the power or it may cause unknown damage to t...

Страница 41: ...wing message indicates a successful system recovery Press OK to finish Restart the system and access the Windows operating system as usual If the recovery process fails or is interrupted please start...

Страница 42: ...efault settings When some errors have occurred to the operating system in use When the operating system is affected by virus and is not able to work normally When you want to install the OS with other...

Страница 43: ...on finding issues with Windows files it will attempt to repair your PC If your PC isn t running well you can refresh it without losing your personal files 1 Click Settings on desktop then select Chang...

Страница 44: ...tes that your PC is ready to be refreshed click Refresh to start This might take a while 5 After the refresh process ends you will be back to Windows Start Screen where you can find all default Window...

Страница 45: ...back to original factory settings 1 Click Settings on desktop then select Change PC settings Update and recovery 2 Click Recovery Remove everything and reinstall Windows and select Get started 3 It wi...

Страница 46: ...you want to clean for a hard disk with multiple partitions 5 Now select either to remove files or to fully clean drives according to your needs 6 It is now ready to reset your PC click Reset and foll...

Отзывы: