31
Quick Start
5
This chapter will guide you through running the SECTOR Imager demonstration plate and verifying that the instrument acquires data
and functions properly. Running the SECTOR Imager demonstration plate at the start of each day may be part of standard operation.
The SECTOR Imager has a cooled CCD camera that needs to be brought to operating temperature before plates are read. To initiate the
cooling process, the SECTOR Imager must be turned on, the MSD DISCOVERY WORKBENCH software must be started, and the
SECTOR Imager Tools must be running (see steps 1–4 below). Simply turning on the instrument will
not
initiate CCD camera cooling.
If the instrument has been off, allow at least 45 to 60 minutes for the CCD camera to cool when restarting. Operating temperature,
either -25 ±1
°
C or -35 ±1
°
C for the SECTOR Imager 2400/2400A and SECTOR Imager 6000, respectively, must be reached before the
DISCOVERY WORKBENCH software will allow the processing of any plates.
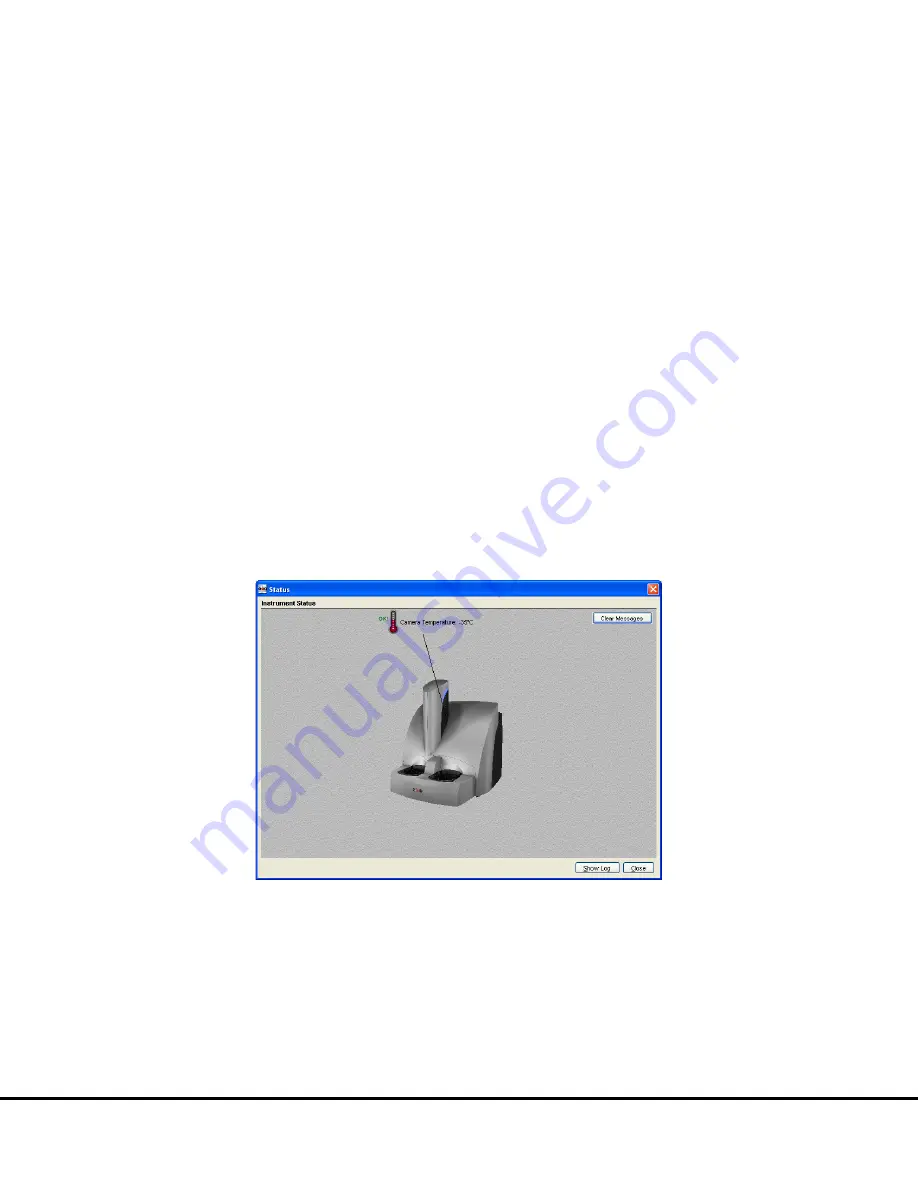
The Status window displays the temperature of the CCD camera while it is cooling (
). Once the CCD camera has reached its
operating temperature, the temperature indicator will disappear, indicating that the instrument is ready for use. (The status window is
accessible by selecting Tools from the menu bar in the DISCOVERY WORKBENCH software.)
NOTE: If the SECTOR Imager has been idle, but has not been shut down (i.e., is in standby mode), then the CCD camera will
already be at the proper temperature, and users may skip to Section
Figure 5:1 Instrument Status window
5.1
Start-up
To start the system:
1.
Turn on the SECTOR Imager and the computer connected to it. If a robot is connected, the startup sequence is SECTOR
Imager, then the robot, then the computer.
Содержание SECTOR Image 2400
Страница 1: ...SECTOR Imager Models2400 6000 INSTRUMENT MANUAL www mesoscale com ...
Страница 6: ...6 1 Introduction ...
Страница 9: ...9 2 ImportantInformation ...
Страница 15: ...15 3 SystemDescription ...
Страница 28: ...28 4 Installation ...
Страница 30: ...30 5 QuickStart ...
Страница 36: ...Quick Start 36 Figure 5 8 SECTOR Imager window Run Options dialog box ...
Страница 38: ...38 6 UsingtheSECTORImager ...
Страница 42: ...42 7 Maintenance ...
Страница 45: ...45 8 Appendix ...
Страница 54: ...54 9 TechnicalSupport ...
Страница 56: ...Technical Support 9 2 ...


