background image

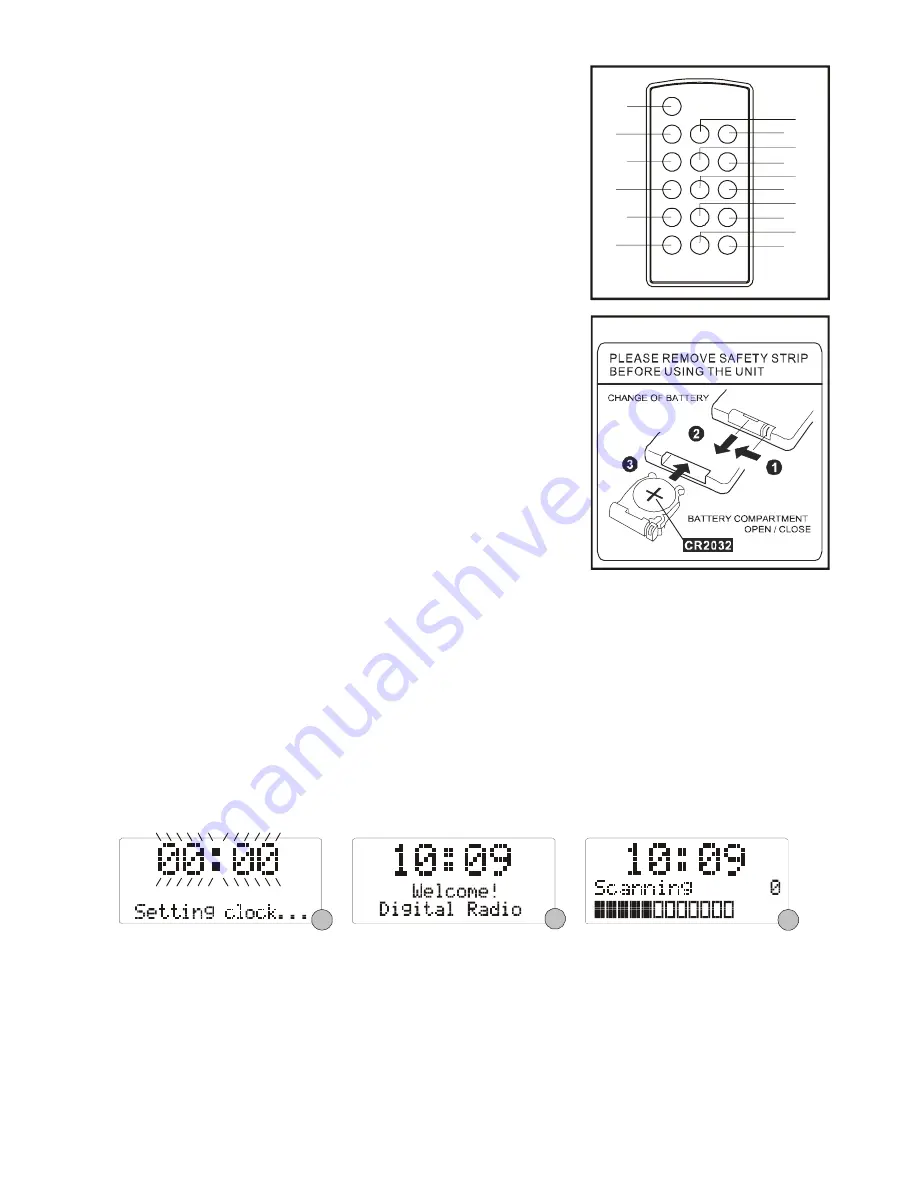
REMOTE CONTROL 


1

2

3

4

5

6

8

9

10

11

12

13

14

16

15

7

1.    STANDBY/ON BUTTON 
2.    DISPLAY/INFO BUTTON 
3.    REPEAT BUTTON 
4.    PROGRAM BUTTON 
5.    RANDOM BUTTON 
6.    MUTE BUTTON 
7.    DAB/FM BUTTON 
8.    CD BUTTON 
9.    STOP/MENU BUTTON 
10.  PLAY/PAUSE/SELECT BUTTON  
11.  SCROLL 

I

◀◀

 BUTTON 

12.  SCROLL 

/  

▶▶

I

 BUTTON 

13.  PRESET - BUTTON 
14.   BUTTON 
15.  VOLUME - BUTTON 

**


**

Battery Included

16.   BUTTON 
 

PUTTING THE BATTERY INTO THE REMOTE CONTROL UNIT 

 
1.     Press the battery compartment gently according to the direction 

indicated in the illustration. 

2.     Slide to open the battery compartment. 
3.    Insert the supplied CR2032 battery into the compartment according to 

the polarity markings ("+" and "-") inside the compartment and on the 
battery. Replace the battery compartment until it clicks. 


NOTE:

 Remove the batteries from the remote control if not in use for long 

period of time. Replace with new batteries when the batteries become 
weak, otherwise the remote control will not function properly.       


LISTENING TO YOUR RADIO 

 
Hints for better reception 

This unit is fitted with a single lead wire DAB/FM antenna, to obtain the best performance, you should fully extend 
the wire antenna and adjust the position as well as the direction until you find the best reception. For ideal DAB 
reception, always maintain the lead wire antenna in a vertical position (holding it upward or downward behind the 
unit) is highly recommended. 


Getting started – DAB mode    

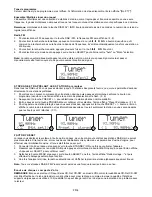
When the unit is powered up for the first time, it will be in standby mode. The display will show “00:00” and “Setting 
clock …”. Press the 

STANDBY/ON

 button once to switch the unit on, it will automatically enter into the DAB mode 

and perform auto scan function. During the scan the display will show “Scanning …” together with a slide bar that 
indicates the progress of the scan and the amount of stations that have been found so far. (F. 1) (F. 2) (F. 3) 
 

F2

F1

F3


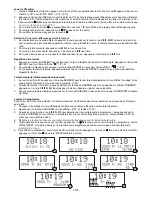
Once the scan has finished, the radio will select the first alphanumerically found station. You can now press the


SCROLL

 or 

 button to explore the found stations and then press the 

SELECT

 button to select your station.   


Note:

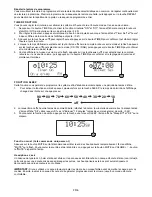
  If there is no stations found after auto scan, the radio will enter into the Tune Select Menu and you can now 

press the 

SCROLL 

 or 

 buttons followed by pressing the 

SELECT

 button to select manual tune or auto scan 

modes for stations. 


Clock setting 

The clock will only set and be updated if you can receive DAB signals in your location. In order for the clock to 
synchronise to the current local time you must leave it one DAB station for a short period. Manual clock setting is 
not required. 


UK-2

Содержание DAB320

Страница 1: ...DAB320 DAB FM CD MICRO SYSTEM Gebrauchsanweisung ...

Страница 2: ...ebrauch des Produktes kann durch starke Elektromagnetische Interferenz gestört werden In diesem Fall führen Sie einen einfachen RESET durch wie in der gebrauchsanweisung beschrieben um das Gerät wider zum Normalbetrieb zu bekommen Im falle das das Gerät weitere störungen hat versuchen Sie einen anderen Standort des Gerätes Auf keinem Fall sollte das Gerät geöffnet werden Für alle Arten von Wartung...

Страница 3: ...ne in einer senkrechten Position halten die Antenne hinter dem Gerät senkrecht nach oben oder nach unten anzubringen ist empfohlen Erster Schritt DAB Modus Wenn das Gerät zum ersten mal angetrieben wird schaltet es sich automatisch in Standby Modus Die Digitalanzeige zeigt 00 00 und Setting clock Drücken Sie die STANDBY ON Taste einmal um das Gerät einzuschalten es schaltet sich automatisch in den...

Страница 4: ...nz in der Anzeige erscheint drücken Sie die SELECT Taste zur Bestätigung Der Name der Station Gruppe Ensemble Multiplex werden nun angezeigt 4 Um dem ausgewählten Sender zuzuhören drücken Sie die SELECT Taste noch einmal F6 F7 DAB Nebenleistungen In manchen Fällen werden Sie ein Symbol direkt nach dem Namen der Station im Display sehen dies bedeutet daß diese Station weitere Dienste zur Verfügung ...

Страница 5: ...hlen 3 Schließlich drücken Sie die PROGRAM Taste um Ihre Auswahl zu bestätigen dann zeigt das Display Preset stored und Ihr sender ist gespeichert F 10 4 Wenn Sie einen voreingestellten Sender den Sie zuvor gespeichert haben abrufen wollen drücken Sie die PRESET Tasten das Display wird dann die Preset Nummer zeigen und die damit verbundenen Informationen Eine Sekunde nach dem Loslassen der Taste w...

Страница 6: ...F 17 3 Um die wiederholte Wiedergabe abzubrechen drücken Sie wiederholt die REPEAT Taste bis das Repeat Symbol aus der Anzeige verschwindet Zufallswiedergabe nur mit Fernbedienung RANDOM 1 Während die CD gestoppt ist drücken Sie die RANDOM Taste um zufällige Wiedergabe zu starten das Display zeigt dann RANDOM und der Titel wird gestartet die CD spielt dann nach dem Zufallsprinzip F 18 2 Während de...

Страница 7: ...hlen dann die TIMER Taste wieder zur Bestätigung die Timer Einstellung ist nun abgeschlossen F21 F20 SLEEP FUNCTION Diese Funktion erlaubt Ihnen das Radio nach einer bestimmten Zeit abzustellen 1 Um die Sleep Funktion zu aktivieren drücken Sie wiederholt die SLEEP Taste mit jedem Druck ändert sich die Schlaffzeit auf dem Display in der Reihenfolge 90 80 70 60 50 40 of 30 20 10 f 2 Wenn das Display...

Страница 8: ...it einem weichen Tuch Die CD sollte von der Mitte zum Rand hin gereinigt werden CORRECT FROM THE CENTRE TO THE EDGE INCORRECT Verwenden Sie niemals Benzin Verdünner Schallplatten Reiniger oder irgentwelche antistatische Flüssigkeiten Achten Sie darauf daß Sie das CD Fach schließen damit die Linse nicht durch Staub verunreinigt wird Berühren Sie nie die Linse TECHNISCHE DATEN Stromversorgung 230V 5...

Страница 9: ...DAB320 DAB FM CD MICRO SYSTEM MANUEL D UTILISATION ...

Страница 10: ...ment normal du matériel peut être sujet à des perturbations dues à de fortes interférences électromagnétiques Dans cette éventualité il suffit de réinitialiser le matériel en suivant les instructions du manuel Si l appareil ne fonctionne pas dans ces conditions choisir un autre emplacement Ne pas dévisser ni ouvrir le matériel L utilisateur ne peut pas changer les pièces à l intérieur Faire appel ...

Страница 11: ...Idéale pour la réception DAB maintenir toujours l antenne à la verticale en la mettant vers le haut ou vers le bas derrière l appareil Battery Included Pour commencer en mode DAB Il sera en mode veille lorsque l appareil sera sous tension pour la première fois L écran affiche 00 00 et Réglage horloge Appuyer une fois sur la touche STANDBY ON pour allumer l appareil il passera automatiquement en mo...

Страница 12: ...r écouter la station sélectionnée appuyez sur la touche SELECT de nouveau F6 F7 DAB services secondaires À certaines occasions vous verrez un symbole directement après le nom de la station cela indique qu il existe des services secondaires disponibles pour cette station Ces services secondaires contiennent des services supplémentaires qui ont trait à la station principale Par exemple une station d...

Страница 13: ...e flash F 9 2 Appuyez sur la touche PRESET pour sélectionner la station désirée nombre prédéfini 3 Enfin appuyez sur la touche PROGRAM pour confirmer votre sélection l écran affiche Preset stockées F 10 4 Pour rappeler une station préréglée que vous avez stockées appuyez sur la touche PRESET boutons l écran affiche le numéro de présélection et les informations associées Il serait syntoniser la sta...

Страница 14: ...l écran affiche F 17 3 Pour annuler la lecture répétée appuyez plusieurs fois sur la touche REPEAT jusqu à ce que l icône de répétition disparaît à l écran Lecture aléatoire télécommande uniquement 1 Au cours de CD arrêt appuyez sur la touche RANDOM pour lancer la lecture aléatoire l écran affiche sondage et les pistes seront commencé à jouer de façon aléatoire F 18 2 Pendant la lecture CD normal ...

Страница 15: ...yez sur le bouton TIMER pour confirmer et le réglage de minuterie est maintenant terminée F21 F20 FONCTION SLEEP Cette fonction vous permet de programmer le système afin d éteindre lui même après une période de temps définie 1 Pour activer la fonction sommeil appuyez plusieurs fois sur la touche SLEEP le temps de dormir dans l affichage change dans l ordre sur chaque presse 90 80 70 60 50 40 of 30...

Страница 16: ... digitales avec un chiffon doux Le disque doit être nettoyé à partir du centre vers le bord CORRECT FROM THE CENTRE TO THE EDGE INCORRECT N utilisez jamais de benzène de diluants d enregistrer nettoyant liquide ou aérosol anti statique Veillez à bien fermer la porte du CD de sorte que le verre n est pas contaminés par la poussière Ne touchez pas l objectif SPECIFICATIONS ALIMENTATION 230V 50Hz Out...

Страница 17: ...DAB320 SISTEMI MICRO DAB FM CD LIBRETTO DI ISTRUZIONI ...

Страница 18: ...rete elettrica Il normale funzionamento del prodotto può essere disturbato da una forte interferenza elettro magnetica Se ciò avviene resettare semplicemente il dispositivo per riprendere il normale funzionamento seguendo il libretto di istruzioni Nel caso in cui il funzionamento non riprenda utilizzare l apparecchio in un altro luogo Non cercare di rimuovere alcuna vite o aprire la scatola dell u...

Страница 19: ...l cavo in piombo in posizione verticale tenendolo rivolto verso l alto o il basso dietro l unità Come iniziare Modalità DAB Quando l unità viene accesa per la prima volta sarà in modalità standby Il display mostrerà 00 00 e Setting clock Impostazione orologio Premere una volta il tasto STANDBY ON per accendere l unità entrerà automaticamente in modalità DAB ed eseguirà la funzione di auto scan Dur...

Страница 20: ...ato il nome del gruppo della stazione ensemble multiplex 4 Per ascoltare la stazione selezionata premere ancora il tasto SELECT F6 F7 Servizi DAB accessori In alcune occasioni vedrete un simbolo subito dopo il nome della stazione questo indica che ci sono servizi accessori a disposizione per quella stazione Tra questi servizi accessori servizi extra che riguardano la stazione principale Per esempi...

Страница 21: ...e i tasti PRESET per selezionare il numero predefinito della stazione desiderata 3 Infine premere il tasto PROGRAM per confermare la selezione il display mostrerà la scritta Preset stored F 10 4 Per richiamare una stazione predefinita che avete memorizzato premere i tasti PRESET il display mostrerà il numero predefinito e le informazioni ad esso associate Dopo il rilascio del tasto dovrebbe sinton...

Страница 22: ...rerà la scritta F 17 3 Per cancellare la ripetizione premere ripetutamente il tasto REPEAT fino a quando l icona repeat scompare dal display Riproduzione Random solo telecomando 1 Quando il CD è fermo premere il tasto RANDOM per avviare la riproduzione casuale il display mostrerà la scritta RANDOM e le tracce cominceranno ad essere riprodotte casualmente F 18 2 Durante la normale riproduzione del ...

Страница 23: ... TIMER per confermare e l impostazione del timer è ora completa F21 F20 FUNZIONE SLEEP Questa funzione vi permette di programmare il sistema in modo tale che si spenga da solo dopo un determinato intervallo di tempo 1 Per attivare la funzione sleep premere ripetutamente il tasto SLEEP ad ogni pressione l orario dello sleep cambierà in sequenza sul display 90 80 70 60 50 40 30 20 10 off 2 Quando il...

Страница 24: ... impronte delle dita con un panno morbido Il disco deve essere pulito dal centro verso l esterno CORRECT INCORRECT FROM THE CENTRE TO THE EDGE Non usare mai benzene solventi fluido detergente per dischi o spray antistatici Accertarsi di chiudere lo sportello del CD in modo tale che le lenti non siano intaccate dalla polvere Non toccare le lenti SPECIFICHE ALIMETAZIONE 230V 50Hz CORRENTE IN USCITA ...

Страница 25: ...DAB320 DAB FM CD MICRO SYSTEM INSTRUCTION MANUAL ...

Страница 26: ... product may be disturbed by Strong Electro Magnetic Interference If so simply reset the product to resume normal operation by following the instruction manual In case the function could not resume please use the product in other location Do not attempt to remove any screws or open the casing of the unit there are no user serviceable parts inside refer all servicing to qualified service personnel ...

Страница 27: ... until you find the best reception For ideal DAB reception always maintain the lead wire antenna in a vertical position holding it upward or downward behind the unit is highly recommended Getting started DAB mode When the unit is powered up for the first time it will be in standby mode The display will show 00 00 and Setting clock Press the STANDBY ON button once to switch the unit on it will auto...

Страница 28: ... The name of the station group ensemble multiplex will be displayed 4 To listen to the station selected press the SELECT button again F6 F7 DAB secondary services On some occasions you will see a symbol directly after the name of the station this indicates that there are secondary services available to that station These secondary services contain extra services that relate to the primary station ...

Страница 29: ... flash F 9 2 Press the PRESET buttons to select your desired station preset number 3 Finally press the PROGRAM button to confirm your selection the display will show Preset stored F 10 4 To recall a preset station that you have stored press the PRESET buttons the display will show the preset number and the associated information It would tune to the station in one second after the buttons are rele...

Страница 30: ...ton again the display will show F 17 3 To cancel repeat play repeatedly press the REPEAT button until the repeat icon disappears in the display Random play remote control only 1 During CD stop press the RANDOM button to start random play the display will show RANDOM and the tracks will be started playing randomly F 18 2 During normal CD playback first press the RANDOM button once when the display ...

Страница 31: ...imer setting is now completed F21 F20 SLEEP FUNCTION This function allows you to program the system to switch off itself after a set period of time 1 To activate the sleep function repeatedly press the SLEEP button the sleep time in the display will change in sequence on every press 90 80 70 60 50 40 of 30 20 10 f 2 When the display shows your desired sleep time release the button the sleep timer ...

Страница 32: ...ft cloth The disc should be cleaned from the centre to the edge CORRECT FROM THE CENTRE TO THE EDGE INCORRECT Never use benzene thinners record cleaner fluid or anti static spray Be sure to close the CD door so the lens is not contaminated by dust Do not touch the lens SPECIFICATIONS POWER SUPPLY 230V 50Hz OUTPUT POWER 3W x 2 POWER CONSUMPTION IN STANDBY MODE 0 74W UNIT DIMENSION 135 L x 233 W x 1...

Отзывы: