12
NX-7510/NX-7520/NX-7530 Series Integrated Services Platform
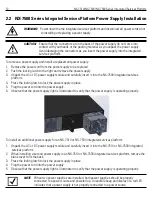
2.2 NX-7500 Series Integrated Services Platform Power Supply Installation
To remove a power supply and install a replacement power supply:
1.
Remove the power cord from the power supply to be replaced.
2.
Push the locking latch to the right and remove the power supply.
3.
Unpack the AC or DC power supply module and carefully insert it into the NX-7500 integrated services
platform.
4.
Press the locking latch to lock the power supply in place.
5.
Plug the power cord into the power supply.
6.
Observe that the power supply light is illuminated to verify that the power supply is operating properly.
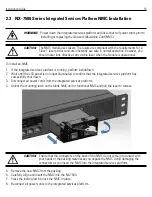
To install an additional power supply for an NX-7510 or NX-7530 integrated services platform:
1.
Unpack the AC or DC power supply module and carefully insert it into the NX-7510 or NX-7530 integrated
services platform.
2.
When installing a second power supply in an NX-7510 or NX-7530 integrated services platform, remove the
blank cover from the back.
3.
Press the locking latch to lock the power supply in place.
4.
Plug the power cord into the power supply.
5.
Observe that the power supply light is illuminated to verify that the power supply is operating properly.
WARNING!
Power down the the integrated services platform and disconnect all power cords prior
to installing or replacing a power supply.
CAUTION
Ensure that the connectors at on the back of the power supply do not come into
contact with your hands or the packing material as you unpack the power supply.
Avoid damaging the connectors as you insert the power supply into the integrated
services platform.
NOTE
When two power supplies are installed, both power supplies should be properly
connected to a power source and powered up. An audible beep and display of a red LED
indicates that a power supply is not properly connected to a power source.


