manualshive.com logo in svg
background image

When printed by Motorola
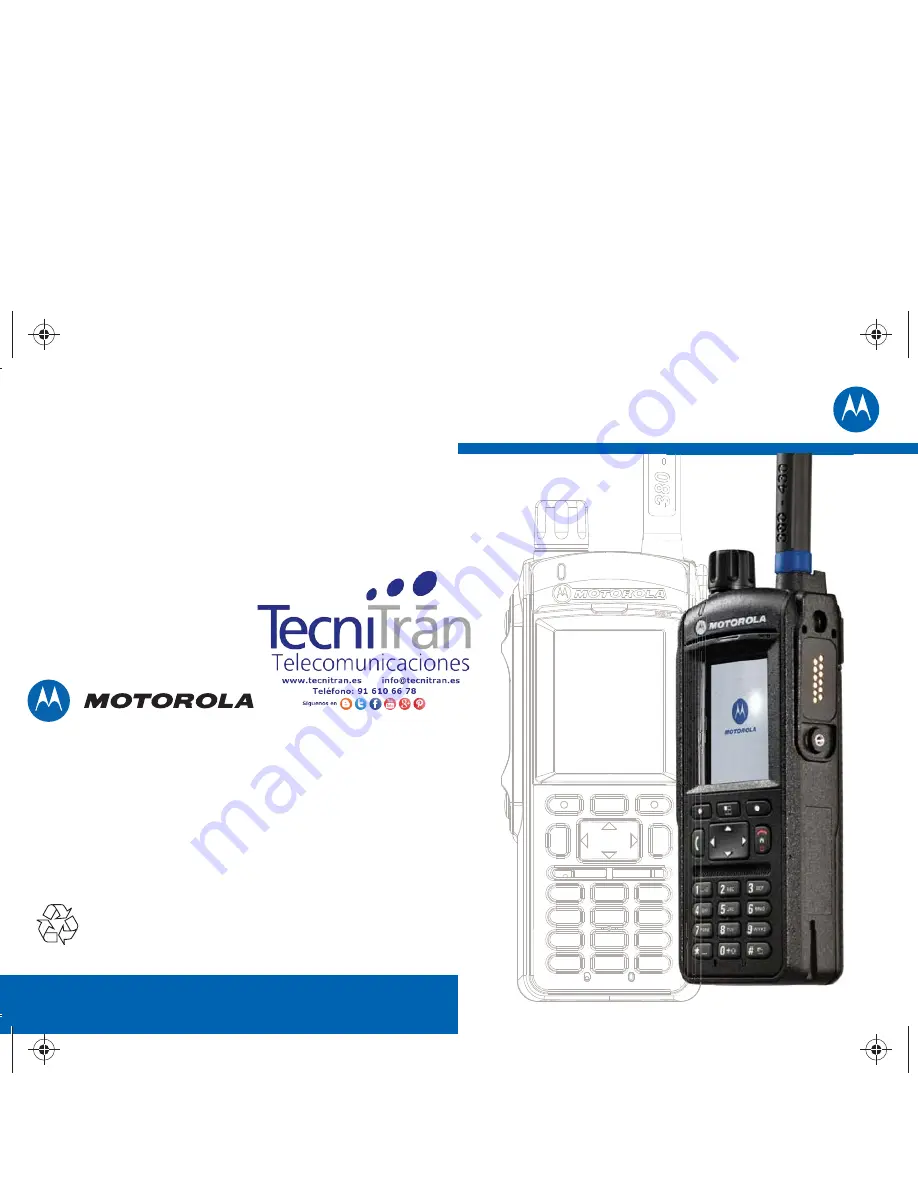
MTP6750

QUICK START GUIDE

More Information on the Radio 

Motorola Online

@68015000646@

68015000646-A

This document is copyright protected. Duplications for the purpose of the use of Motorola products are 
permitted to an appropriate extent. Duplications for other purposes, changes, additions or other processing of 
this document are not permitted. Only this electronically-saved document is considered to be the original. 
Duplications are considered merely copies. Motorola Solutions, Inc., and its subsidiaries and affiliates do not 
vouch for the correctness of such kinds of copies.

MOTOROLA, MOTO, MOTOROLA SOLUTIONS and the stylized M Logo are registered in the U.S. Patent and 
Trademark Office. All other product or service names are the property of their respective owners.
© 2013 Motorola Solutions, Inc. All rights reserved.

Feature User Guide and related documentation available at: 
https://emeaonline.motorolasolutions.com/

Open Source Software Legal Notices

Available at: https://emeaonline.motorolasolutions.com/ 
and on Customer Programming Software Plus (CPS Plus) DVD

Visit the Motorola Solutions Web site at: 
http://www.motorolasolutions.com/tetraterminals

MTP6750

QUICK START GUIDE

68015000646_QuickStartGuide_MTP6750_18x13_lscp.ai   1   10/16/2013   5:22:30 PM

68015000646_QuickStartGuide_MTP6750_18x13_lscp.ai   1   10/16/2013   5:22:30 PM

Содержание MTP6750

Страница 1: ...ctness of such kinds of copies MOTOROLA MOTO MOTOROLASOLUTIONS and the stylized M Logo are registered in the U S Patent and Trademark Office All other product or service names are the property of their respective owners 2013 Motorola Solutions Inc All rights reserved Feature User Guide and related documentation available at https emeaonline motorolasolutions com Open Source Software Legal Notices ...

Страница 2: ...Your Radio 1 2 3 4 5 5 18 7 7 8 9 6 17 13 13 14 16 10 11 12 15 15 19 20 21 22 ...

Страница 3: ...med functions of these buttons 6 PTT Push To Talk Press and hold to talk in simplex calls or initiate group calls Release it to listen 7 Soft keys Press the left right Soft key to select the option displayed above it 8 CALL key Press to initiate or answer duplex calls Press to send messages Press in the home screen to enter the Recent Calls menu item 9 Speaker 10 Keypad Press to enter alphanumeric...

Страница 4: ...d hold to turn on off the radio Press to end calls Press to return to the home screen 21 Navigation key Press the Navigation key to scroll the list while moving around the menu or to navigate the text From the home screen press Down Navigation key to enter the Recent Calls menu item Up Navigation key to change the My Groups talkgroup folder Left and right Navigation key to browse through the talkg...

Страница 5: ...ment 2 Slide the battery towards the top of the radio until it clicks 1 2 Installing the MicroSD and SIM Cards 1 Remove the battery 2 Open the plastic compartment cover 3 Slide the SIM card holder and lift it up A 4 Slide the microSD card holder and lift it up B ...

Страница 6: ... without visible and audible notifications Holding Your Radio The radio has two microphones A top microphone for simplex group dispatcher or private calls A bottom microphone for duplex telephone like calls Simplex Calls When making simplex calls high audio hold the radio in a vertical position with the top microphone 5 to 10 centimeters away from your mouth Speak into the top microphone Listen vi...

Страница 7: ...Shoulder Use For group and private calls turn your head towards your shoulder lapel and speak directly into the top microphone Listen through the internal speaker Speakerphone Use Place your radio 30 60 centimeters away from you In a noisy environment move the radio closer for better transmission Battery Capacity Information Icon Description 80 100 capacity 60 80 capacity 40 60 capacity 25 40 capa...

Страница 8: ...atus Icons Icon Description In Service TMO standard extended icon No Service TMO standard extended icon Signal Strength standard extended icon High RF Power standard extended icon Direct Mode Using Gateway Repeater Mode Emergency Scan Priority Scan ...

Страница 9: ...cription Battery Level Battery Charging All Rings Muted Simplex Ring Muted Duplex Ring Muted Migration Low Audio High Audio Earpiece Connected New Message Has Arrived New Message s Packet Data Radio Keys Locked ...

Страница 10: ...Out of service Rapid charge Connecting to a network Entering DMO Faulty or invalid battery Transmit inhibit in service Channel busy in DMO Incoming private or phone call Battery waiting to charge Switched off Unlocking Your Radio Your radio may be locked at power on To unlock it enter the PIN code at the prompt By default the code is set to 0000 Your service provider may change this number before ...

Страница 11: ... previous level 5 to exit the menu 6 to scroll up 7 to select a menu item 8 to scroll down Personalizing Your Radio From the home screen press Go to More Setup Go to a menu item you would like to modify for example Vibrate Tones or Display and select the preferred settings Activating Covert Mode 1 From the home screen press 2 Select Security Covert Mode 3 Select On to enable or Off to disable the ...

Страница 12: ...matically if configured 3 Press and hold PTT 4 Wait for the talk permit tone if configured and talk 5 Release PTT to listen If using the Hot Mic feature wait for the Emergency Mic On message to appear on the display then talk without pressing PTT 6 To exit the Emergency Mode press and hold the Exit soft key Making Simplex Private Calls In DMO 1 From the home screen dial a number 2 To make the call...

Страница 13: ...me screen press 2 Select Networks TXI Mode Activate Sending Text Messages 1 From the home screen press 2 Select Messages New Message 3 Enter your message and select Send If you want to change the default text input for example use symbols or numbers press and select Entry Mode The available options are Primary basic alphanumeric characters Numeric numbers only Symbol symbols only Secondary alphanu...

Страница 14: ...equired object 3 To take the picture press the green button or select Capture The picture is saved either in the internal memory or on a microSD card depending on the radio model Recommended Way of Holding the Radio Pairing Your Radio with Bluetooth Devices Pairing is a process that creates a link between two Bluetooth enabled devices Once paired devices remember each other and every subsequent co...

Страница 15: ...ice and select Select If the required recipient device is present on the paired devices list highlight the device and select Select If the required recipient device is not present on the paired devices list refresh the list by selecting Search Highlight the device and select Select Looking after Your Radio Never leave your radio or battery in extreme temperatures over 85 C for example behind a win...

Отзывы: