7
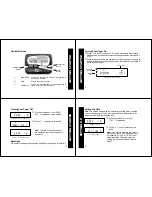
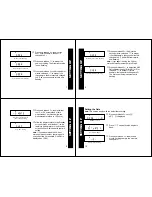
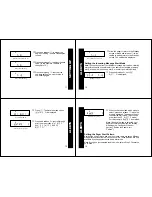
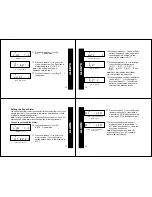
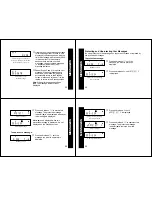
Hour value flashing
➌
Press and release
\
to adjust the
hour. (In this example, the hour is
changed to 3.)
Hour value has been set
➍
Press and release
]
to accept the
new hour setting. The first minute value
is now flashing.
First minute value flashing
➎
Press and release
\
to adjust the first
minute value and
]
to accept it. (In
this example, the first minute is changed
to 4.) The second minute value is now
flashing.
E
0:00a
E
3:00a
E
3:00a
SETTING UP
8
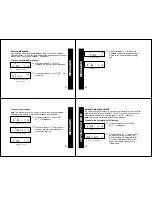
Second minute value flashing
➏
Press and release
\
to adjust the
second minute value and
]
to accept
it. (In this example, the second minute is
changed to 6.) The AM/PM indicator is
now flashing.
Note:
If your pager is using the 24-hour
method of measurement, skip to Step 8.
AM/PM indicator flashing
➐
Press and release
\
to adjust the AM/
PM indicator to either
a
(for AM) or
p
for
(PM) and
]
to accept it. (In this
example, the indicator is changed to P.)
The method of time measurement is
flashing.
E
3:40a
E
3:46a
SETTING UP
9
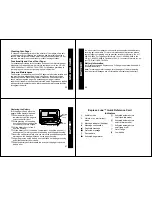
Method of measurement
(hour value) flashing
➑
Press and release
\
to select either
the 12- or 24-hour method of time
measurement. (In this example, the
measurement method is 12 hours.)
New time setting
➒
Allow the pager to return to the Standby
screen or press and release
[
twice
rapidly to quickly return to the Standby
screen. You have finished with the time
setting.
Note:
If you had selected the 24-hour
method of measurement, the time would
now reflect this (for example, 3:46 PM is
displayed as 15:46).
E
12
hours
E
3:46p
SETTING UP
10
Setting the Date
Note:
This section begins with the default date setting.
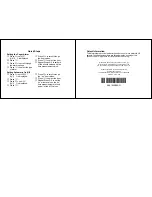
Standby screen
➊
Press and release
\
until
set
date
?
is displayed.
Set Date prompt
➋
Press
]
. The month value begins to
flash.
Month value flashing
➌
Press and release
\
to adjust the
month. (In this example, the month is
changed to 7.)
E
0:00a
1-01
E
set
date
?
E
1-01
SETTING UP


