25
Wi-Fi® Internet Viewing
5.4.4
Add the Camera to your account
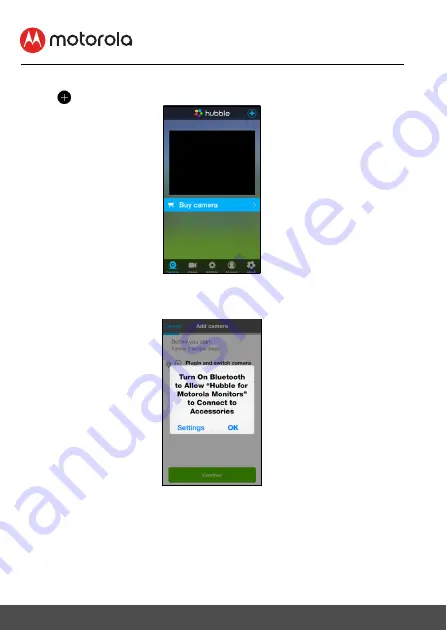
• Tap
on the top right corner of the screen to add camera. (Picture i2)
• The following Bluetooth setup instructions will appear on the screen if your
Bluetooth is not on. (Picture i3)
i2
i3


