moon 780D evolution series Скачать руководство пользователя страница 8

780D Evolution 

Series


Front Panel Controls 


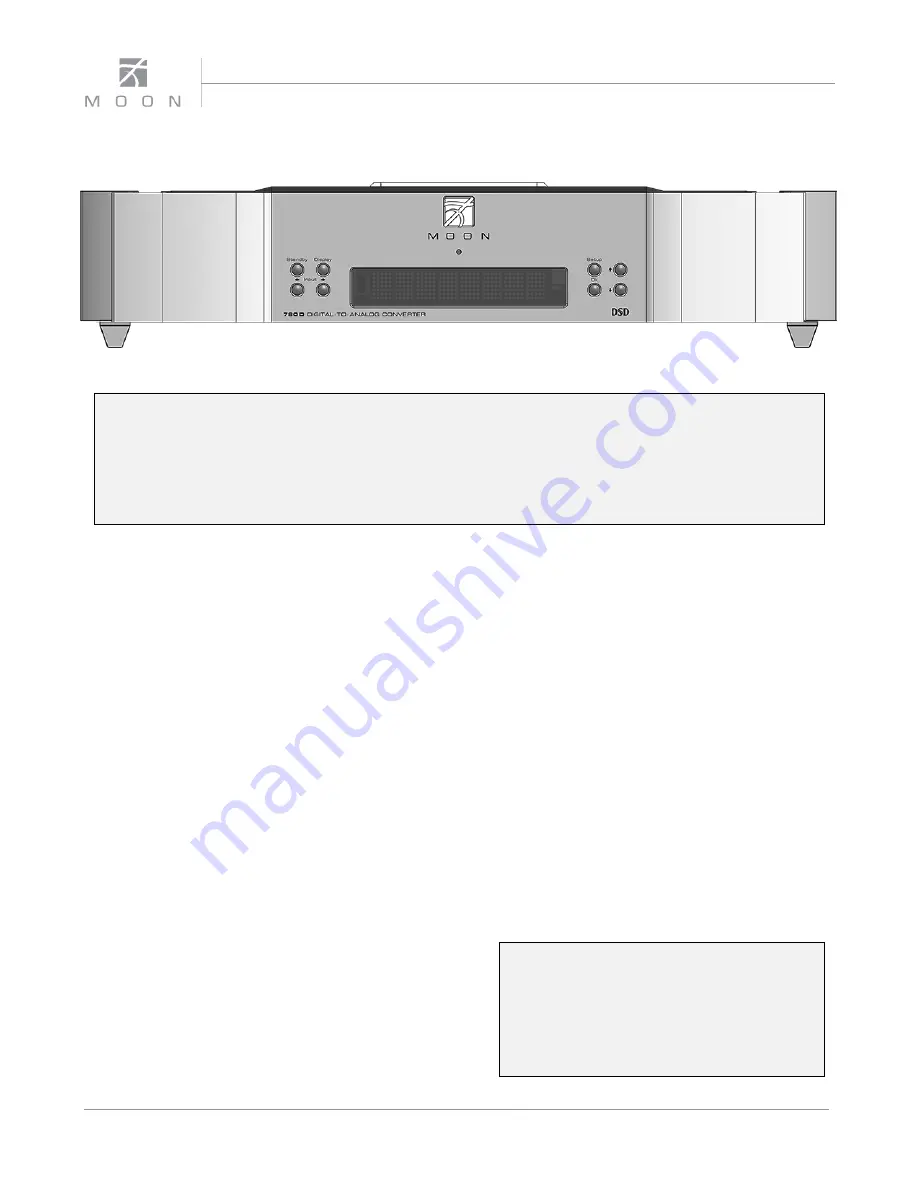
Figure 1:  780D Front panel 


The front panel will look similar to Figure 1 (above). The large digital display window indicates the selected digital 
input (“D1” thru “D9”) its corresponding sampling rate frequency in kHz (“44.1” thru “384.0”) of the source material 
currently being played and/or assigned input label. The “Standby” button disengages all outputs from the rest of 
the 

780D’s

 circuitry and turns off the digital display. However, when in “Standby” mode, all digital and analog 

audio circuitry remains powered up to help maintain optimal performance. When switching back from “Standby” 
to the “on” mode, the selected ‘input’ will be memorized from the previous listening session. The blue indicator 
LED turns off when the 

780D 

is in “Standby” mode.  


The “Display” button allows you to adjust the brightness 
of the large digital display window. It also provides you 
with the option of turning off the display. There are 
three (3) different levels of brightness; The default is 
medium. Pressing the “Display” button once will 
increase the level to the highest setting. Pressing the 
button again will decrease the brightness to the lowest 
setting. Pressing the “Display” button a third time 
returns the display to its default setting of medium. To 
turn the display off, press and hold the “Display” button 
for 2 seconds.  When the display is turned off, it will still 
come back on briefly whenever you press any of the 
buttons located on the front panel or the remote 
control, using the brightness level that was previously 
set; the display will automatically turn off again once 
you are done. To turn the display back on, simply press 
and hold the “Display” button for 2 seconds.  


The two (2) buttons labeled “

 Input 

” allow you to 

sequentially scroll, either forward “

” or backward “

” 

through all the digital inputs. The inputs are ordered as 
follows going forward: “D1”, “D2”, “D3” , “D4” , “D5” , 
“D6” , “D7” “D8” and “D9”. When you change inputs, the 
display window will show the new digital input and 
briefly four (4) dashes “----”. These dashes indicate that 
the 

780D

 is in the process of locking onto a digital 

signal – this may take several seconds. Once the

 780D


successfully locks onto the digital signal, the four dashes 
will be replaced by either the sampling rate frequency 

of this digital signal or the assigned label for this input  
(refer to the next section “Software Setup” for further 
details). When the selected digital input signal cannot 
be locked onto, “----” remains in the display window. 
The 

780D

 is capable of processing a PCM digital signal 

at one of the following eight (8) different sampling 
rates: “44.1”, “48.0”, “88.2”, “96.0” , “176.4” , “192.0” , 
“352.8” and “384.0” (all in kHz) or a DSD digital signal at 
one of the following three (3) data rates DSD64 
(2.82MHz), DSD128 (5.64MHz) and DSD256 (11.28MHz); 
For DSD input signals, the corresponding information 
will appear in the display window as “DSD” , “DSD.2” 
and “DSD.4” for these data rates, respectively. 


The “Setup” and “OK” buttons are used for 
programming the numerous software functions 
available on this DAC. The next section, entitled 
“Software Setup”, explains their usage in detail. As well, 
the 

 and 

 buttons are used to navigate through the 

“Software Setup” menus. 


Notes:   (i) DSD format signals can ONLY be 
played through the USB (“D7”) input and the 
MiND’s ethernet (“D8”) input - The MiND input 
is limited to DSD64. (ii) PCM format signals with 
sample-rates of 352.8kHz and 384kHz can 
ONLY be played through the USB (“D7”) input 
and the MiND’s ethernet (“D8”) input.   


Содержание 780D evolution series

Страница 1: ...780D Evolution Series Reference Streaming DSD DAC Owner s Manual...

Страница 2: ...780D Evolution Series...

Страница 3: ...rer 12 Use only with the cart stand tripod bracket or table specified by the manufacturer or sold with the apparatus When a cart is used use caution when moving the cart apparatus combination to avoid...

Страница 4: ...er voltage Both the shipping box and rear panel serial number label will indicate the correct voltage Use of any other voltage will likely damage the unit and void the warranty 3 AC extension cords ar...

Страница 5: ...l Controls 8 Software Setup 9 Rear Panel Connections 14 SimLink 15 Operating the 780D 15 Remote Control Operation 16 Balanced Operation 18 Specifications 19 Quick Reference Setup Menus Appendix www si...

Страница 6: ...ce Note TIDAL is a paid subscription based service DSD Streaming over Ethernet via MiND Femto second clock vs Pico second clock where 1 pico second 1000 femto seconds The result is much lower jitter 1...

Страница 7: ...Number Installation Placement The MOON 780D DAC should be placed on a solid level surface You should avoid placing it near a heat source or inside a closed cabinet that is not well ventilated as this...

Страница 8: ...display back on simply press and hold the Display button for 2 seconds The two 2 buttons labeled Input allow you to sequentially scroll either forward or backward through all the digital inputs The in...

Страница 9: ...r button until INPUTS appears in the display Press the OK button 3 Press either the or button until D1 appears in the display Press OK 4 LABEL will appear in the display Press OK 5 DVD will appear in...

Страница 10: ...ither the or button until INPUTS appears in the display Press the OK button 3 Press either the or button until D8 appears in the display Press OK 4 Press either the or button until STATUS appears in t...

Страница 11: ...appears in the display press OK 3 Press either the or button until the digital input you wish to assign to you MOON CD Player or CD transport appears in the display window For example if you wanted to...

Страница 12: ...nstall setup that uses multiple integrated amplifiers and or preamplifiers that operate on the RC 5 standard and you need to make each component unique w r t remote control operation up to 4 component...

Страница 13: ...ual 13 6 Press either the or and SURE Y will appear in the display 7 Press OK and SAVED will briefly appear in the display followed by RESET 8 Press the Setup button again and EXITING will appear in t...

Страница 14: ...the eight digital input Please consult the MiND Setup Guide and MiND User Guide for further details Note The ninth digital input is wireless aptX Bluetooth and therefore doesn t require an input conn...

Страница 15: ...ications controller If you are using your 780D with an older MOON product such as a P 7 P 8 or i 7 you will need to update the software of the older product to allow for complete SimLink functionality...

Страница 16: ...and hold for 2 seconds repeat to turn the display back on Rnd Plays the tracks in the MiND QUEUE in a random order instead of the order as they appear in the QUEUE The display will show RND ON when ac...

Страница 17: ...the AMP button for three 3 seconds The backlight will illuminate twice very briefly for confirmation Off Mode 3 The backlight feature is completely disabled To activate the Off Mode press and hold th...

Страница 18: ...und wire Any noise picked up by this interconnect ie nearby magnetic fields such as an AC power cord will be reproduced by both the preamplifier and amplifier then heard through the loudspeakers Conve...

Страница 19: ...es via USB only DSD 64 DSD 128 DSD256 DSD via MiND DSD 64 2 8224MHz PCM Bit depth range 16 32 bits 32 bit via USB only PCM Sampling Frequency Rates 44 1 384kHz 352 8 384kHz via USB only Digital Inputs...

Страница 20: ...LABEL INVERTED DISABLED SYS 11 RESET Y CD D3 SYS 14 D1 CD D4 SYS 15 D2 SYS 19 SURE N D3 SURE Y D4 D5 D6 D7 LABEL ENABLE LABEL ENABLE DVD ENABLE Y CD ENABLE N USB ENABLE Y BLU RAY CUSTOM A Z ENABLE N S...

Отзывы: