background image

8

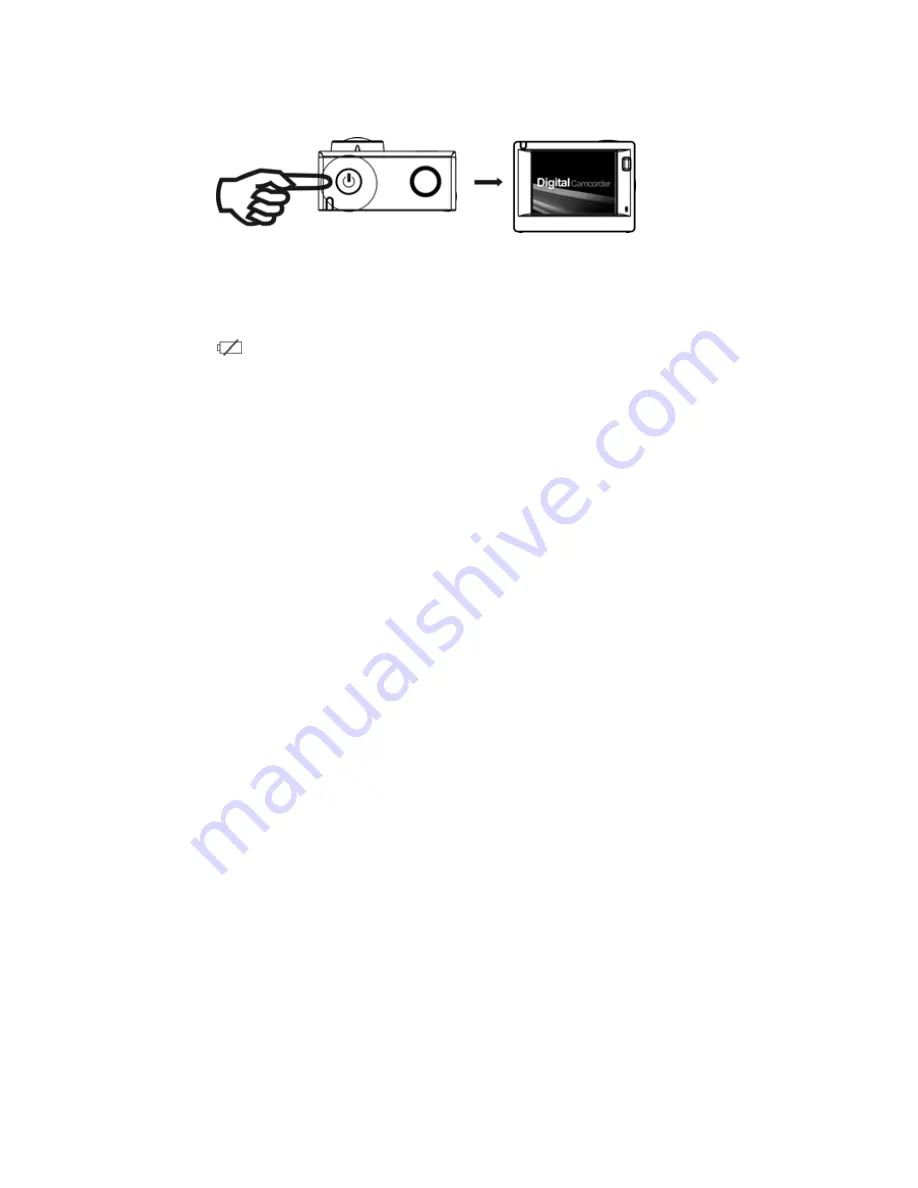
3. Power on/off

3.1 Power on: Press Power key for 3 seconds, the screen will be on and the camera will be started.

3.2. Power off: Hold on Power key for 3 seconds when the camera is in the idle state to turn it off.

3.3. Auto screen off:

The screen will be turned off automatically when the time that the camera is in the idle

state for automatic screen off to save power. After that, the lamp for screen off will be on.

3.4. Power off when the camera is lack of electricity. When electrical quantity of the battery is very low, an

icon of

will be displayed on the LCD screen, prompting you to charge it in time. When the icon

turns red and flickers, the camera will be turned off automatically.

4. Shift among functional modes

The camera has 4 modes, namely video recording mode, car-carrying mode, shooting mode and replay mode.
After power is on, press Power key to shift among them.

Содержание CAMVP-1080

Страница 1: ...1 User s Manual CAMVP 1080...

Страница 2: ...u at your side all the time Overview Overview of of the the product product It is compact in size and convenient for installation A high performance chip is used to ensure that you can obtain high def...

Страница 3: ...a 7 8 Mac OS X ver 10 0 0 or above version CPU Intel Pentium of more than 1GB Hz or other CPU with equivalent performance Internal Memory Larger than 1GB Sound Card and Display Card The sound card and...

Страница 4: ...4 Introduction Introduction to to appearance appearance and and keys keys Display Menu key 2 0 HD LCD Lens Infrared remote control lamp Charging Busy indicator Busy indicator Microphone...

Страница 5: ...5 Wifi Down key HDMI port Power Mode key Battery door Micro SD Card Shutter OK key Micro USB port Speaker...

Страница 6: ...____ 1 Charge the built in lithium battery Connect the camera to the computer for charging at this time the charging indicator will be in red and it will be off after charging Generally it takes 2 4 h...

Страница 7: ...engraved words by the storage card slot 2 To take out the TF card press the tail of the storage card inwardly softly and it will be popped out Note There s no built in memory unit in the camera so ma...

Страница 8: ...utomatic screen off to save power After that the lamp for screen off will be on 3 4 Power off when the camera is lack of electricity When electrical quantity of the battery is very low an icon of will...

Страница 9: ...9 Video recording mode Car carrying mode Shooting mode Replay mode...

Страница 10: ...er video recording mode directly and in preview mode press Shutter key to start video recording Press it again to stop shooting If the memory card is full or electrical quantity is low it will also st...

Страница 11: ...trical quantity Prompt In car carrying mode a passage of video is kept every three minutes in recording After the storage card is full the earliest passage will be deleted and video will be recorded i...

Страница 12: ...to shift to Replay mode Select the file to be replayed through the menu as follows Select CAR to replay files in car carrying video mode Select VIDEO to replay files in general video mode Select JPG...

Страница 13: ...buttons hint icon 5 Indicate recording time point When a video file is being played click Ok key to pause play and click Menu key to stop playing 9 2 2 Screen of photos 1 Indicate serial number of cu...

Страница 14: ...tting mode Menu for replay mode Operation Press Menu key the menu for this mode will be displayed on the LCD At this time press Power key to move the cursor leftward or rightward and select on the men...

Страница 15: ...e functions of power on video recording shooting and power off without operating on the camera Just point the signal transmission port of the remote controller at IR signal receiving lamp of the camer...

Страница 16: ...o an HDTV with a HD cable as shown in the following figure display signals in the camera will be output into the HDTV automatically and you can browse HD videos and photos that are recorded or taken i...

Страница 17: ...arch SYMAGIX2 in the APP Store to obtain corresponding installation programs and then you can install them according to the indicated steps or through scanning the two dimensional code II Camera WIFI...

Страница 18: ...conducting WIFI connection for the first time please input the password 1234567890 4 Tap and enable the Application Program Icon on the Android mobile phone or tablet PC you can directly view the pre...

Страница 19: ...Icon with the external screen revealing WIFI Connecting 3 Enable the WIFI function of the IOS mobile phone or tablet PC and try to find the AP Name WDV6000SA_WIFI please conduct connection between the...

Страница 20: ...card for your camera 2 When the Camera has been successfully connected with your mobile phone or tablet PC the WIFI Indicator Light will be on 1 DV battery icon 2 Video resolution 3 White balance 4 Se...

Страница 21: ...ved in I CAR folder Note If using a mobile hard disk function on Windows 2000 or later versions of Windows operating system do not install the driver 2 The default mode is removable disk when connecti...

Страница 22: ...io 16M 8M 5M 4M Video Definition Ratio 1440P 1920x1440 30fps FHD 1920x1080 60fps FHD 1920x1080 30fps HD 1280x720 120fps HD 1280x720 60fps Storage Media TF Card 32GB at most File Formats Videos MOV H 2...

Страница 23: ...s for a Class B digital device pursuant to Part 15 of the FCC Rules These limits are designed to provide reasonable protection against harmful interference in a residential installation This equipment...

Страница 24: ...antenna Increase the separation between the equipment and receiver Connect the equipment into an outlet on a circuit different from that to which the receiver is connected Consult the dealer or an exp...

Страница 25: ...undesired operation of the device Avis d Industrie Canada Le pr sent appareil est conforme aux CNR d industrie Canada applicables aux appareils radio exem pts de licence L exploitation est autoris e a...

Отзывы: