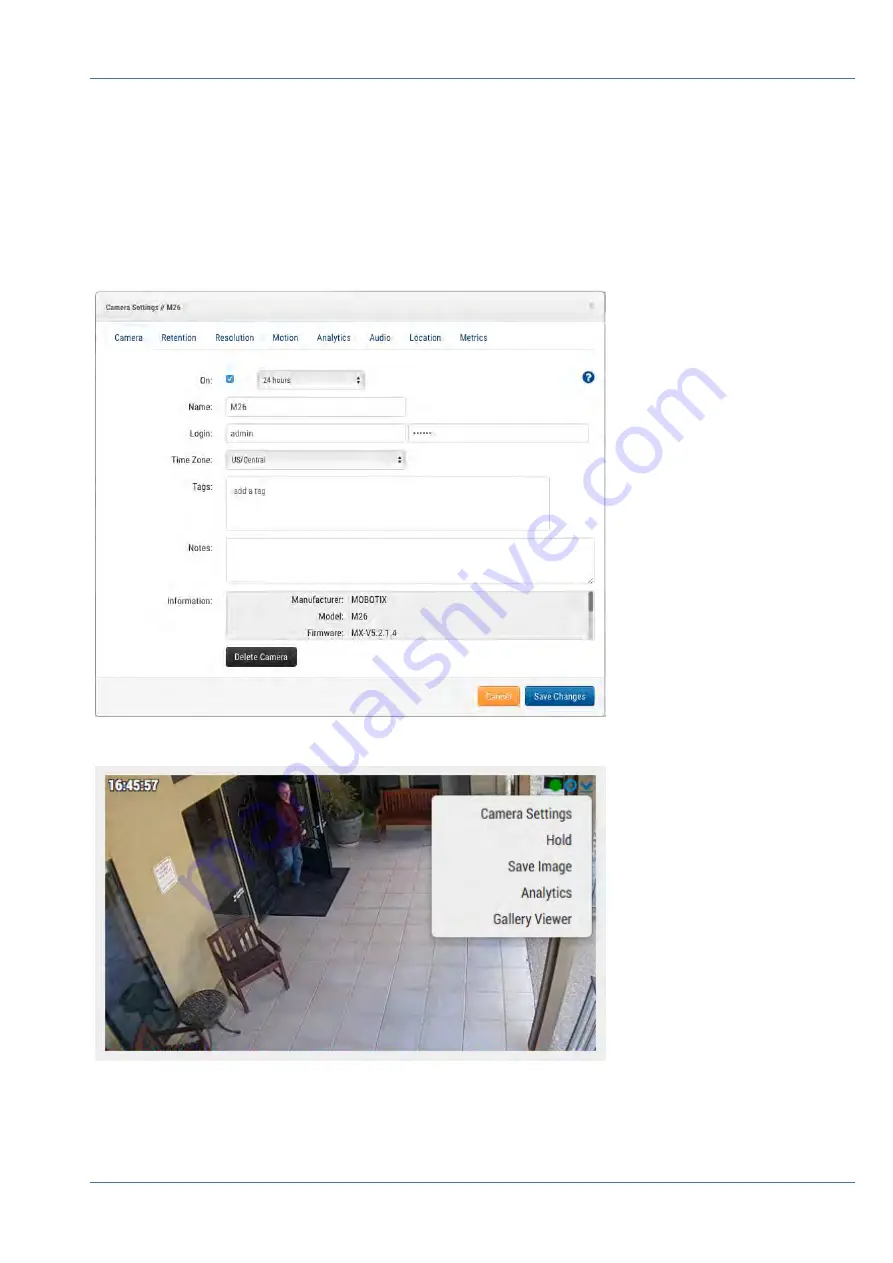
Configure Camera Settings
Select the
Gear
icon next to the cameras on the
Customer Dashboard
to adjust the camera settings. If using
a layout or camera view to see preview images, click the down arrow in the top right of the camera’s preview
to open the
Actions
menu (see
). Select the appropriate recording and resolution
settings. You may have to enter the ONVIF username and password for MOVE or ONVIF cameras (see optional
settings below in
).
Fig. 6: Camera settings
Fig. 7: Camera Action menu
Installation and Setup
Overview
23 / 102
Содержание Cloud Bridge
Страница 1: ...User Guide MOBOTIX Cloud 2020 MOBOTIX AG V02_5 14 2020 ...
Страница 4: ...4 102 ...
Страница 5: ...5 102 2 Support ...
Страница 7: ...7 102 3 Imprint ...
Страница 9: ...9 102 4 Notices ...
Страница 11: ...11 102 5 Legal Notes ...
Страница 13: ...13 102 6 Delivered Parts Connectors and Dimensions ...
Страница 17: ...17 102 7 Installation and Setup ...
Страница 25: ...25 102 8 Introduction ...
Страница 33: ...Fig 14 Adding cameras to a layout Introduction The Web User Interface 33 102 ...
Страница 35: ...35 102 9 Camera Settings ...
Страница 45: ...45 102 10 Bridge Settings ...
Страница 51: ...51 102 11 User Management ...
Страница 58: ...User Management Managing Users 58 102 ...
Страница 59: ...59 102 12 History Browser ...
Страница 73: ...Fig 58 Gallery Viewer choose display History Browser Using the Gallery Viewer 73 102 ...
Страница 74: ...History Browser Using the Gallery Viewer 74 102 ...
Страница 75: ...75 102 13 Motion Alerts and Regions of Interest ...
Страница 83: ...83 102 14 Bandwidth Considerations ...
Страница 91: ...91 102 15 Maps ...
Страница 96: ...Maps Using Maps 96 102 ...
Страница 97: ...97 102 16 System Alerts and Notifications ...
Страница 100: ...System Alerts and Notifications Using System Alerts and Notifications 100 102 ...
Страница 101: ...101 102 17 Technical Specifications ...


