

GPSMic. Installation Guide
GPSMic. Installation Guide
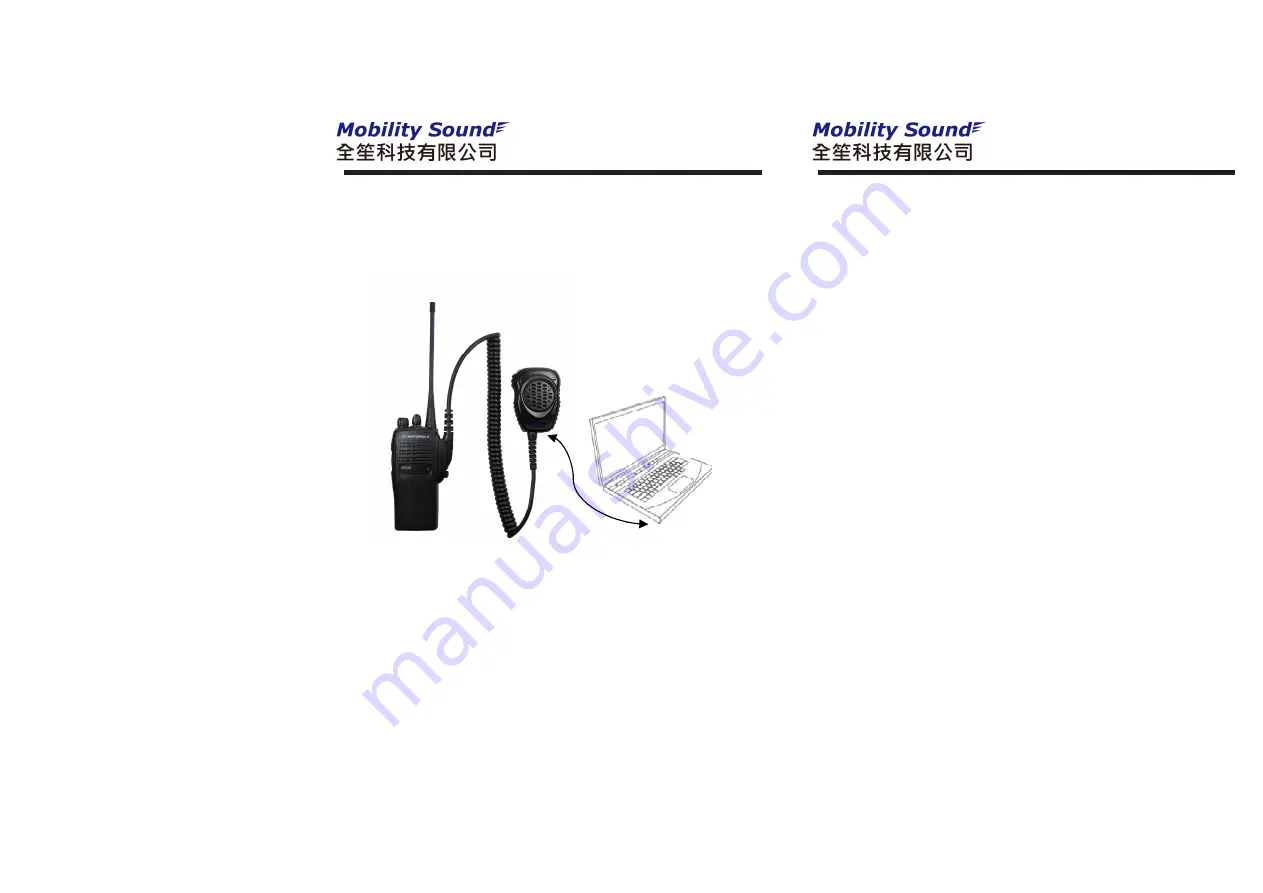
Serial
Portable GPSMIC Installation Diagram
CONNECT THE GPSMIC TO THE RADIO: Once the battery is charged, you are ready to connect the
GPSMIC to the portable two-radio it will be used with.
1. Ensure that the two-way radio is turned off whenever you connect or disconnect the GPSMIC to it.
Some radios will not properly detect that an audio accessory is connected if the GPSMIC is plugged in
while the radio is turned on.
2. Connect the GPSMIC to the two-way radio’s audio accessory / microphone jack.
3. Turn the radio on and wait approximately five seconds. The LED indicator on the side of the GPSMIC
will light green momentarily when the radio to which it is connected is switched ON, and red when the
radio is switched OFF.
4. Select the operating channel and set the volume to a comfortable listening level.
5. The GPSMIC is now ready for use.
CONNECTING AN EARPHONE (optional): For privacy, the GPSMIC can be used with an earphone or
listen-only earpiece. Simply plug the earphone into the 3.5mm audio accessory connector on the
GPSMIC.
CONNECTION TO A COMPUTER (optional): Some GPSMICs can be connected to a computer running
the GPSMIC Tools software suite in order to allow the visual display of location reports received over
the air. Not all GPSMICs have this ability. You must have a Base Enabled GPSMIC and the base
station mode must be set up during programming of the unit in order to take advantage of this
capability. If you are not sure whether your GPSMIC supports this feature, contact your system
administrator or the dealer which sold you the GPSMIC.
1. Connecting a Base Enabled GPSMIC to a computer requires an USB cable and the
GPSMIC Tools software suite.
2. Install USB driver..
3. Insert the U S B cable into the charging / programming port on the GPSMIC. This is located at the
back cover of GPSMic.
DISCLAIMER: This guide covers typical installations. Some installations may require a slightly different
procedure or equipment. The information contained in this help file is believed to be correct as of the
date of publication. However, follows a policy of continuous development, so the information is
subject to change without notice, and does not represent a commitment on the part of Radio
Products. If you have questions, please contact Technical Support or your local dealer.
4. Start the GPSMIC Tools: C h e c k P o i n t software and connect to the proper com port number.
Refer to the software documentation for additional help.
GPS ACCURACY NOTICE: GPS location data is acquired from government satellites. Accuracy of this
data is subject to obstructions, reflections, interference, and government interventions, and is not under
control. Users should avoid placing absolute reliance on coordinates obtained from any GPS
receiving device.
version 1.0 Jan. 2010
Optional for BSU or
GPSMic configuration
Laptop
running Check
Point be a BSU
(Base Station
Unit)


