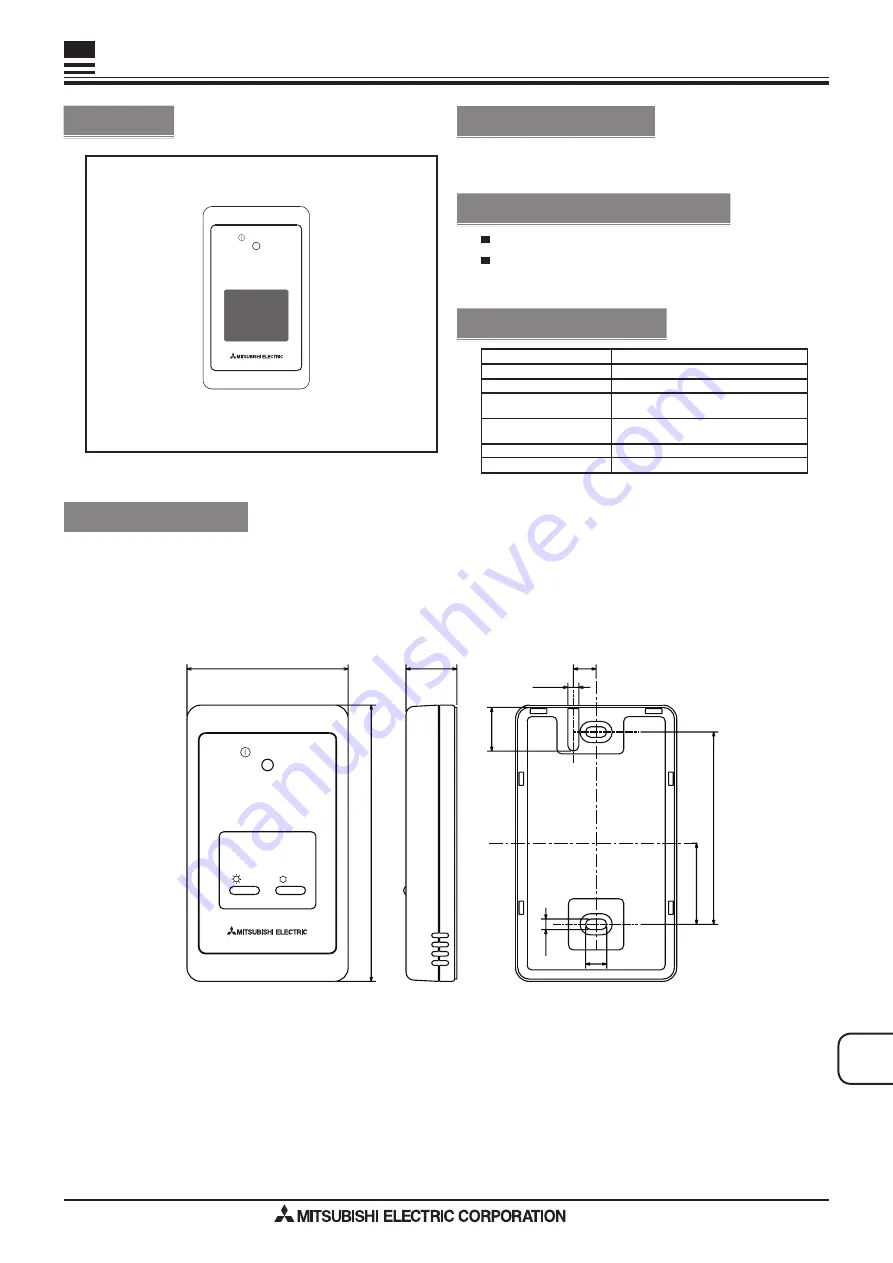
background image

OPTIONAL

PAR

TS

Enables the use of wireless remote controller.

Figure

Specifications

SEZ-KD

**N

A

PEA-

A**A

A

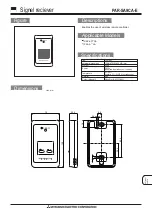
Signel reciever

PAR-SA9CA-E

Unit : mm

Descriptions

Applicable Models

Dimensions

ON/OFF

120(H)×70(W)×22.5(D) mm

external dimensions

Content

Item

DC12V

(supplied from indoor unit control)

Power

Tempreture

40

Humidity : 30

 ~

90%RH (no condensing)

Colour (Munsell)

White Grey (4.8Y7.92/0.66)

Material

ABS

0.2kg

Weight

9.9

83.5

19

4.8

35.2

9.2

4.6

22.5

120

70

ON/OFF

COOL

HEAT

Содержание PAR-SA9CA-E

Страница 1: ...E Unit mm Descriptions Applicable Models Dimensions ON OFF 120 H 70 W 22 5 D mm external dimensions Content Item DC12V supplied from indoor unit control Power Tempreture 0 40 Humidity 30 90 RH no condensing Colour Munsell White Grey 4 8Y7 92 0 66 Material ABS 0 2kg Weight 9 9 83 5 19 4 8 35 2 9 2 4 6 22 5 120 70 ON OFF COOL HEAT ...

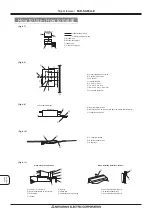
Страница 2: ...A Fix tightly with tape B Remote controller wire C Order wire Indoor unit Fig 8 8 Fig 8 11 H J I When using the switch box When installing directly on the wall A 150 mm 5 15 16 inch B Remote controller wire Accessory C Wiring pipe D Locknut H Seal around here with putty I Remote controller wire J Seal around here with putty E Bushing F Switch box G Seal around here with putty C D B F E G A Wall 8 ...

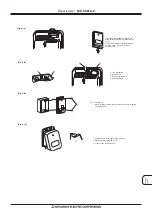
Страница 3: ... directly on the wall or the ceiling use wood screws Insert the minus screwdriver toward the arrow pointed and wrench it to remove the cover A flat screwdriver whose width of blade is between 4 and 7mm 5 32 9 32inch must be used Fig 8 15 1 1 2 A 1 Hang the cover to the upper hooks 2 places 2 Mount the cover to the lower case A Cross section of upper hooks Signal reciever PAR SA9CA E ...

Страница 4: ...al block Fig 8 12 5 Installing hole when the Signal Receiving Unit is installed on the wall direct Fig 8 13 Cut the thin wall portion inside the bottom case oblique section by a knife or a nipper Take out the connected remote controller wire to the terminal brock through this space 6 Install the lower case on the switch box or directly on the wall Fig 8 14 Mounting the cover Fig 8 15 Caution Inser...

Отзывы: