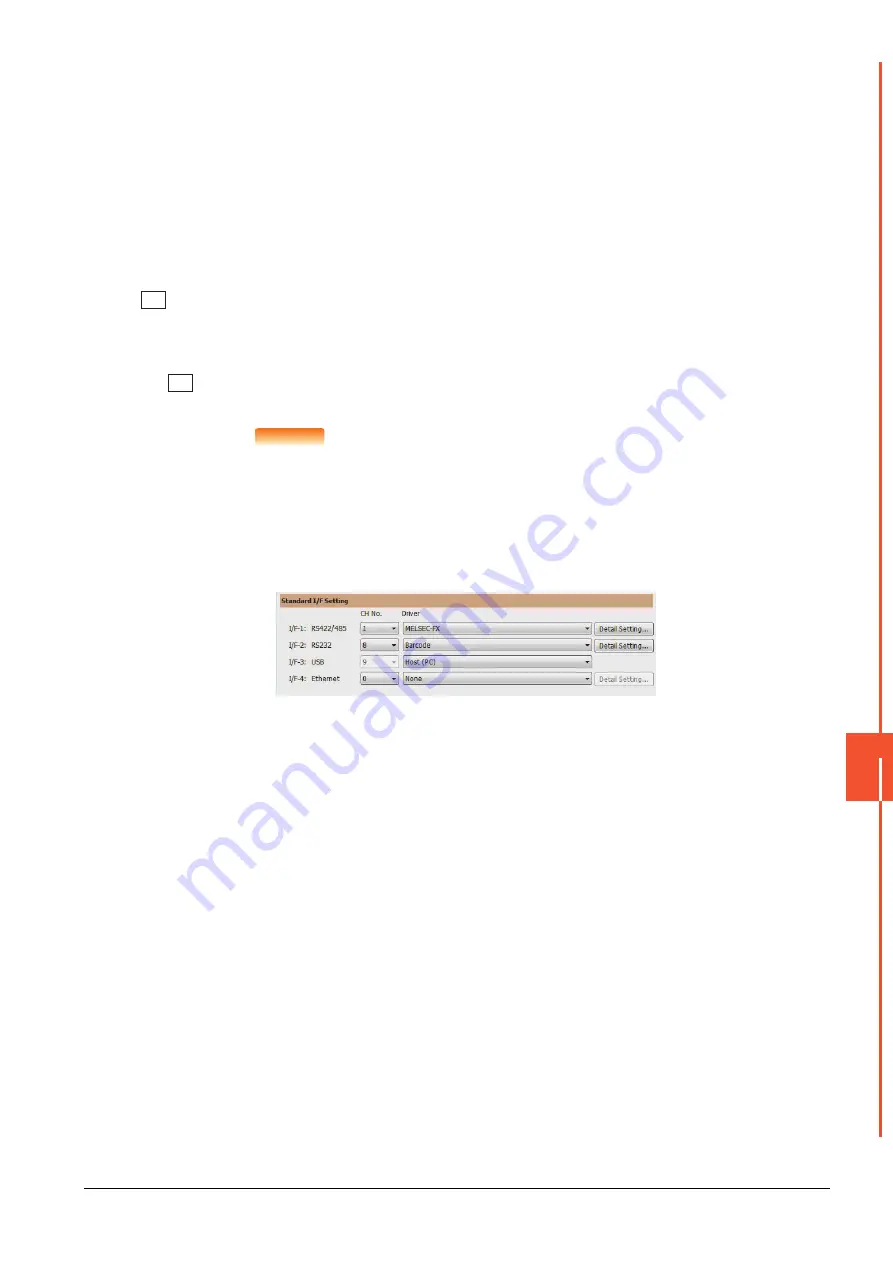
11.1 Standard I/F Setting
11 - 3
COMMUNICA
TION
IN
T
E
R
FACE SETTI
NG (COMMUN
ICA
T
ION SETTING)
11
(3) Driver display BOX
(a)
The driver display box displays the names of communication drivers assigned to channels or the
communication drivers set in the communication settings of drawing software.
For details of the communication drivers to be displayed, refer to the following.
➠
GT Designer3 (GOT2000) Help
(b)
"Disuse" is displayed in the driver display box in the following cases:
• The communication driver is not installed.
➠
• "0" is set in the channel number specification menu box.
(c)
The channel number of the standard I/F-3(USB) is fixed to "9".
(4)
button
Displays the driver setting screen.
Select the driver to use on the driver setting screen.
➠
11.1.6 Driver setting operation
The
button is displayed in the following case.
• When a channel number other than channel 0 or 9 is set to the standard I/F-1, standard I/F-2, and standard I/F-4
POINT
POINT
POINT
Precautions for communication between GOT and connected devices
(1) Installing [Communication driver] and downloading [Communication Settings]
To perform communication with the connected device, the following actions are necessary.
1) Installing communication drivers (Up to 2 drivers)
2) Assigning channel numbers and communication drivers to communication interfaces
3) Downloading contents (project data) assigned in step 2)
Perform 1), 2) and 3) with drawing software.
For details, refer to the following.
➠
GT Designer3 (GOT2000) Help
(2) When the communication settings have not been downloaded
If the communication settings have not been downloaded with drawing software, set the
communication settings on the drawing software or in the GOT utility screen.
Drv
Drv
Содержание GOT SIMPLE GS2107-WTBD
Страница 1: ...GRAPHIC OPERATION TERMINAL User s Manual GOT SIMPLE Series ...
Страница 2: ......
Страница 22: ...1 4 1 1 Features ...
Страница 26: ...2 4 2 2 Component List ...
Страница 34: ...4 4 4 3 Bottom ...
Страница 42: ...5 8 5 2 EMC Directive Requirements ...
Страница 48: ...6 6 6 5 Installation Procedure ...
Страница 56: ...7 8 7 2 Wiring Inside and Outside the Panel ...
Страница 68: ...9 10 9 3 Utility Display ...
Страница 96: ...11 26 11 7 Keyword Step 5 Touch the Execute key Step 6 The keyword is deleted Touch OK Touch Touch ...
Страница 98: ...11 28 11 7 Keyword Step 5 Touch the Execute key Step 6 The protection is cleared Touch OK Touch Touch ...
Страница 100: ...11 30 11 7 Keyword ...
Страница 116: ...12 16 12 4 GOT internal device monitor ...
Страница 134: ...13 18 13 3 Login Logout ...
Страница 146: ...14 12 14 1 Time Setting and Display ...
Страница 260: ...17 6 17 3 Clean ...
Страница 266: ...20 2 ...
Страница 282: ...23 2 ...
Страница 288: ...REVISIONS 2 ...
Страница 291: ......


