4
4. Installing the Wireless Receiver
4.1 Connecting to the Cylinder unit
* Before installation, be sure to turn off the main power supply.
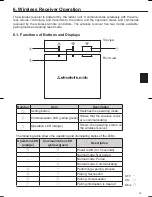
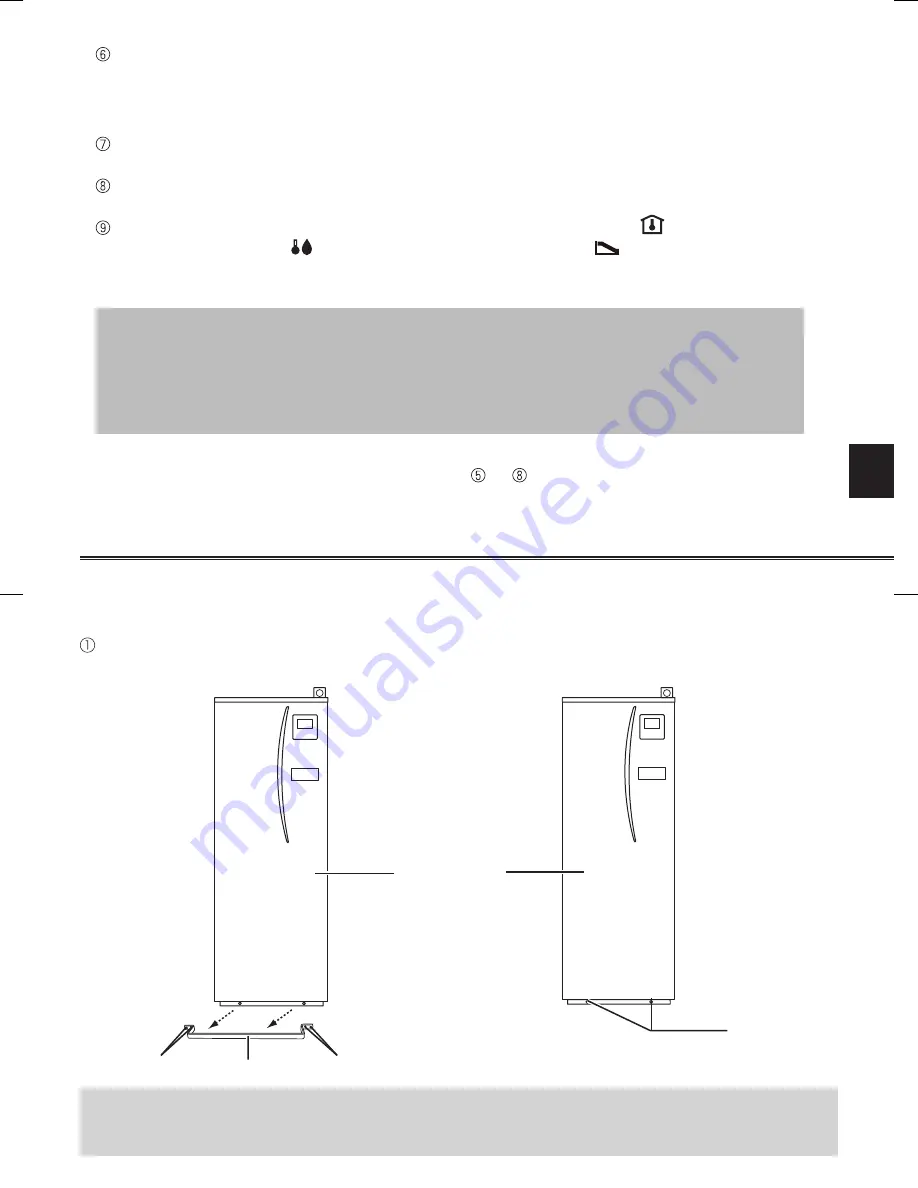
Remove the handle by removing four screws.
Remove the two screws that hold the front panel, and remove the panel.
Screws
(2 positions)
Front panel
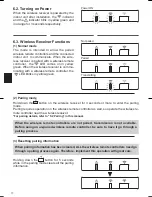
If the removed front panel is set aside away from the indoor unit, ensure the relay
connector on the main controller is disconnected.
Handle
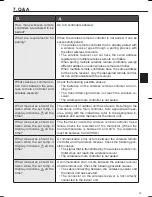
Test wireless communication between the wireless remote controller and the wireless
receiver.
(See “5.4 Communication Test” in “5. Setting the Wireless Remote Controllers” in this
manual.)
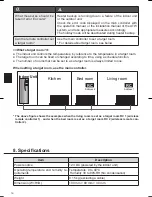
Position the wireless remote controller in an appropriate place.
(See "4. Before Operation" in OM.)
To set the wireless remote controller as a room sensor that monitors room temperature,
see "5.4 Main Controller Initial Settings" in IM.
Use the main controller to set the ATW system to the room temp. (
) mode.
When the flow temp. (
) mode or the compensation curve (
) mode is selected, the
wireless remote controller will operate as a thermostat. (See “
■
Initial Settings” of “5.4 Main
Controller” in IM.)
When the remote controller set as a room sensor runs out of battery or gets a
communication error during room temp. mode, the room temp. mode will auto-
matically switch to the compensation curve mode.
The room temp. mode will be restored by battery replacement or solution of com-
munication error.
Installation and setting of the wireless remote controller is complete. To set additional
wireless remote controllers, repeat from Step
to .
Screws (4 positions)
Screws


