26-629
26-629
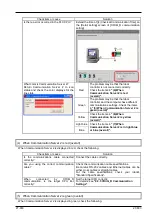
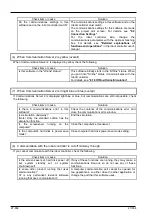
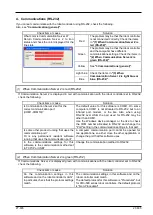
(4) Installer starts and the Setup screen appears. Install according to the instructions that appear on the screen.
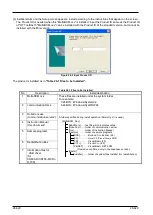
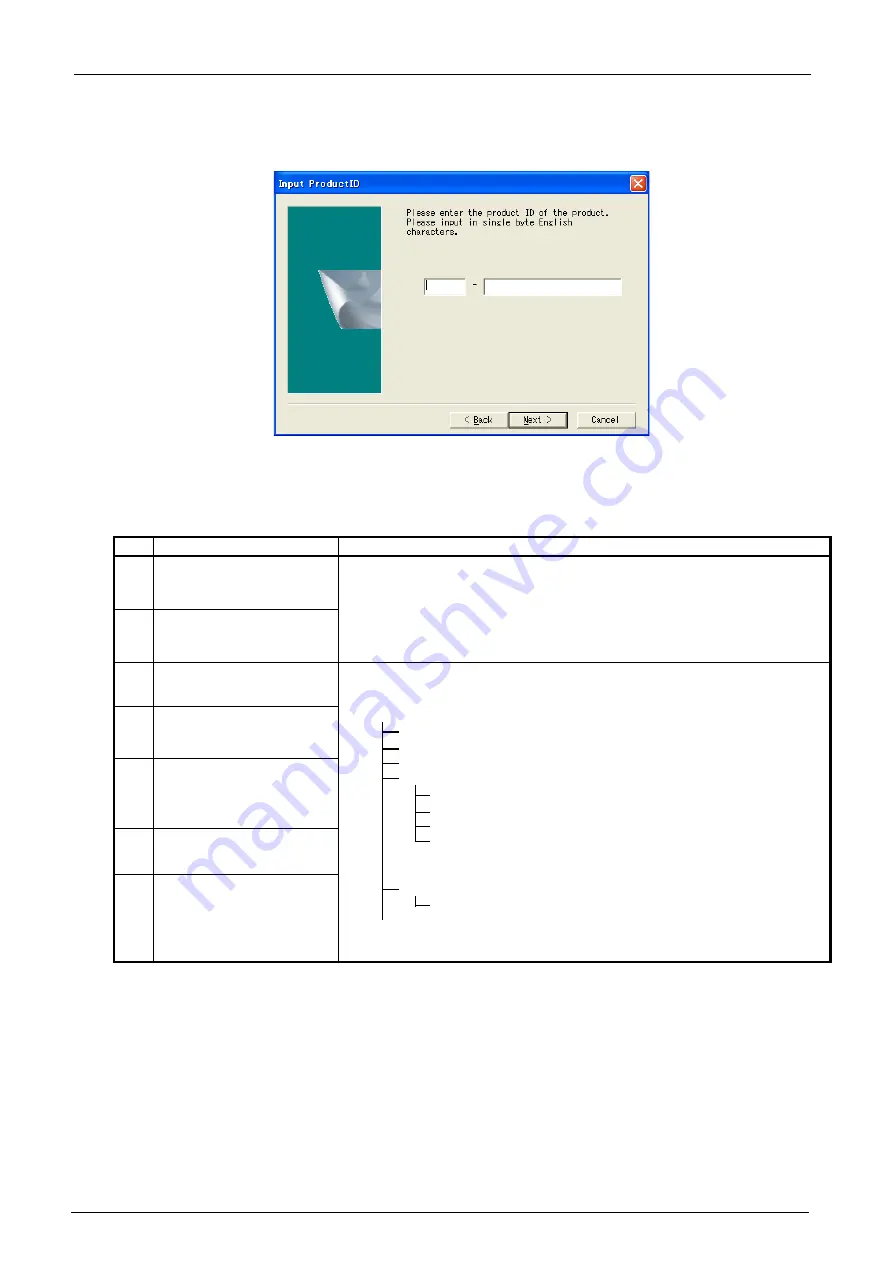
The Product ID is needed when this "MelfaRXM.ocx" is installed. Input the Product ID same as the Product ID
of "RT ToolBox3". "MelfaRXM.ocx" can be installed with the Product ID of the standard version, but cannot be
installed with the Mini version.
Figure 26-4 Input Product ID
The product is installed as in
"Table 26-1 Files to be Installed".
Table 26-1 Files to be Installed
No.
Description
Install destination
1
MelfaRXM.ocx
These files are installed under the system folder.
For example:
32bitOS : \Windows\System32
64bitOS : \Windows\SysWOW64
2
communication DLLs
3
RoboCom.exe
(communication server2 )
A folder specified during install operation (Normally, C:/ is used.)
[MelfaRXM_Dev]
ReadMe.txt ······ text file which indicates notes
[RoboCom] ······ folder of communication server
[Doc] ·············· folder of Instruction Manual
[Sample] ········· folder of sample programs
[BCB] ··········· Borland C++ Builder (5.0)
[
CS] .................... Visual C# (Visual Studio 2010)
[VB] ············· Visual Basic (6.0)
[VC++]·········· Visual C++ (6.0)
[VB.NET] ······ Visual Basic .NET 2003
(Operation confirmed only in the Japanese version.)
[Redist]
[Installer] ······· folder of system files Installer (for redistribution)
4
Instruction Manual
(this document)
5
Sample programs
6
Redistribution files
7
Information files for
USB driver
(for
CR800-D/CR750-D/CRn
D-700)
Содержание 3F-14C-WINE
Страница 84: ...8 84 8 84 Figure 8 21 Parameter transfer procedure 1 2 2 ...
Страница 393: ...18 393 18 393 Figure 18 1 Starting the Oscillograph ...
Страница 413: ...18 413 18 413 Figure 18 24 Output to Robot program Selection ...
Страница 464: ...18 464 18 464 Figure 18 72 Starting the Tool automatic calculation ...
Страница 545: ...21 545 21 545 Figure 21 55 Hide display of user mechanism ...
Страница 624: ...24 624 24 624 Figure 24 4 Document output example ...

