1
These instructions must be left with the user
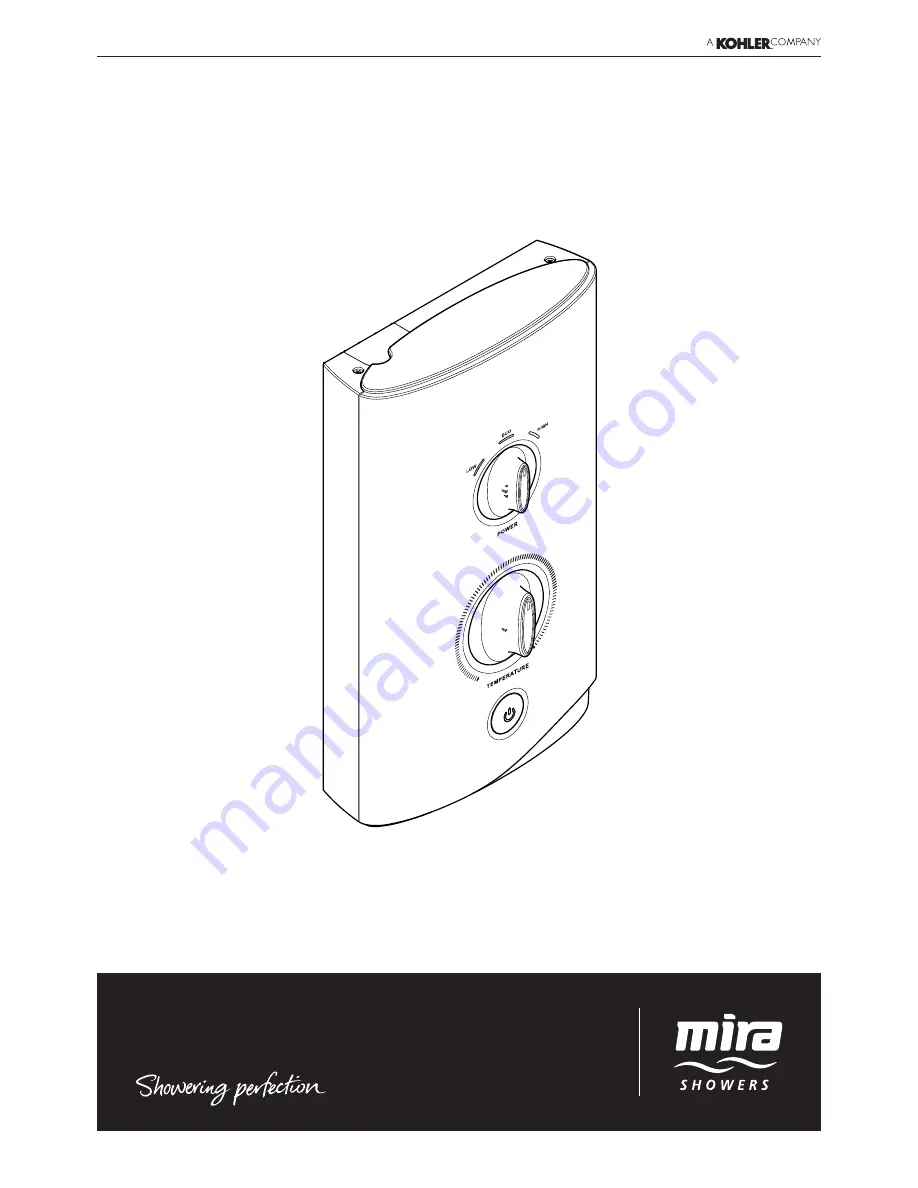
Installation Guide
Mira Sport
7.5, 9.0, 9.8 & 10.8 kW
Страница 1: ...1 These instructions must be left with the user Installation Guide Mira Sport 7 5 9 0 9 8 10 8 kW...
Страница 2: ...wer Mira Sport electric showers have separate controls for power selection and for When this shower has reached the end of its serviceable life it should be disposed of in a safe manner in accordance...
Страница 3: ...n if there is a possibility that the water in the shower is frozen 6 DO NOT switch the shower on if water starts leaking from the shower case Isolate the electrical supply to the shower immediately 7...
Страница 4: ...xes to familiarise yourself with the part names and to 1 x Mira Sport Electric Shower 3 x Wall Plugs 1 x Compression Nut 3 x Fixing Screws 1 x Olive 1 x Installation Guide 1 x User Guide 1 x Guarantee...
Страница 5: ...DIAGRAM INLET CONNECTOR TERMINAL BLOCK HEATER TANK MICRO SWITCH L MICRO SWITCH R SOLENOID LED LED HOUSING PUSH BUTTON SWITCH BROWN B GREEN D BLUE C RED K BROWN J BROWN G RED H BLUE E BROWN F B L U E E...
Страница 6: ...70 kPa Q 100 kPa X Maximum Dynamic Pressure Z Z Minimum Static Pressure Maximum Static Pressure X X Maximum Inlet Temperature 30 C Minimum Inlet Temperature 2 C Inlet Connection 1 2 BSP Male 15 mm Co...
Страница 7: ...be positioned over a water catchment area with the controls at a convenient height for the user 6 7 DO NOT 8 DO NOT seal the gap between the shower and the wall surface 9 The showerhead should be pos...
Страница 8: ...xcessive limescale formation are 17 The installation must not cause the hose to be sharply kinked during normal use 18 DO NOT perform the electrical installation until the plumbing has been completed...
Страница 9: ...lies with the relevant regulations 4 must be provided from the consumer unit to the shower 5 DO NOT supply any other electrical equipment including extractor fans or pumps via this product 6 This show...
Страница 10: ...l Remove the three screws that hold the cover on and remove the cover Remove the service tunnel Using the installation template supplied mark the positions of the three Note Ensure that there are and...
Страница 11: ...l pipe Determine the direction and route of the incoming water supply falling entering the shower from NOTE DO NOT use an incoming supply entering the shower directly from the back and connect it as a...
Страница 12: ...tion of the installation ensure connections and back case are not under any stress due to misaligned pipework or electrical cables Terminal Block Outlet Connector Cold Water Supply Pipe Inlet Connecto...
Страница 13: ...cover Tighten the three cover screws Screws Cover Spindles Service Tunnel Screw 16 17 18 19 20 21 LOW HIGH ECO POWER TEMPERATURE Do not use alternative screws to secure the cover This can cause inter...
Страница 14: ...button Light in the button illuminates few seconds temperature remains cool Slowly turn the temperature control to the hot position Turn temperature control back to the midway position Flow is reduce...
Страница 15: ...st automatically in the button goes out Switch off the electrical supply The shower will purge water from its tank for a few seconds Note and high shower temperatures will affect the tone This is quit...
Страница 16: ...ists contact your installer Check case inserts are cut services electrical or with location of service tunnel or cover Shower cycles from hot to cold ON ECO HIGH Showerhead blocked Hose kinked or bloc...
Страница 17: ...utlets e g Toilet garden hose washing water while the shower is being used Flush supply pipe Clean Contact local water company Supply pressure must be a minimum of 70 Q Note If other appliances are op...
Страница 18: ...switch faulty Replace as necessary Shower fails to produce hot water when set on Eco High setting ON ECO HIGH Possible failure of the microswitch or thermal switch Contact local water company Use a su...
Страница 19: ...n has been resolved Remove the three screws that hold the cover on the shower and remove the cover Remove the service tunnel from the shower Use a suitable spanner to remove assembly Hold a wrench acr...
Страница 20: ...ch LED 1746 445 Cover 1746 438 7 5kW 1746 439 9 0kW 1746 440 9 8kW 1746 441 10 8kW Heater Tank 872 01 Microswitch 1746 449 Terminal Block 1746 436 Thermal Switch 1746 447 Outlet Connector A B B A A A...
Страница 21: ...ds up when not in use Maximum User Weight 127 kg Note Must be installed onto a solid wall Premium Shower Seat White Chrome 2 1731 001 Grey Chrome 2 1731 002 Stylish slim line and robust shower seat fo...
Страница 22: ...22 NOTES...
Страница 23: ...23 NOTES...
Страница 24: ...ther assistance call our Customer Services Team enable you to cover repair bills for the life of your policy X _QXQ Helpdesk Service Our Customer Services Team is comprehensively trained and can offer...
Страница 25: ...1 These instructions must be left with the user LOW HIGH ECO TEMPERATURE POWER User Guide...
Страница 26: ...antee 0 1 Patents and Design Registration Design Registration 2 334567 589 3335 334567 589 3336 2 334567 589 3334 334567 589 333 Patents 2 5 4 9 5 59 3 Ireland 82835 Patent Application 2 533 3 5 Produ...
Страница 27: ...iance at electrical for safety and is recommended with all 8 DO NOT connect the outlet of the handset or showerhead other than those 7 or skin conditions can increase your WARNING P P Q R V X Y Q R X...
Страница 28: ...lectrical LOW HIGH ECO POWER Turn power control to the Q TEMPERATURE Q and shower continues to run 43 46 to stabilise and reach the COLD HOT H Check water temperature Switch off the electrical may con...
Страница 29: ...elect HIGH The Effect of Other Water Devices jR band if other outlets are pressure does not fall 93 03 9 1 Selected Temperature LOW HIGH ECO LOW HIGH ECO LOW HIGH ECO COLD HOT LOW HIGH ECO POWER TEMPE...
Страница 30: ...or DO NOT DO NOT use the showerhead to clean If the shower is not to be used for a water supply to the shower should be O Unscrew the hose from the showerhead and Cleaning De scaling the Showerhead Im...
Страница 31: ...or Turn the power control temperature control until a cooler temperature is Unable to select a V Vx Due to the rise in mains Turn the power control temperature control until a cooler temperature is V...
Страница 32: ...taller help R Extended Guarantees enable you to cover repair bills for the life of your policy 0 1 Q 34755 949 Helpdesk Service Our Customer Services Team is comprehensively trained 0 1 Mira Showers W...