13
Warranty
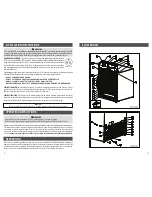
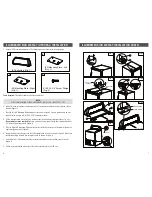
Installation Instructions
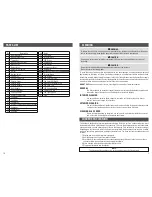
Operating Instructions
Defrosting
Cleaning
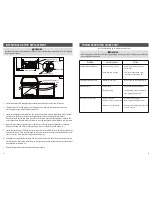
Condenser Cleaning
Interior LED Strip Replacement
ISD LED Strip Replacement
Illuminated Sign Display Installation
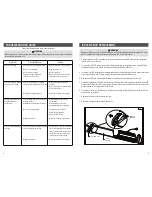
Troubleshooting Guide
Parts List
Illustration
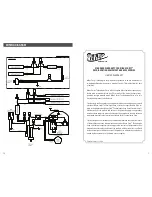
Wiring Diagram
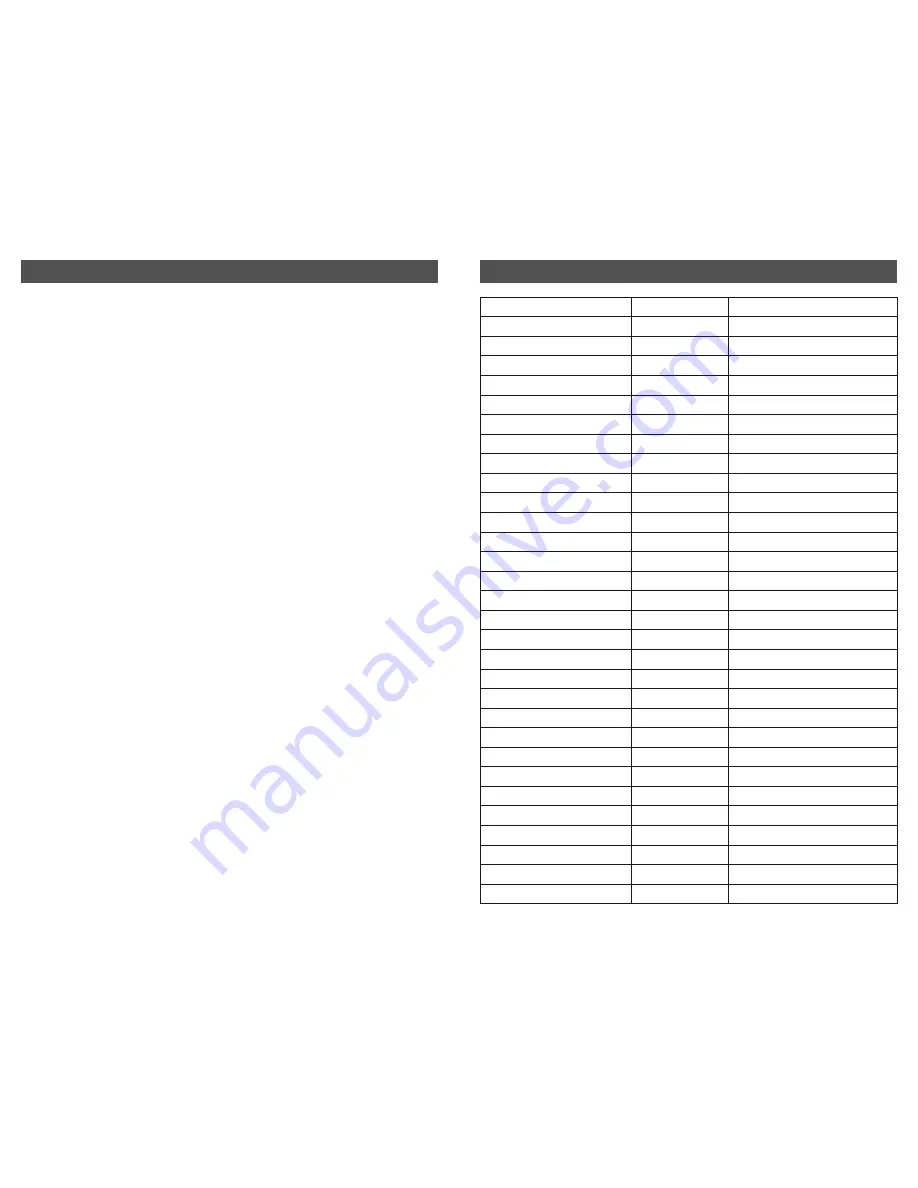
Repair/Service Log
1
2
2
2
3
3
4
5
6 - 7
8 - 9
10
11
12
13
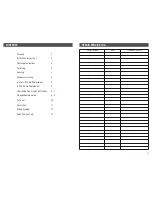
Service / Repair
Date
Tech Name / Phone #
CONTENTS
REPAIR SERVICE LOG