


-
4-18
5).
The
Important Information
screen appears. Click Continue.
6).
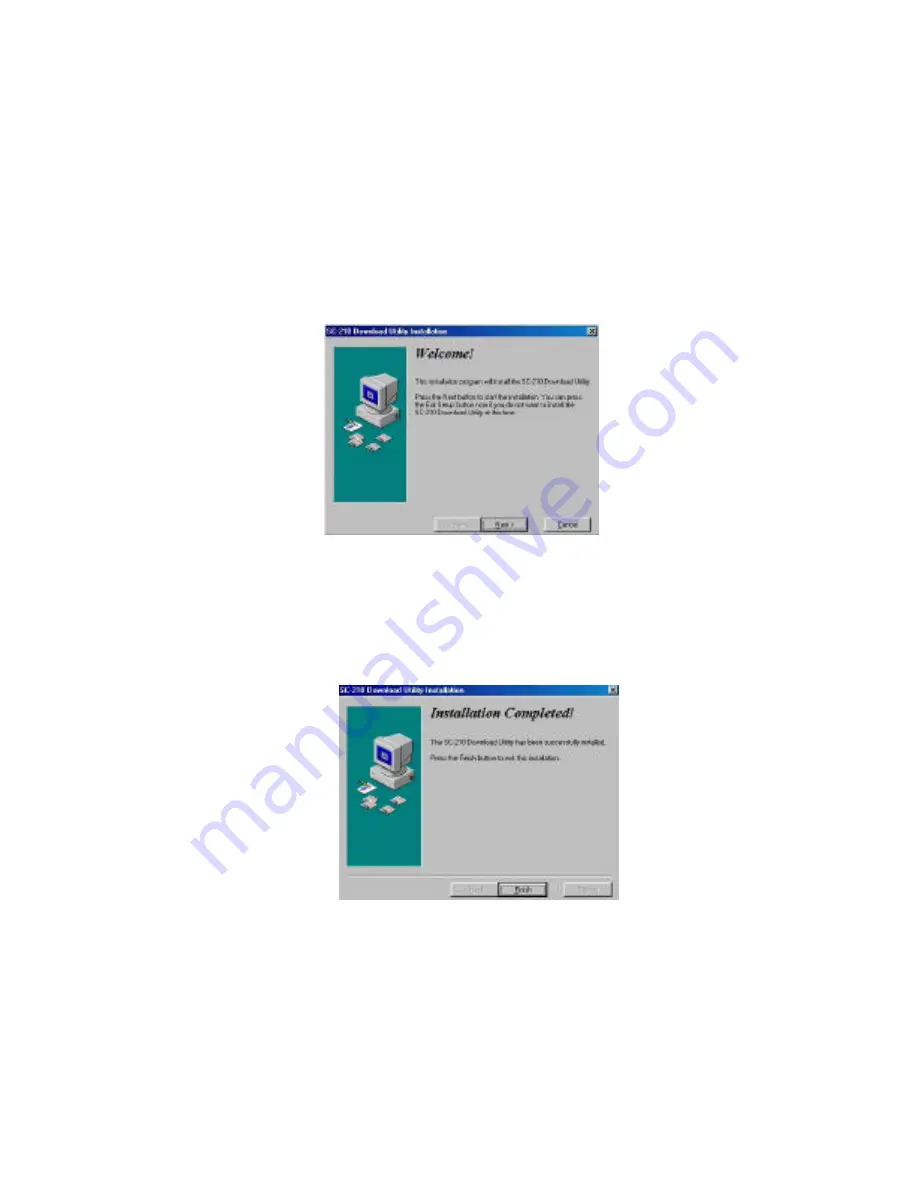
The
Welcome
screen appears. Click the “
Next
” button and follow
the on-screen instructions to install the
SC-210 Color Table
Download Utility
on your computer.
7).
Click the
“Finish”
button when the Finish message appears to
complete the installation.
Содержание SC-210
Страница 1: ...SC 210 User s Manual D N 250 0278 E Rev 1 0 Minolta QMS Inc ...
Страница 28: ... 4 16 Fig 3 1 Fig 3 2 ...
Страница 32: ... 4 20 3 SC 210 Download Utility screen appears as shown below ...
Страница 37: ... 5 2 The TWAIN user interface ...
Страница 63: ... 9 12 The Preview Button The Scan Button ...
Страница 67: ... 9 16 ...
Страница 70: ...9 19 ...


