miniDSP Ltd, Hong Kong /
/ Features and specifications subject to change without prior notice
19
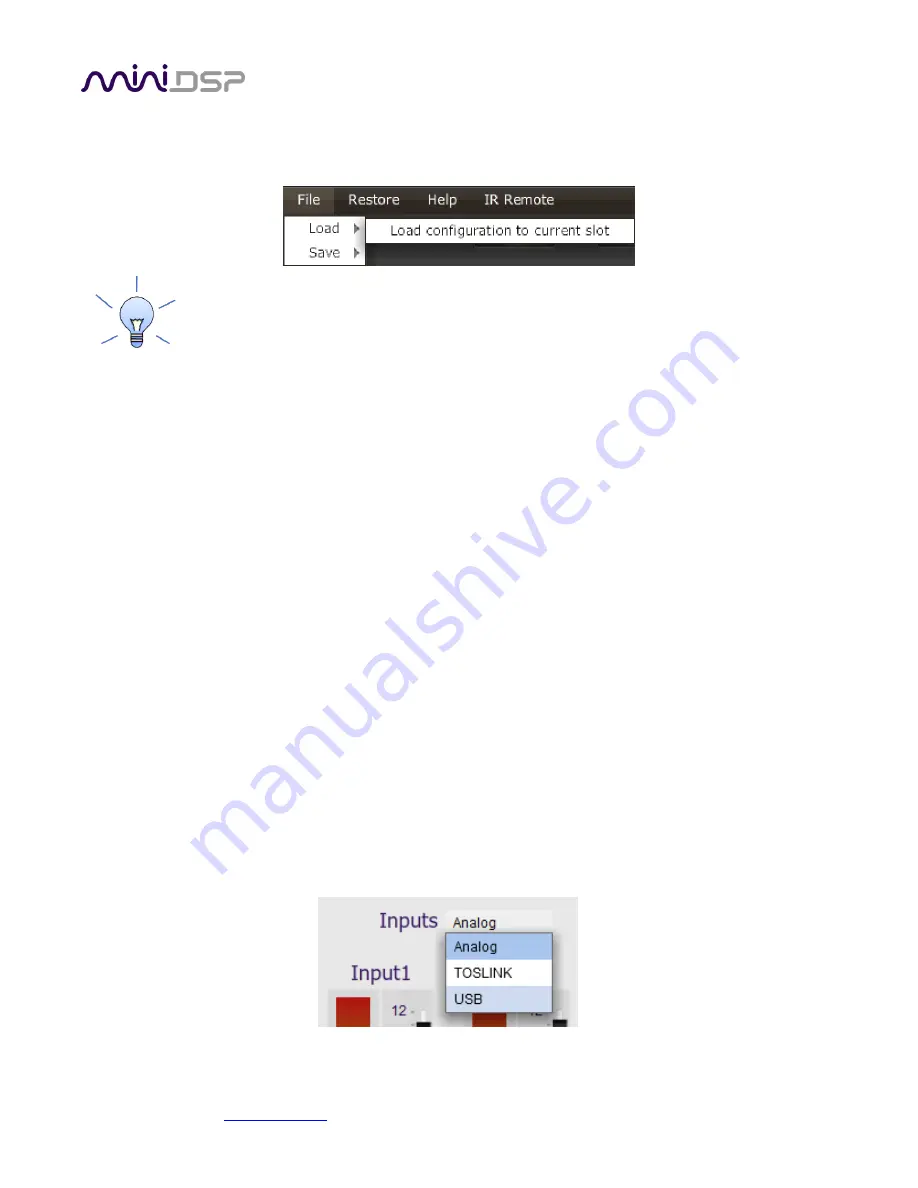
To load a configuration, ensure that the plugin is in online mode. Select the configuration preset that you wish
to load into. Then drop down the File menu, select
Load
, and then
Load configuration to current slot
.
To copy a configuration from one preset to another, save the configuration to a file, then select
a different configuration preset and load the file.
5.3.4
Restoring to defaults
Configurations can be reset to the factory defaults from the Restore menu. There are two options:
Factory Default
Reset all four configuration presets to the factory default settings.
Current Configuration Only
Reset only the currently selected configuration preset to the factory default settings.
5.3.5
Local configuration storage
When the Search box is used to connect to a SPK-4P, the previously used settings for that speakers are loaded
into the user interface. Note that these are not being loaded from the speaker but are stored locally in XML files
on the computer. The location of these files is:
/Users/[username]/Documents/MiniDSP/MiniDSP-2x4-HD/setting/[serialnumber]/
This is relevant in certain cases, such as if more than a different
computer is being used to configure the SPK4P’s
.
In this case, the best approach is to connect to the speaker, reset to defaults, then load the configurations for all
presets from saved files.
5.3.6
Input selection
When the plugin is connected to the SPK-4P
, the currently selected input appears next to the “Inputs” label.
Click on the current input name to drop down a selector menu, from which you can select a different input. For
AVB audio,
USB
must be selected.


