


On this screen you will see various configuration settings for the camera. Most of the defaults should be
fine for most situations. On the left side, under “Net config”, click on “Same PC” so that the camera has
the proper network settings.
On the right side you will find your Wifi network settings. Make sure the “Active” box is checked and that
“STA Mode” is selected. Click on “Search” to retrieve a list of in range Wifi networks. Choose your home
network and input your security information in the bottom right. If your security information is not
correct the device will not connect over Wifi. Please check your router settings for proper configuration
information. Click “OK” to save your settings.
Special note:
If your router’s SSID contains spaces, you will need to manually edit the SSID name to
correctly reflect the formatting of your router’s SSID. Spaces in SSID names are generally not
recommended, but they can be used.
In the main IPSearch screen, click “Reboot” to reboot the device. While the device is rebooting, disconnect
the Ethernet cable.
Let the device finish rebooting. If your settings were correct and saved successfully, your device will
reappear in the IPSearch program list. If you do not see your device, reconnect the Ethernet cable to the
router. You should then see the device appear in the list. If this is the case, that it appears with the cable
connection but not with the Wifi, it means your Wifi settings are incorrect. Please repeat the previous
steps and double check your wireless settings.
If your wireless settings are correct you can close the IPSearch program.
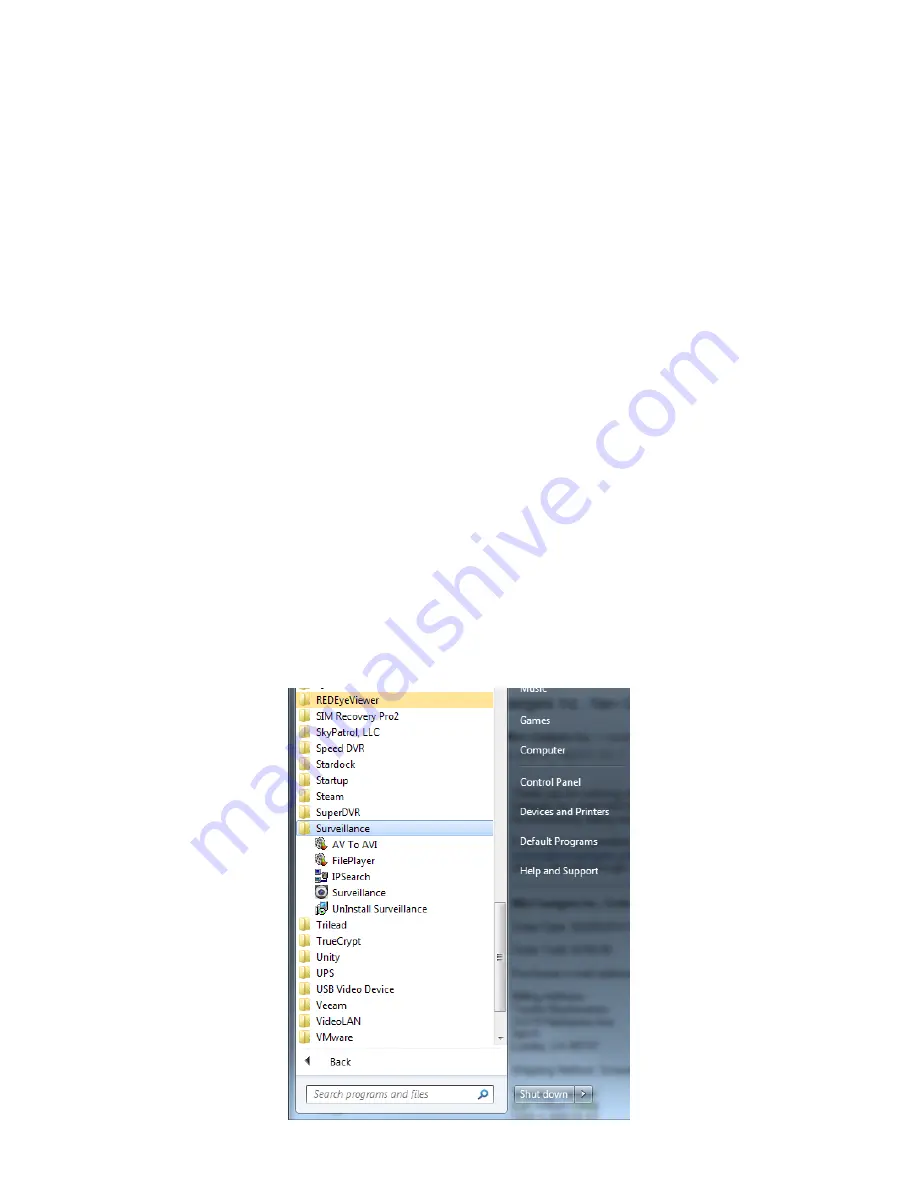
Surveillance Program Setup
In the previous steps you should have successfully installed the “Surveillance” program on your
computer. You should now have multiple shortcuts located on your Start Menu program list.


