


OPERATING THE USB CAMSTICK 32GB
IMPORTANT NOTICE: Allow the device to charge 4 – 6 hours before
using.
HOW TO CHARGE THE CAMSTICK
1.
Plug the USB stick into an open USB port on your PC
•
The blue light will blink while charging
•
The blue light will turn off when fully charged
HOW TO TURN ON THE CAMSTICK
1.
Insert a MicroSD card
2.
Push and hold the Power button for 3 seconds
•
The red/blue light will turn on
•
The camstick will vibrate once
•
The red/blue light will turn solid red
•
The camstick is now in
standby mode
HOW TO TURN OFF THE CAMSTICK
1.
Push and hold the Power button for 3 seconds
•
The red light will blink 3 times
•
The camstick will vibrate once
•
The camstick is now turned off
HOW TO RECORD VIDEO
1.
Put the camstick into
standby mode
2.
Push and hold the Video button for 3 seconds
•
The red light will blink 3 times and then turn off
•
The camstick will vibrate 3 times
•
The camstick is now recording video
3.
Push the Video button
•
The red light will blink rapidly
•
The camstick will vibrate once
•
The camstick has stopped recording video
HOW TO TAKE A PHOTOGRAPH
1.
Put the camstick into
standby mode
2.
Push the Photo button
•
The light will turn blue
•
The camstick will vibrate
•
The light will turn red
•
The camstick has taken a photograph
HOW TO USE MOTION DETECTION
1.
Put the camstick into
standby mode
2.
Push the Motion Detection button
•
The red/blue light will blink 4 times
•
The camstick will vibrate 3 times
o
When the camstick detects motion, the blue
light will blink and begin recording
3.
Push the Motion Detection button
•
The red/blue light will blink
•
The camstick will vibrate once
•
The red light will turn on
•
The camstick has stopped recording and is back in
standby mode
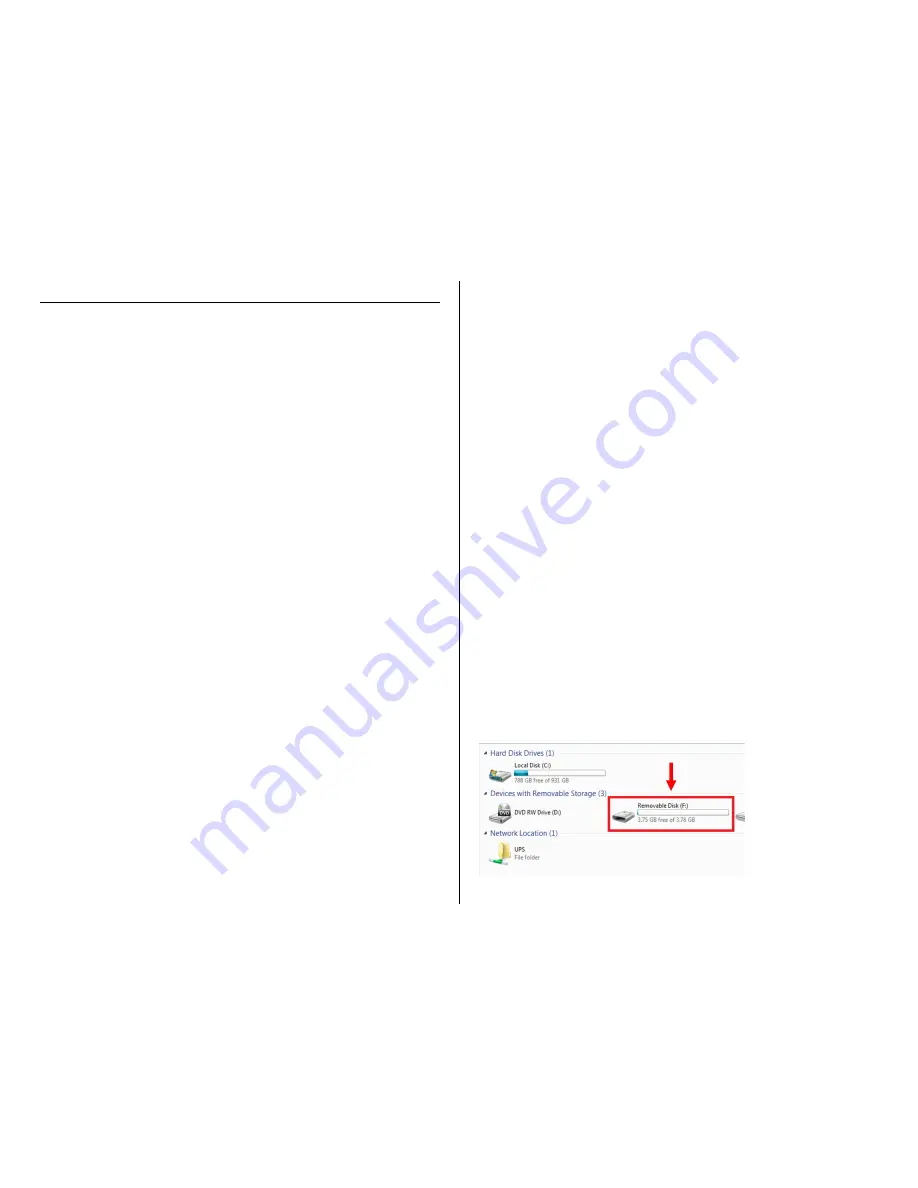
HOW TO RESET THE TIME AND DATE STAMP
1.
Plug the device into your PC using the USB cable
2.
Turn on the device
3.
Locate “Removable Disk” inside the (My) Computer folder
•
Go to Start > Computer > Removable Disk


