


Page 18 of 39
AN-49-005 (December 23, 2019) M176825 (R95497) File: AN-49-005(J).doc
This document and its contents are the property of Mini-Circuits
3
Chapter 3 – Using Mini-Circuits GUI
All attenuator models are supplied along with API programming objects (DLL files) to allow easy
control by most common lab test software (See attenuator programming manual for details) and
with a Windows GUI program to set the attenuation level manually.
To start the program
go to the Start menu
and select All Programs>Mini-
Circuits>ProgrammableAttenuator. The “Mini-Circuits Programmable Attenuator” icon should be
waiting there for you. Click on it and get started!
3.1
Starting the GUI program
3.1.1
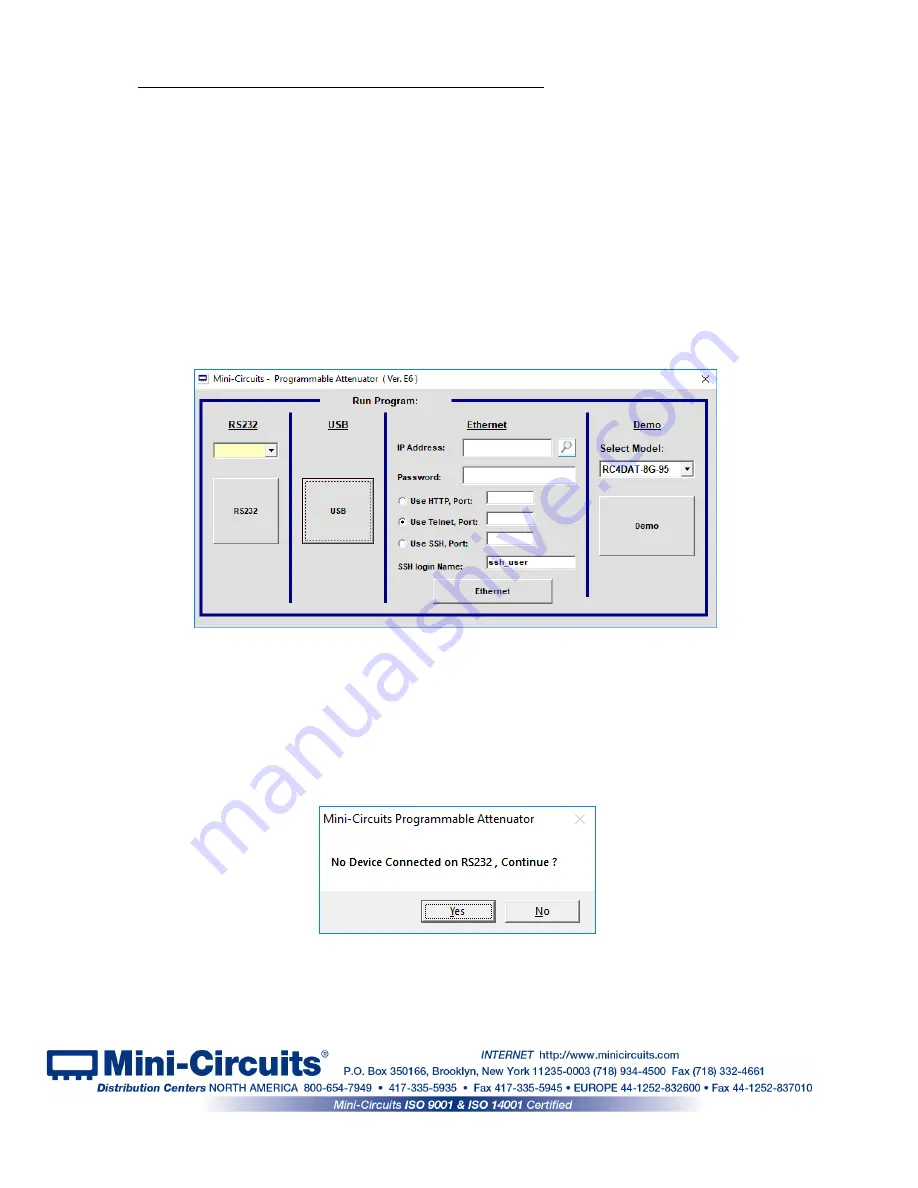
When started the GUI will
show the control selection screen allowing you to
choose RS232, USB, HTTP, or Telnet control.
3.1.2
To start a RUDAT or ZVVA unit in RS232 control
select the COM port the
unit is connected to from the drop box in the left section and click on the RS232 button. If no
unit is found at the COM port selected an alert will pop up advising no unit is connected. Click
“Yes” to proceed anyway, or “No” to return to startup screen. If you get this alert when unit is
connected check the power and data connections to the attenuator and verify you selected the
correct COM port.
Figure 3.1.2:
No unit in RS232 alert
Figure 3.1.1:
Startup Screen


