


Setup Process continued
4
Project desktop image onto mimio Board surface. Make
sure there is a 2-3” buffer between the left edge of the
projected image and the left edge of the mimio Board.
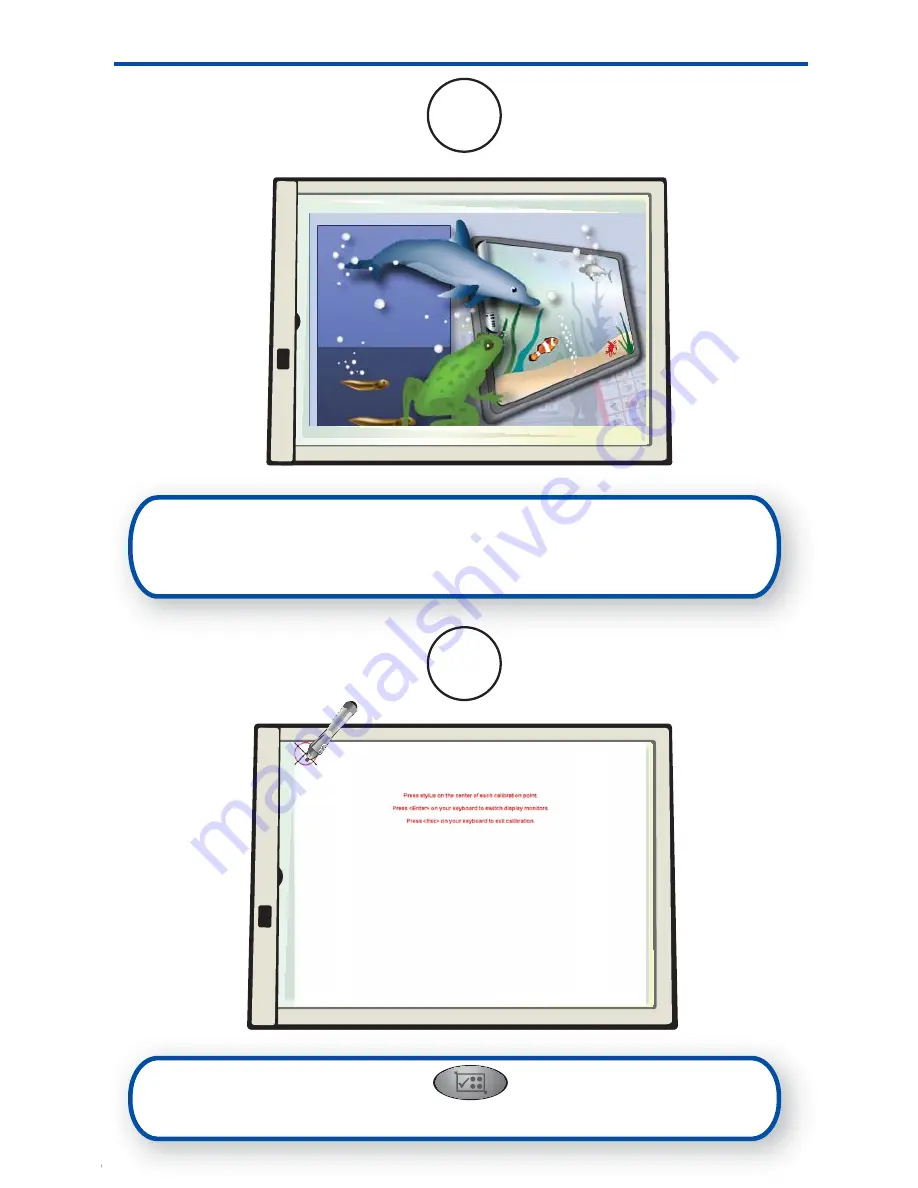
6
5
Press the interactive button on the mimio Board
to begin the calibration routine. Follow onscreen instructions.