- 2.16 -
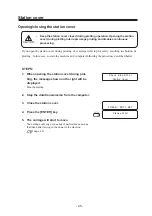
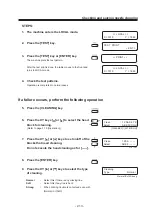
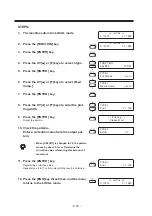
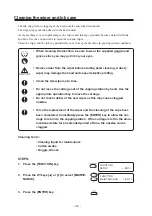
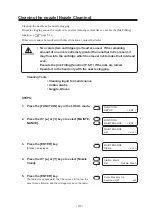
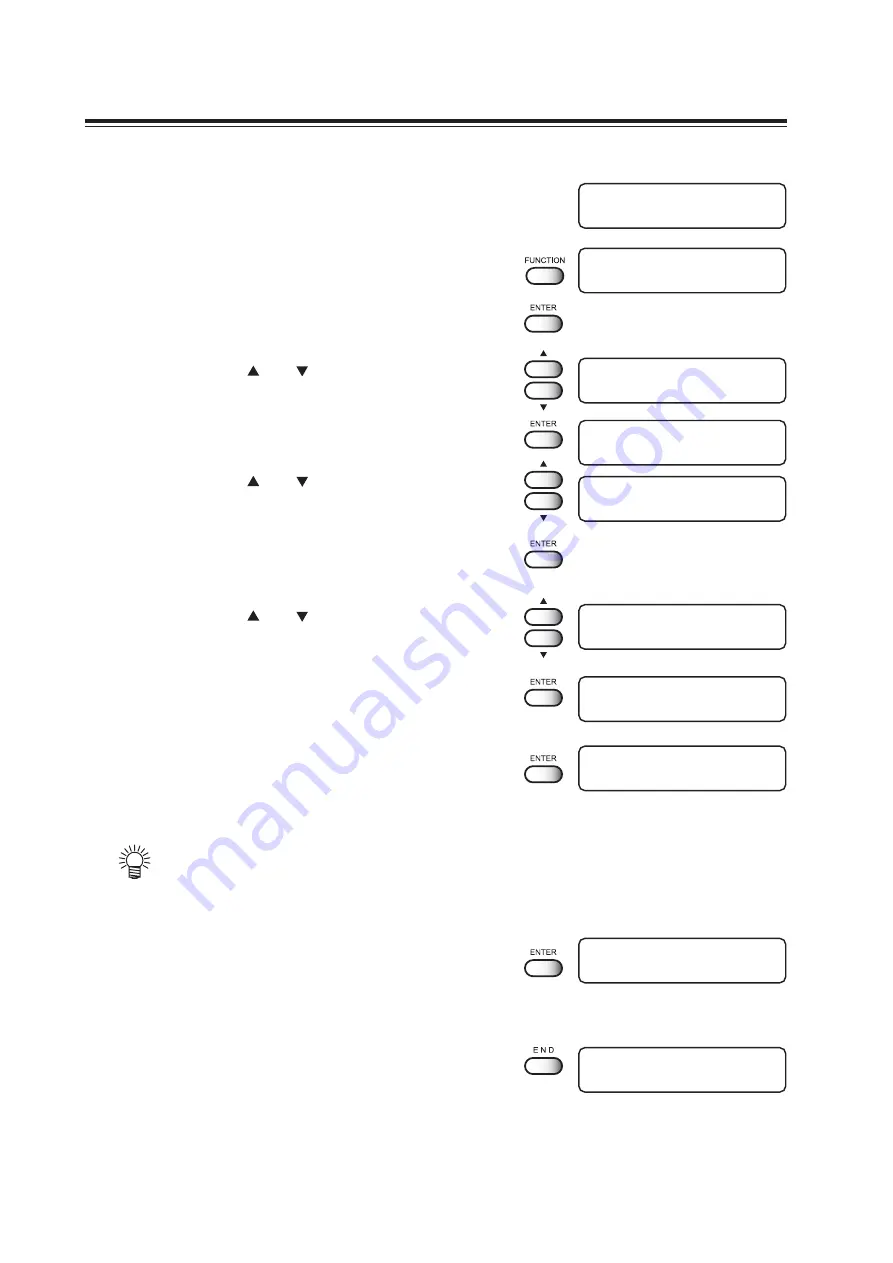
STEPS:
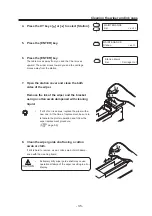
1.
The machine enters the LOCAL mode.
2.
Press the [FUNCTION] key.
3.
Press the [ENTER] key.
4.
Press the XY [ ] or [ ] keys to select a type.
5.
Press the [ENTER ] key.
6.
Press the XY [ ] or [ ] keys to select [Feed
Comp.].
7.
Press the [ENTER ] key.
8.
Press the XY [ ] or [ ] keys to enter the plot-
ting width.
9.
Press the [ENTER ] key.
Output the pattern.
10. Check the patterns.
Enter a correction value from the output pat-
tern.
• When [ADJUST] is changed to 30, the pattern
moves by about 0.1 mm. Determine the
correction value referencing this amount of
movement.
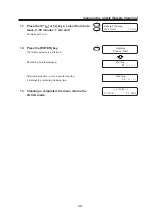
11. Press the [ENTER ] key.
Register the correction value.
Repeat steps 8 to 11 until normal plotting result is obtained.
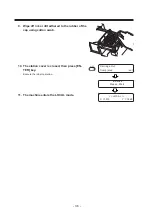
12. Press the [END] key three times, and the menu
returns to the LOCAL mode.
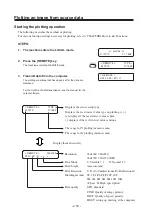
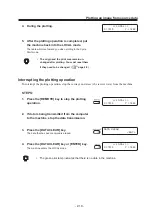
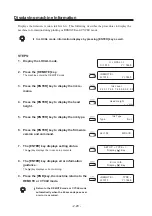
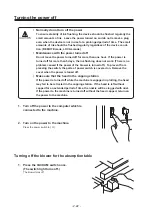
<< LOCAL >>
X =1010
Y = 1860
<< LOCAL >>
X =1010
Y = 1860
FUNCTION
SELECT
: TYPE1
TYPE
1
Print Mode
< ent >
TYPE
1
Media Comp.
< ent >
TYPE
1
: Y = 100
∗
∗
Printing
∗
∗
Please Wait
TYPE
1
Adjust
= 0
TYPE
1
: Y = 100
<< LOCAL >>
X =1010
Y = 1860
Содержание DM3-1810S
Страница 2: ......
Страница 20: ... xvi ...
Страница 34: ... 1 14 ...
Страница 76: ... 3 20 ...
Страница 112: ... 6 10 ...
Страница 131: ... A 19 TYPE Refresh Level3 TYPE mm inch mm X Level0 Level3 X inch Function flowchart ...
Страница 141: ... A 29 MAIN Ver1 00 I F Ver Function flowchart ...
Страница 144: ...D201258 1 10 30032007 ...
Страница 145: ......
Страница 146: ...PrintedinJapan MIMAKI ENGINEERING Co Ltd FW 5 10 NH ...

