Ï
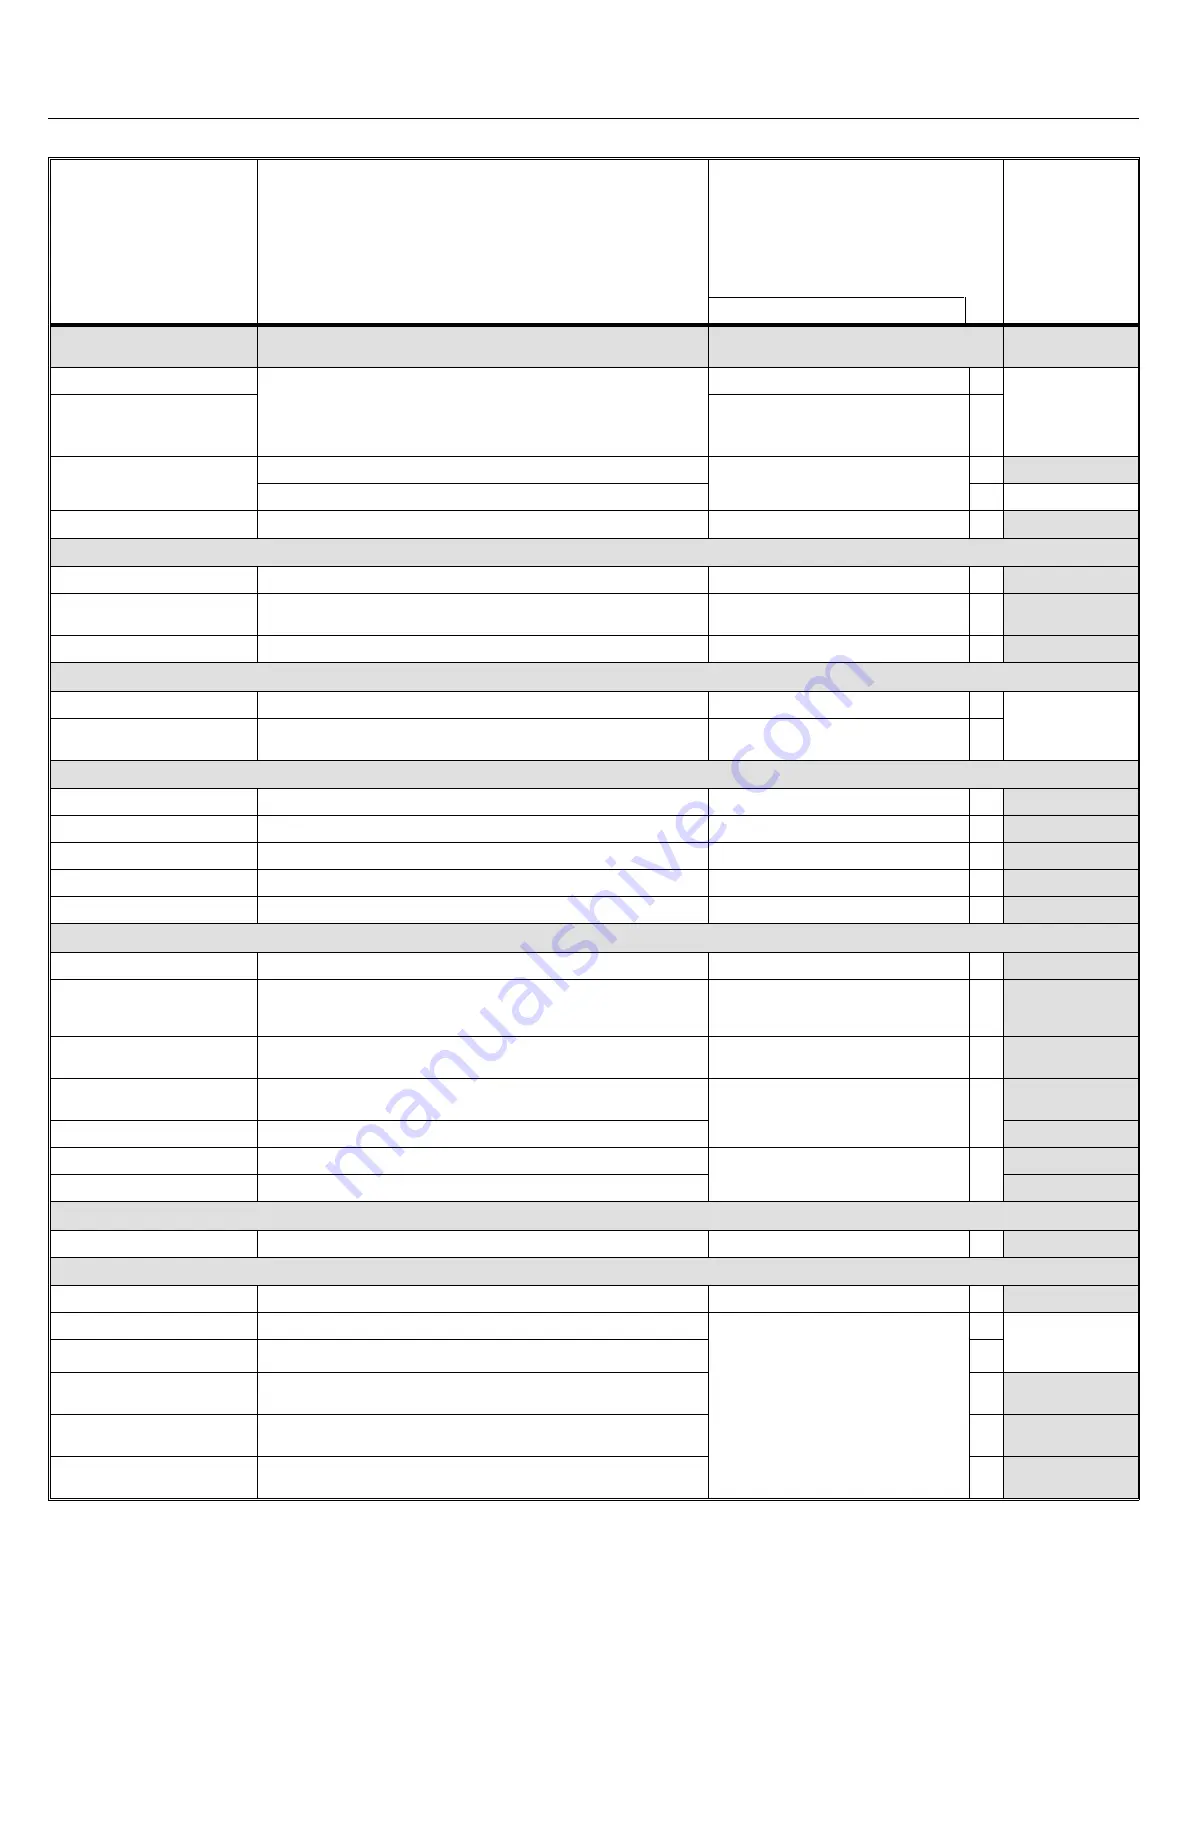
Preventive Maintenance Checklist
COMPONENT
ACTION
FREQUENCY
D = Daily
W = Weekly
M = Monthly/200 Hours*
Q = Quarterly/500 Hours
S = Semi-Annually
A = Annually
(*See NOTE 1)
ADDITIONAL INFORMATION
LUBRICANT
SPECIFICATIO
NS
MOTORS AND DRIVE
COMPONENTS
FIGURE
•
Blower motor
See “BALDOR MOTOR MAINTENANCE...,”
MSSM0274AE, in this manual. See NOTES 2 and 3 below.
FIGURE 1
Q See motor
nameplate. If not
specified, use
Shell Dolium R
(or equivalent)
•
Drive motor
FIGURE 5
Q
•
Gear reducer
Check oil level.
FIGURE 5
Q
Change oil, 2 Gallons (7.5 Liters).
S Omala
®
150
•
Combustion blower
Check for soil build-up around cooling vents.
FIGURE 11
S
ALL DRIVE AND BASKET COMPONENTS
•
Belts and sheaves
Check for wear, belt tension, and alignment.
FIGURES 1 and 7
M
•
Drive, support, and guide
rollers
Check for alignment and wear. If service is required, see
Milnor
®
dealer.
FIGURES 2 and 6
M
•
Basket surfaces
Remove melted plastic.
FIGURE 9
W
BEARINGS
•
Main blower shaft fittings Slowly grease 0.12 oz. (3.54g) (two strokes at two places).
FIGURE 1
M Shell Darina
EP-2
(or equivalent)
•
Drive and support roller
shaft grease points
Slowly grease 0.12 oz. (3.54g) (two strokes at four places).
FIGURE 15
M
DOORS
•
Load door air cylinder
Verify no air leakage.
FIGURE 3
M
•
Remove access doors
Vacuum interiors, check seals for wear; replace if required.
Throughout machine
M
•
Unload door seals
Check for wear; replace if required.
FIGURE 8
M
•
Load door felt seal
Check for wear; replace if required.
FIGURE 9
M
•
Unload-door air cylinders Verify no air leakage.
FIGURE 12
M
AIR VANES, DUCTS, PLENUMS, SENSORS, FELTS, AND SEALS
•
Exhaust ducts
Check for lint build-up.
Throughout machine
W
•
Outlet/inlet temperature
probes (Also DRYVAC
if so equipped)
Check for melted plastic build-up. Clean or replace if
required.
FIGURES 1 and 2
M
•
Shaft seals, T-seal, and
T- seal tension spring
Check for wear and tight fit. If service is required, see
Milnor® dealer.
FIGURE 4
M
•
Main air damper
Test full open and full closed positions, using the manual
keypad function.
FIGURE 13
Q
•
Main air damper cylinder Verify no air leakage.
•
Firebox area
Clean-out lint with industrial vacuum.
FIGURE 14
Q
•
Firebox burn screen
Vacuum out thoroughly.
FILTERS, SCREENS, AND LINKAGE
•
Combustion inlet screen
Clean with broom or industrial vacuum.
FIGURE 10
D
AUTOLINT EQUIPPED DRYERS
•
Autolint screen in dryer
Inspect, remove screen and clean if required.
FIGURE 16
W
•
DRYVAC blower motor
See “BALDOR MOTOR MAINTENANCE...,”
FIGURE 17
Q Shell Darina
EP-2
(or equivalent)
•
DRYVAC blower shaft
Slowly grease 0.12 oz. (3.54g) (two strokes at two places).
A
•
DRYVAC blower screen
and vanes
Clean with industrial vacuum.
M
•
DRYVAC belts and
sheaves
Check for wear, belt tension, and alignment.
M
•
External Unit filter bag
Empty bag and vacuum entire interior of DRYVAC,
including blower screen.
D
NOTE 1: Monthly/200 hours=Once a month or once every 200 operating hours, whichever comes first.
NOTE 2: Quarterly/500 hours=Once every three months or once every 500 operating hours, whichever comes first.
NOTE 2: If motor manufacturer’s instructions conflict with manual section MSSM0274AE, follow manufacturers instructions. Motors are warrantied
by the manufacturer, not by Milnor
®
.
PREVENTIVE MAINTENANCE
FOR 72072 DRYERS
MSSM0133AE/9717AV
23
Содержание 72072
Страница 6: ...2 ...
Страница 21: ...Section 1 Service and Maintenance 17 ...
Страница 51: ...Section 2 Covers and Shipping Brackets 47 ...
Страница 57: ...Section 3 Machine Housing Assemblies 53 ...
Страница 65: ...Section 4 Drive Assemblies 61 ...
Страница 79: ...Section 5 Door Assemblies 75 ...
Страница 87: ...Section 6 Denim Processing 83 ...
Страница 97: ...Section 7 Gas Piping and Assemblies 93 ...
Страница 110: ...106 ...
Страница 111: ...Section 8 Water and Steam Piping and Assemblies 107 ...
Страница 117: ...Section 9 Pneumatic Piping and Assemblies 113 ...


