background image

5

CONNECTING THE REMOTE

Powering on the Board

Powering on the Remote

Pairing/Syncing 

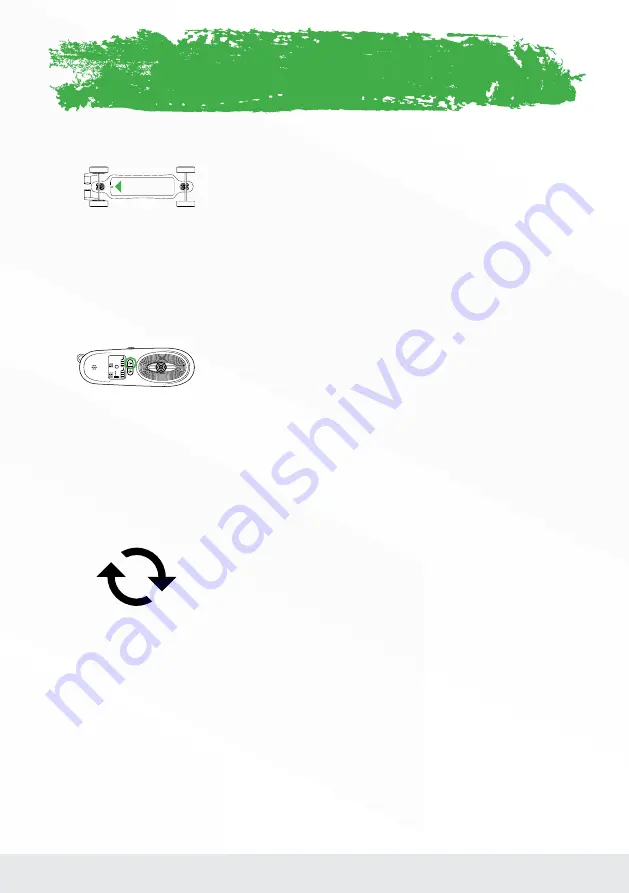
First Power on both the board and the remote.
If they are not synced, follow these steps:

1.  Press the orange on/off button located on the underside of the battery 

towards the back of the board. The button will blink red when it has been 

turned on.

2.  To turn the board off, just press and hold this button again until the light stops 

blinking.

1.  Press and hold the on/off button on the remote for 2-3 seconds. The remote 

will vibrate once and the LCD screen will display the Rampage logo and then 

the operation screen.

2.  To turn the remote off, press and hold the power button again for 2-3 

seconds. The remote will vibrate once and then power off.

1.  Make sure both the board and remote have been powered off.

2.  On the board, Press and Hold the power button for 6-7 seconds. The red light 

on the power button will begin flashing rapidly to show it is ready to be paired.

3.  Press and hold the power button on the remote for 6-7 seconds.

4.  The remote will display a message that says: “Remote paired OK”.

USING THE REMOTE

Содержание RAMPAGE

Страница 1: ...OWNERS MANUAL For the latest version of this Owners Manual visit MILESPOWER COM MANUAL...

Страница 2: ...influence of drugs or alcohol DO NOT ride the board in wet rainy conditions While the motors are water resistant the board may slide from under your feet causing injury DO NOT ride the board in poor v...

Страница 3: ...CHARGING 2 RAMPAGE COMPONENTS 3 RAMPAGE REMOTE 4 CONNECTING THE REMOTE 5 USING THE REMOTE 1 2 6 USING THE REMOTE 2 2 7 THE BASICS 8 MAINTENANCE 9 ADJUSTING YOUR RIDE 9 BATTERY SAFETY 1 2 10 BATTERY SA...

Страница 4: ...ly cause you to fall off Start off slow when riding in faster speed modes HILLS AND HIGH SPEED CAN BE VERY DANGEROUS as high speed crashes can cause serious injuries Even if you re an experienced ride...

Страница 5: ...is full TIP Disconnect the wall charger from you board once it is fully charged to help extend the batteries life Using the wall charger provided plug in your Rampage The charging port 1 is located u...

Страница 6: ...3 Rampage Components 1 Front Wheels 5 Back Wheels 2 Battery 3 Power Button 4 Charging Port...

Страница 7: ...Speed 11 Speed Mode 12 Rampage Battery 13 Forward Reverse 14 Odometer 15 Tripmeter 1 2 3 4 7 6 5 8 mi mi 9 10 11 12 13 14 15 2 Double press to enable Led Light 11 Speed Mode 1 Beginner 2 Intermediate...

Страница 8: ...hold the on off button on the remote for 2 3 seconds The remote will vibrate once and the LCD screen will display the Rampage logo and then the operation screen 2 To turn the remote off press and hold...

Страница 9: ...you balanced How to Brake GENTLY pull the thumb throttle backwards to begin slowing down The further backwards the throttle goes the stronger the breaking will be TIP When braking bending the rear kn...

Страница 10: ...ger rides that have little incline There is more torque than speed setting 1 so you will accelerate quicker and reach a higher top speed but may have difficulty going up really steep hills Speed 3 For...

Страница 11: ...GULAR GOOFY The Best way to find out whether you ride Regular left foot forward or Goofy right foot forward is just to ride and see what s more comfortable for you If you re just starting out we recom...

Страница 12: ...p them out For full instructions on how to change and adjust the belts visit milespower com rampagetips The Rampage is equipped with Dual Kingpin Trucks Compared to standard skateboard trucks these of...

Страница 13: ...sing is broken or if the battery leaks any substance or emits smoke or unusual odors Avoid contact with any substance seeping from the batteries As with all rechargeable batteries do not charge near f...

Страница 14: ...for battery usage is 68 degrees Fahrenheit Keeping the battery as close to this temperature as possible improves range Colder temperatures will significantly reduce range Properly charged and maintain...

Страница 15: ...ver any damage incurred during use such as water damage or improper care This limited warranty does not cover perishable items such as belts bushings wheels and bearings or riding in water or shipping...

Страница 16: ...13 MILESPOWER COM...

Отзывы:

Похожие инструкции для RAMPAGE