1.
2.
3.
4.
Grounding
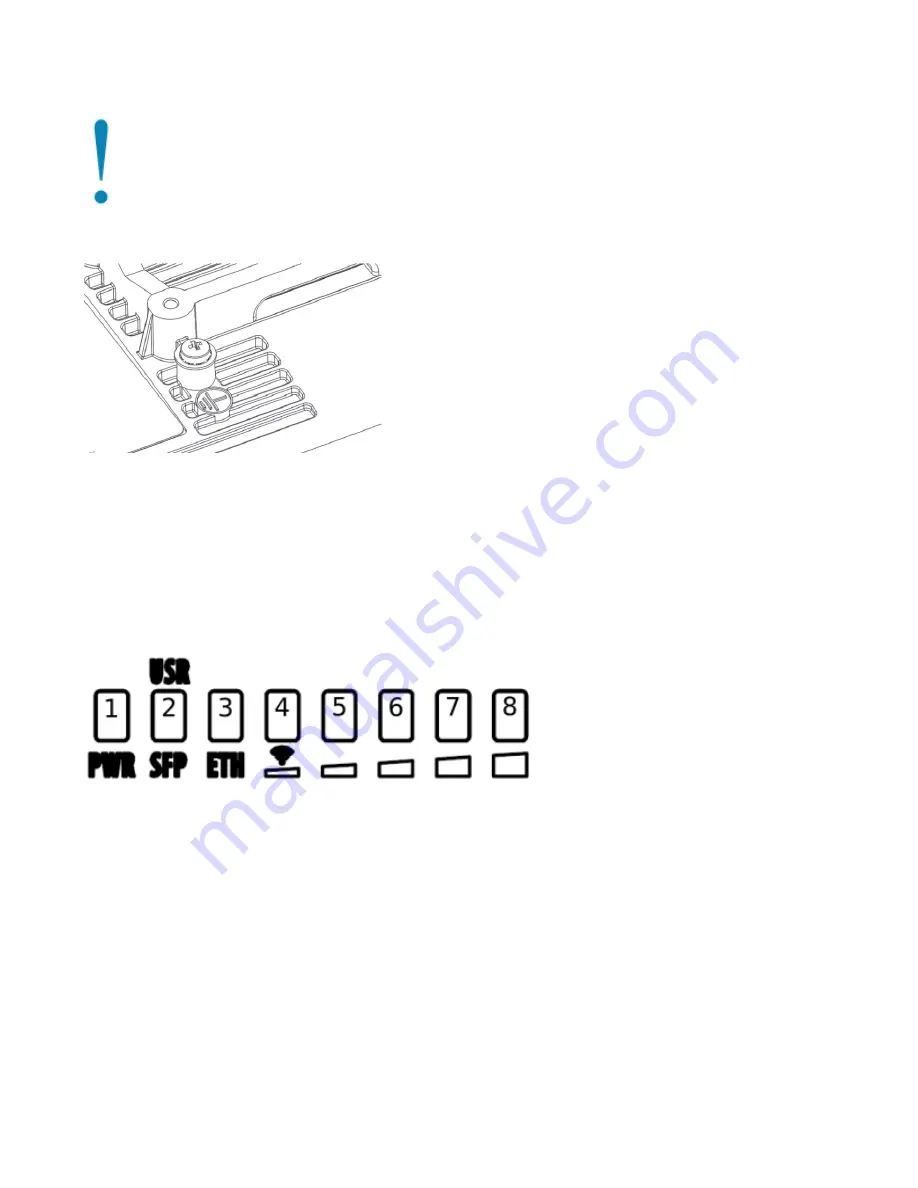
The installation infrastructure (towers and masts), as well as the router itself, must be properly grounded. The device includes a grounding wire attachment
screw. Attach your grounding wire to the grounding screw, then attach the other end of the grounding wire to the grounded mast.
Please secure all loose Ethernet cables and antenna cables to the pole or mast approximately 30cm from the device, so that the cable weight is not pulling
the ports and connectors.
Front status LED behavior
RouterOS allows configuring each LED's activity the way that the user wishes. It is possible to configure the LEDs to display wireless strength, blink the
LEDs on interface traffic activity and many other options.
For further information please visit
https://wiki.mikrotik.com/wiki/Manual:System/LEDS
Default factory configuration for this device:
Solid Blue – The device is powered on.
Solid Green – Active SFP port.
Solid Green – Active Ethernet port.
- 8. Solid Green – The set of five green LEDs, shows the signal strength.
Configuration
The device is configured as a wireless access point, with the Ethernet port configured as a DHCP client, for connecting to your ISP router or switch. A
DHCP server is configured on the wireless interface.
We recommend clicking the "Check for updates" button in the QuickSet menu, as updating your RouterOS software to the latest version ensures the best
performance and stability. For wireless models, please make sure you have selected the country where the device will be used, to conform with local
regulations.
RouterOS includes many configuration options in addition to what is described in this document. We suggest starting here to get yourself accustomed to
the possibilities:
. In case IP connection is not available, the Winbox tool (
) can be used to connect to the MAC address of
the device from the LAN side (all access is blocked from the Internet port by default).
For recovery purposes, it is possible to boot the device for reinstallation, see a section


