32
Step 3
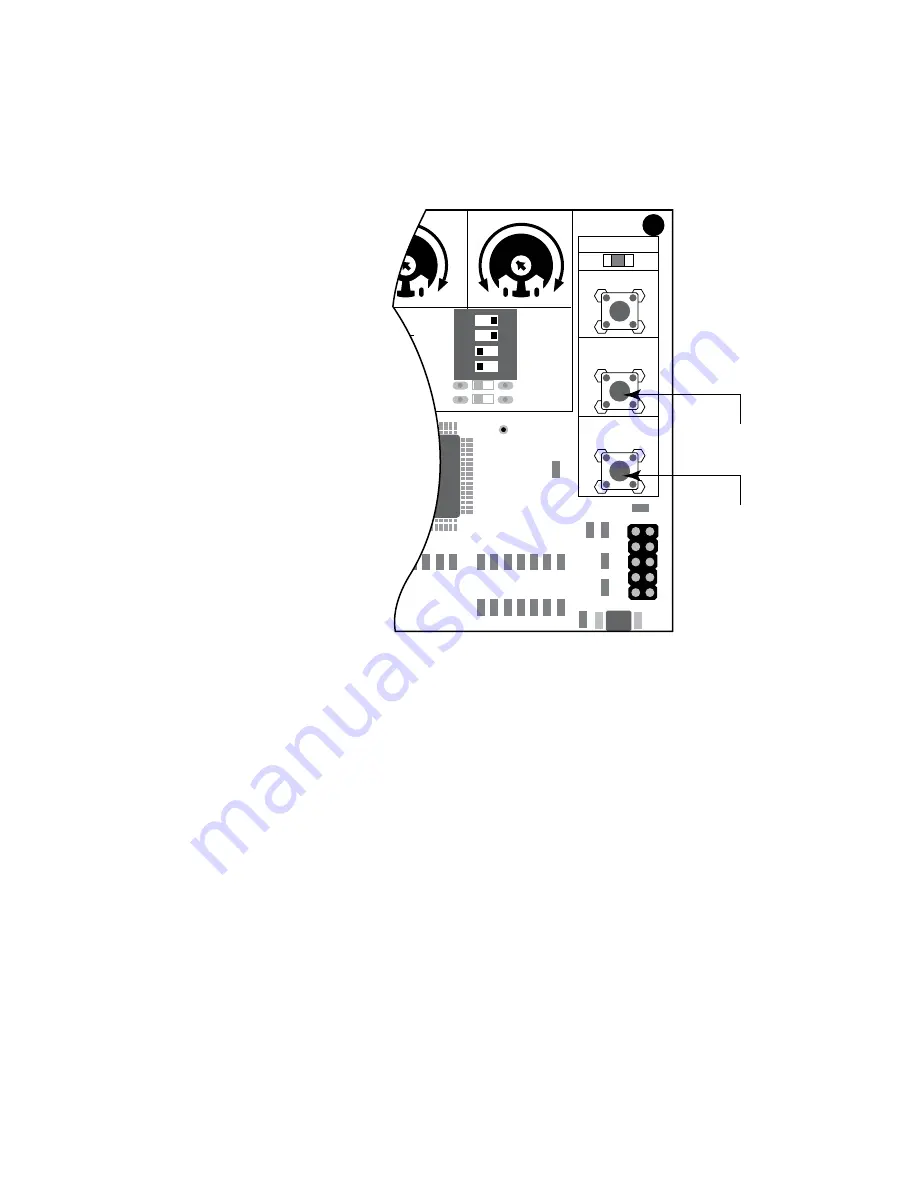
Note which gate has reached the desired closed position (typically it's the SECOND gate), program the closed limit setting by
pressing and holding the corresponding 'LEARN MAST LIMIT' or 'LEARN 2ND LIMIT' button for 5 seconds.
Step 4
Press the transmitter button and allow the gates to return to the closed position. YOUR FIRST GATE’S OPEN POSITION
LIMIT IS NOW PROGRAMMED.
Step 5
Activate your openers again by pressing the
entry transmitter button. Your gates should now
be moving from the closed positions toward
their open positions. The first gate will stop at
the spot you just programmed and the second
gate will continue to open until you press the
transmitter button again. Press the transmitter
button when the second gate reaches the desired
open position. This step may be repeated until
desired open position is achieved. Once the
desired OPEN position has been achieved,
proceed to step 6.
Step 6
Repeat step 3 for the other gate that has not been
set in step 3.
Step 7
Press the transmitter button and allow the
gates to return to the closed position. BOTH
YOUR MASTER AND SECOND GATE’S
OPEN POSITION LIMITS ARE NOW
PROGRAMMED.
TESTING YOUR OPEN LIMIT SETTING:
Press your entry transmitter and allow your gates to open. If OPEN positions are not correct or need to be changed, you will
need to CLEAR your OPEN LIMIT settings and follow steps one (1) to seven (7) again.
CLEARING THE PROGRAMMED OPEN LIMIT SETTING:
If you make a mistake and set the limit at the wrong position – press your transmitter to return the gates to their closed
positions, then press and hold the 'LEARN MAST LIMIT' or 'LEARN 2ND LIMIT' button for 5 seconds. This will clear the
memory for the open limit positions. Follow steps one (1) to seven (7) again.
1 2 3
4
ON
DIP
STATUS
LEARN RMT
LEARN
MAST LIMIT
LEARN
2ND LIMIT
S3
S4
S2
ART OFF
G OFF
PULL
EN DLY.
OFF
OFF
ON
ON
PUSH
SIMULT.
ON
ON
120 MIN
MAX
CLOSE TIME
STALL FORCE
Learn Master Limit
Button
Learn Second Limit
Button


