Before first use
28
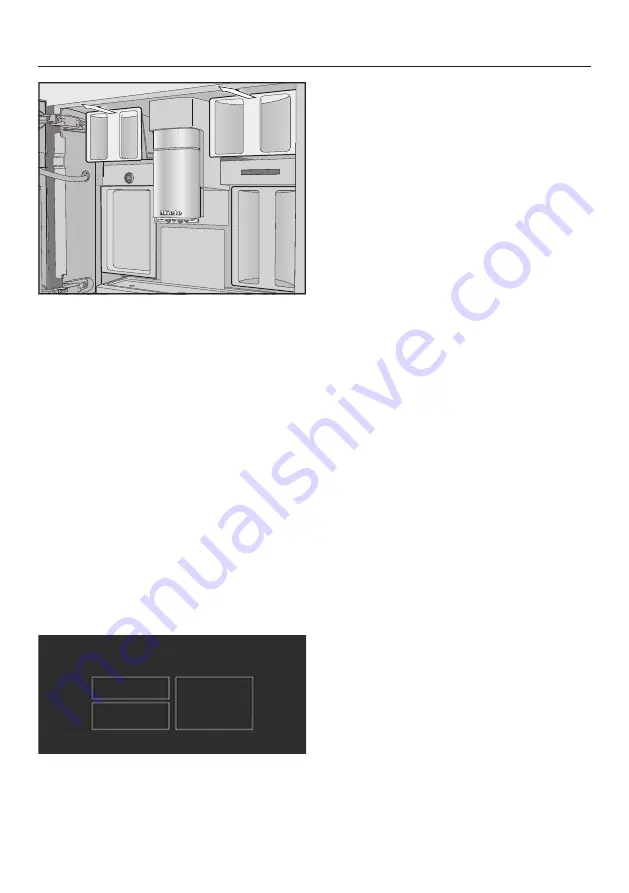
Pull the bean containers out and take
off the lids.
Fill the bean containers with roasted
coffee beans.
Put the lids back on the bean
containers to seal them.
Push the bean containers all the way
back into the coffee machine. Close
the machine door.
Tip:
Make a note of each type of bean.
After filling the bean containers, you
can now name the types of beans.
Naming the types of beans
The 3 bean containers are shown in the
display as follows and are pre-named.
Type of beans
Type A
Type B
Type C
If you rename the bean containers,
please note the following:
- It is best to select short names.
- If you are using the same type of
beans in 2 or 3 bean containers at
the same time (for instance, because
you only use one bean type), make
sure you name them in the exact
same way.
Name type of beans for bean container?
appears in the display and
Type A
is
highlighted in orange.
Tap
Yes
.
The editor will open in the display.
Enter the name you want for the bean
container and then tap
Save
.
Now name the other 2 bean
containers.
<Type XY> Allocate
will appear in the title
bar of the display.
Allocating the bean types
Now you need to allocate the drinks to
the types of beans. Selected drinks are
highlighted in orange.
Now select the drinks that are to be
prepared with this type of bean.
Confirm your selection with
OK
.
Now it is time to allocate the next type
of bean. The coffee drinks that have not
yet been allocated are displayed.
Select the drinks that are to be
prepared with this type of bean.
Confirm with
OK
.
Any remaining drinks which have not
been selected will be allocated to the
third bean type.
You have set up the bean system and
you can now prepare drinks.


