


1
CCM-180A/WS
201803
29
CCM
-1
8
0
A/
W
S
Ser
vice M
anual
2.
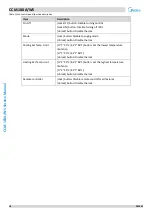
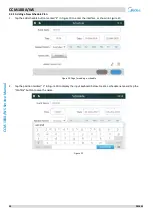
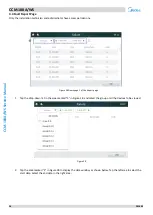
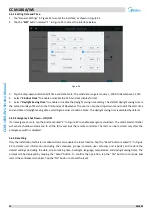
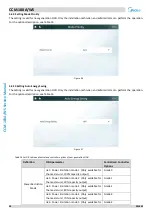
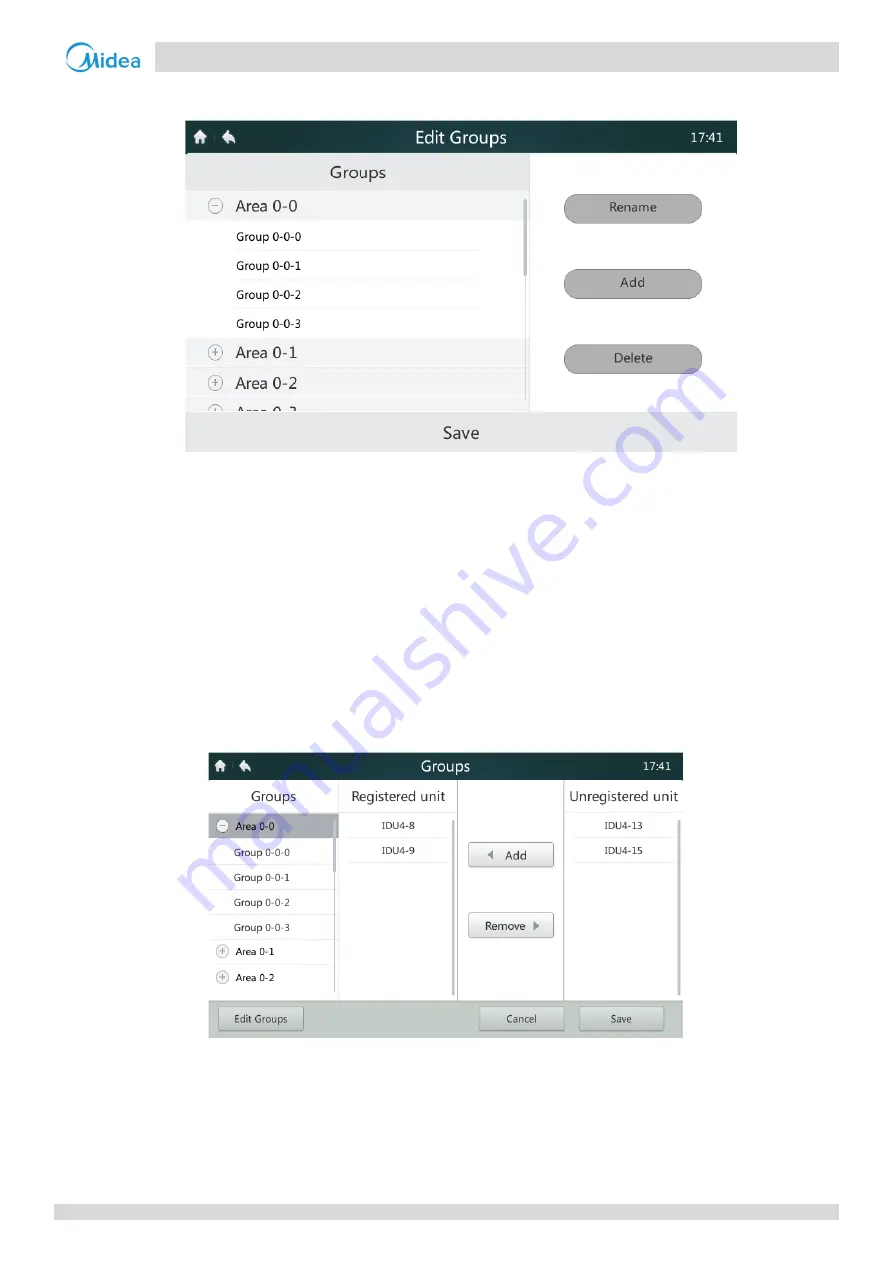
First create a group. Tap the "Edit Groups" button marked "1" in Figure 38 to access the interface shown in Figure 39.
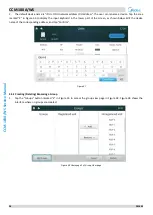
Figure 39 Editing a group
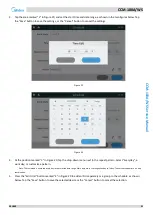
3. Groups can be classified into two levels (e.g.: level 1 - Area; level 2 - Group). Up to 10 groups can be created at level 1.
Up to 5 groups can be created at level 2. Tap the "
Add
" button, as shown in Figure 38, to add the first level group by
default. Tap to select the first level Area. Tap the "
Add
" button to add the second level group. To delete a group, select this
group, and tap "Delete".
4. Select a group and tap "
Rename
", as shown in Figure 39, to edit the selected group name.
5. Tap the "
Save
" button, as shown in the lower part of Figure 39, to save the edited information.
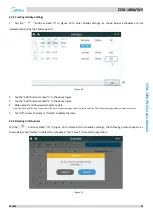
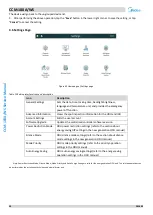
4.5.3
Adding/Deleting a Device in Group
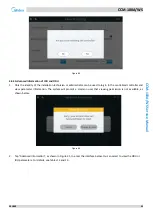
1.
The user needs first to create groups. After groups are created, the group view page is displayed, as shown in Figure
40.
Figure 40 Homepage 2 of Group View page
2. Tap to select the group on the left for adding or deleting IDUs, as shown in Figure 40.
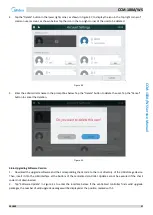
3. Tap to select a group on the right ungrouped device list, as shown in Figure 40. Tap the "
Add
" button to add it to the
selected group. The device will be displayed in the grouped device list.
4. Alternatively, tap a device in the grouped device list. Tap the "
Remove
" button to delete the device from the group.


