•
Click Monitor Mode.
•
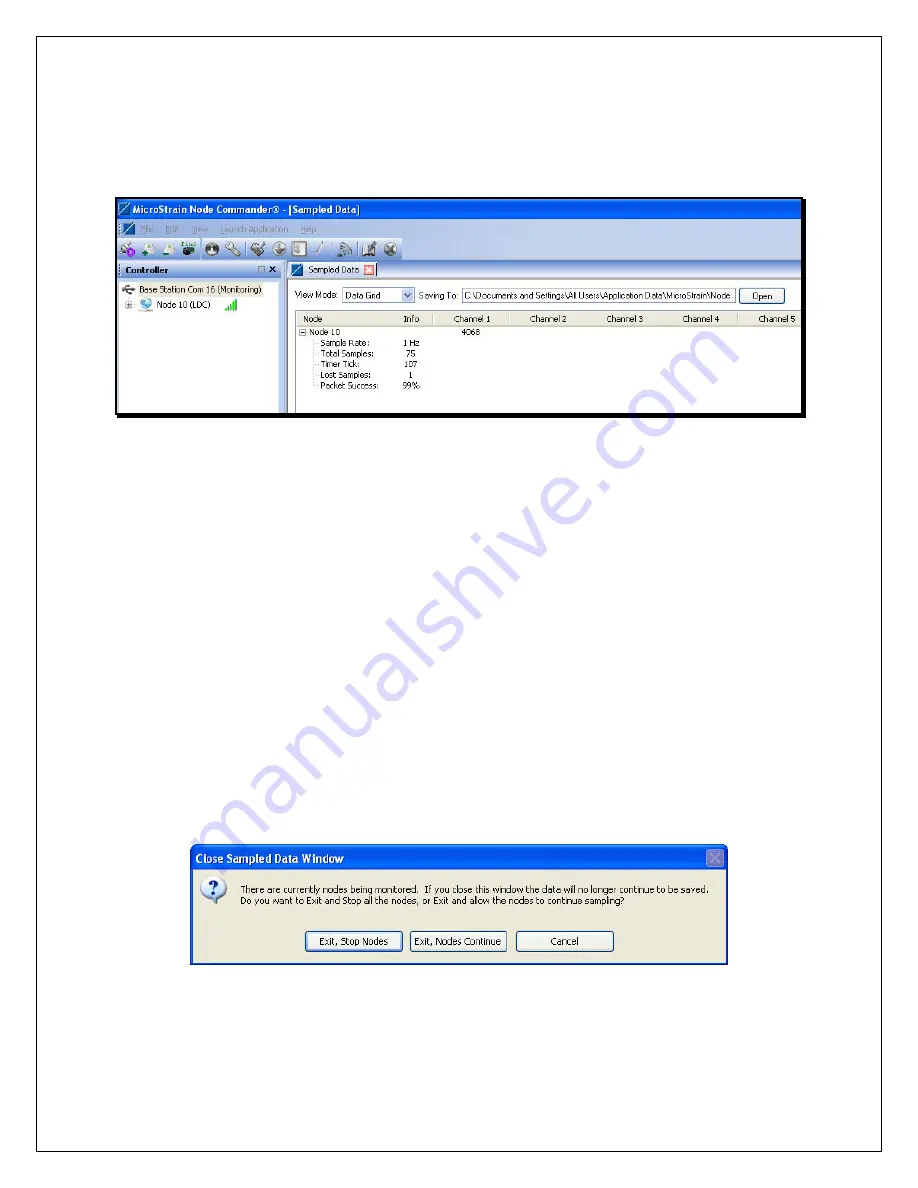
The Sampled Data frame will appear.
•
After a moment, a Node will appear, e.g. Node 10, as shown in the
Figure 4
.
Figure 4
•
The Node is the EH-Link
™
and in our example we see an EH-Link
™
with address 10.
•
Note:
Every EH-Link
™
has a unique address. These addresses are used by Node
Commander
®
to identify and operate multiple EH-Link
™
at the same time.
•
Click the + sign to the left of the Node in the Sampled Data frame.
•
The Sample Rate, Total Samples, Timer Tick (time stamp) and other information will
appear.
•
By default, the EH-Link
™
comes with its sample rate set at 1 Hz, i.e. 1 sample per
second. You will see that the Channel 1 value is being refreshed every 1 second,
indicating that the EH-Link
™
is successfully communicating.
Powering the EH-Link
™
with the Solar Demo Board
•
Remove the 9 volt battery from the Battery Clip.
•
Disconnect the red and black leads of the Battery Clip from the EH-Link
™
and set these
aside.
•
In Node Commander
®
, click the red X on the Sampled Data frame.
•
The Close Sampled Data Window will appear as shown in
Figure 5
.
•
Click Exit, Nodes Continue and the Sampled Data frame will disappear.
3
Figure 5


