


Page
8
www.metzin.com
Operation
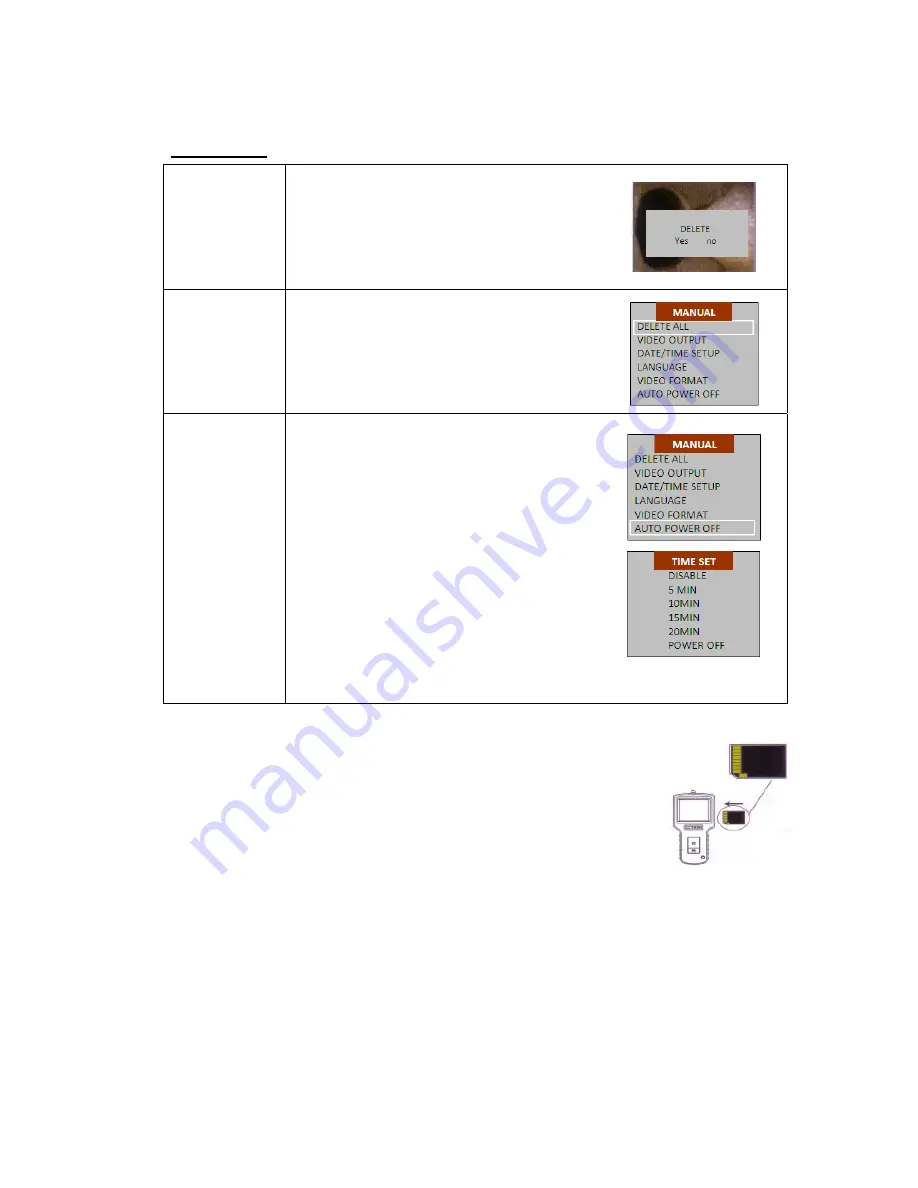
Delete
Single
File
(Limited
to
Viewing
Mode)
1.
Press
or
to
go
to
the
required
file
2.
Press
OK
to
go
to
the
delete
option
3.
Press
or
for
“Yes”
or
“No”
option
4.
Press
OK
to
confirm
Delete
All
Files
1.
Press
OK
to
go
to
“DELETE
ALL”
in
the
Main
Menu
2.
Press
or
for
“Yes”
or
“No”
option
3.
Press
OK
to
confirm
Auto
Power
On/Off
Setting
1.
Press
OK
2.
Press
or
to
go
to
the
Auto
Power
Off
option
3.
Press
OK
4.
Press
or
to
set
up
the
time
options
(5mins/10mins/15mins/30mins)
or
DISABLE
option
(if
you
choose
not
to
have
this
function)
5.
Press
OK
PS:
The
system
will
still
automatically
switch
off
without
prior
setting.
ACCESSORIES
USB
Cable
–
enables
connection
to
PC
for
convenient
file
transfer
and
maintenance.
Video
Cable
–
connects
screening
to
television
when
required.
Adaptor
–
enables
power
charging
when
low
power
is
indicated.
SD
card
–
Please
refer
to
the
picture
for
direction
when
inserting
to
the
unit.


